はじめに
My power button stopped working a few weeks ago. I suspected it was just a bad part, so I took it apart and bridged the connection to test it, and indeed it was just the tact switch that had stopped working. I bought a new one, soldered it in, and voilá!
必要な工具と部品
-
-
Pry up a corner with an exacto knife, then just work it back from there. Try not to bend the facepiece too much, as this will leave creases.
-
-
-
The little plastic screen part just popped out. Just wiggle it loose with a small screwdriver. Then there are just four screws to remove (regular Phillips #2) and you're in!
-
-
-
-
Just undo the two screws and you're in.
-
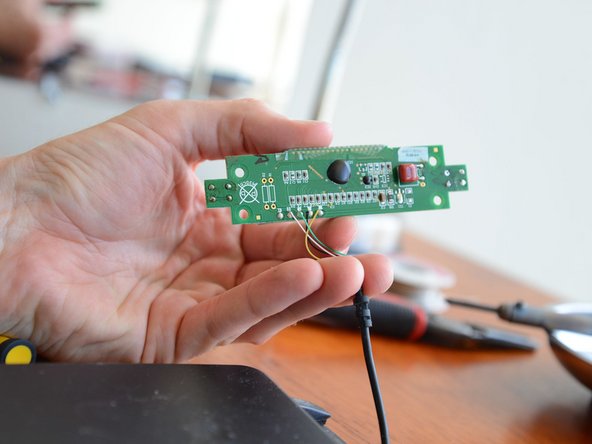
Careful! Those 5 wispy little wires break pretty easily. I ended up having to resolder ALL of them, which was annoying. I'm almost tempted to recommend just breaking them off at the beginning and then resoldering them at the end just so you're sure they're attached well.
-
-
-
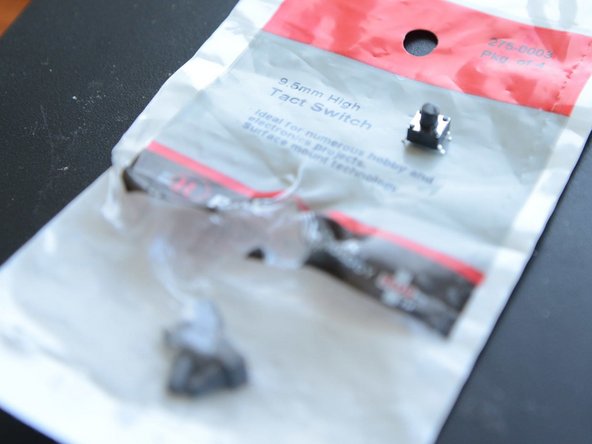
I bought a pack of four 9.5mm tact switches at radio shack (which I had no idea still existed or sold electronic parts).
-
Important! Make sure if you don't buy the right size switch that you cut your switch down to the right size. I didn't, and when I glued the facepiece back on at the end, it held down the power switch and I had to take it off and sand the switch down.
-
Also, make sure you put a tiny bit of solder on all of the faces (8 total faces for four connections) before you try to solder them together. It'll be a lot easier to bond them. Afterward.
-
-
-
As I said before, these all broke off when I was doing this, so I had to resolder them.
-
Either way, make sure they're still well-connected.
-


All in all a pretty easy repair, but watch out for those little scale wires, and make sure the new switch is reasonably flat against the board.
All in all a pretty easy repair, but watch out for those little scale wires, and make sure the new switch is reasonably flat against the board.
5 の人々がこのガイドを完成させました。

2 件のコメント
Thanks for the tutorial! My scale's circuit board was slightly different, the tact switches were mounted on the surface rather than through the hole, wasn't a problem though. I opted for slightly smaller switches at a length of 8.5mm based on another source online, still too big, sanded it down to match the existing ones. Overall a success!