はじめに
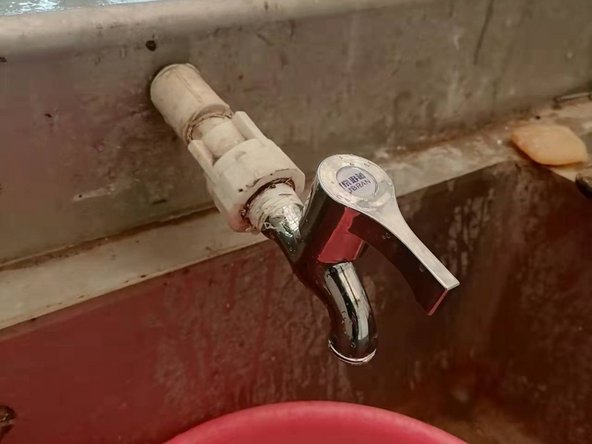
This is a tutorial on repairing leaking water pipes. Many houses are facing the problem of aging water pipes. If the water leak occurs in the middle of the night and a repairman cannot be found in time, we need to solve it by ourselves. This tutorial can help you replace the faucet head of an outdoor fixture. Be sure to turn off the water main during the repair to minimize leakage.
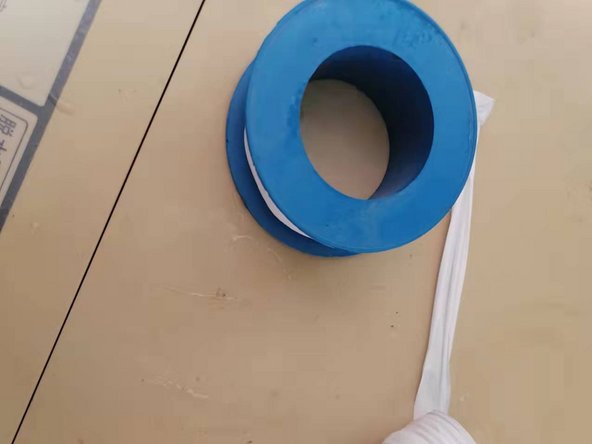
必要な工具と部品
-
-
Check the location of the water leakage, and turn off the water to that area.
-
Drain the water in the pipeline after it is determined, so as to avoid a large amount of water flowing out during the repair process.
-
-


There are no sharp objects used in the whole process, but you need to be careful that there may be places where the water pipes may be easily scratched.
There are no sharp objects used in the whole process, but you need to be careful that there may be places where the water pipes may be easily scratched.

チーム

York University, Team F-29, Woodhouse Fall 2021 York University, Team F-29, Woodhouse Fall 2021人のメンバー
YORK-WOODHOUSE-F21SFG29
1 メンバー
1のガイドは作成済み