はじめに
This disassembly guide will detail how to take apart an Oster Designer Egg Cooker and Poacher and analyze the circuit inside the appliance. All you need to begin is a working space and a screwdriver! Make sure your device is unplugged before beginning any disassembly. Attached is a PDF of the schematic we drew of the appliance’s circuit.
必要な工具と部品
特集記事
-
-
Remove the plastic covering from your Oster egg cooker, and turn your egg-poacher upside down.
-
Remove the single screw in the center of the bottom surface of your egg cooker.
-
Separate the plastic covering from the metal base.
-
-
-
-
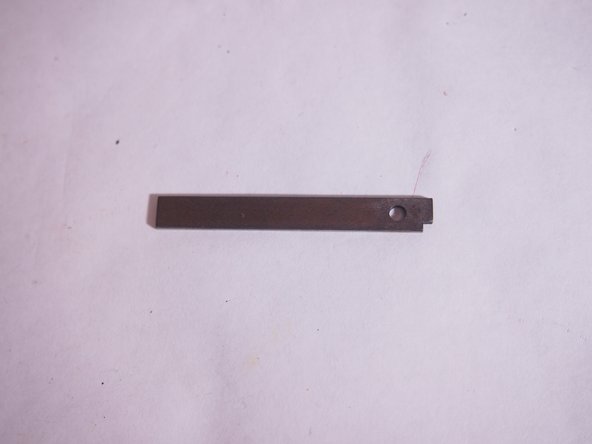
Now that you have loosened the clear plastic cube, you'll now move on to the bimetallic strip.
-
This metal strip runs between the switch mechanism.
-
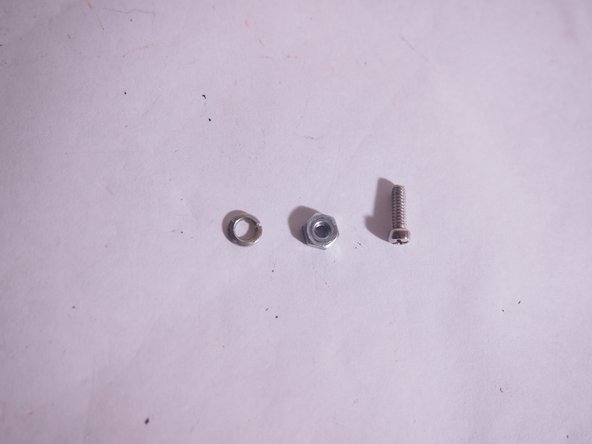
You'll see a screw, fastened with a nut and washer. To remove the strip, unscrew it, and set aside the now free metal piece, screw, nut, and washer.
-
-
-
Let's take a closer look at the switch mechanism: In the 1st photo, you'll see that the switch is in the off position, as the black wedge is not in place within the appropiate notch etched into the golden piece.
-
In the 2nd photo, you can see the black wedge has been pushed into place within the golden piece. This is regularly accomplished after having pushed the red "push to start" button found on the metal frame where the egg cooker's label can be found. This process turns the machine on and initiates the cooking process.
-
Notice the bimetallic piece from Step 2 letting the gold piece hold the black wedge in the on position.
-
When the device heats up enough to cook the eggs, this bimetallic strip will bend in the direction of the green arrow, pushing the switch back into the off position, and turning the machine off.
-


To reassemble your device, follow these instructions in reverse order.
To reassemble your device, follow these instructions in reverse order.
ある他の人がこのガイドを完成しました。
添付文書
チーム

Tufts University School of Engineering, Team S1-G1, Bell Fall 2020 Tufts University School of Engineering, Team S1-G1, Bell Fall 2020人のメンバー
TUFTS-BELL-F20S1G1
2 メンバー
1のガイドは作成済み