メインコンテンツにスキップ

Orbic Wonder Power Button Replacement

必要な工具と部品

  1. Orbic Wonder Power Button Replacement, Power Button: 手順 1、 3の画像 1 Orbic Wonder Power Button Replacement, Power Button: 手順 1、 3の画像 2 Orbic Wonder Power Button Replacement, Power Button: 手順 1、 3の画像 3
    • Remove the two 2 mm TR9 Torx head screws at the bottom of the device. The screws are located on the right and left side of the charging port.

  2. Orbic Wonder Power Button Replacement: 手順 2、 3の画像 1 Orbic Wonder Power Button Replacement: 手順 2、 3の画像 2 Orbic Wonder Power Button Replacement: 手順 2、 3の画像 3
    • Pry the phone’s metal backing away from the rest of the device by placing the Jimmy between the black phone backing and silver screen border and wiggling the Jimmy right and left.

  3. Orbic Wonder Power Button Replacement: 手順 3、 3の画像 1 Orbic Wonder Power Button Replacement: 手順 3、 3の画像 2 Orbic Wonder Power Button Replacement: 手順 3、 3の画像 3
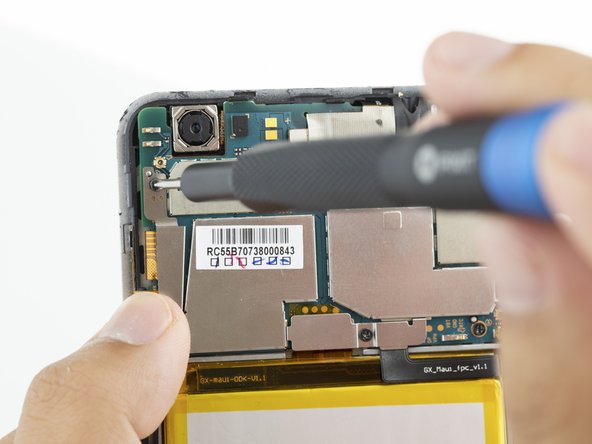
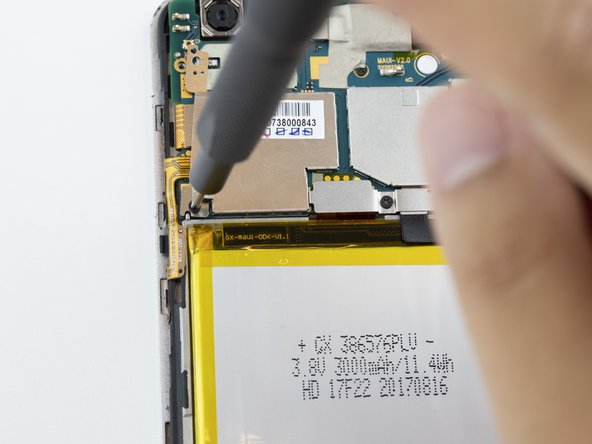
    • Remove the metal plate protector held in place by two 2 mm Phillips #000 screws.

  4. Orbic Wonder Power Button Replacement: 手順 4、 3の画像 1 Orbic Wonder Power Button Replacement: 手順 4、 3の画像 2 Orbic Wonder Power Button Replacement: 手順 4、 3の画像 3
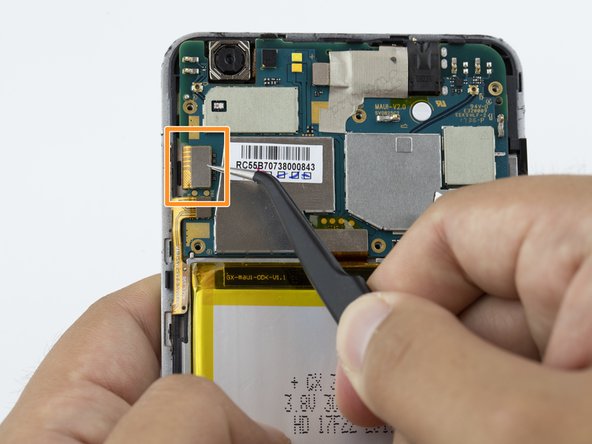
    • Using a pair of angled tweezers, remove the metal plate protector.

    • Unplug the connector with a pair of tweezers.

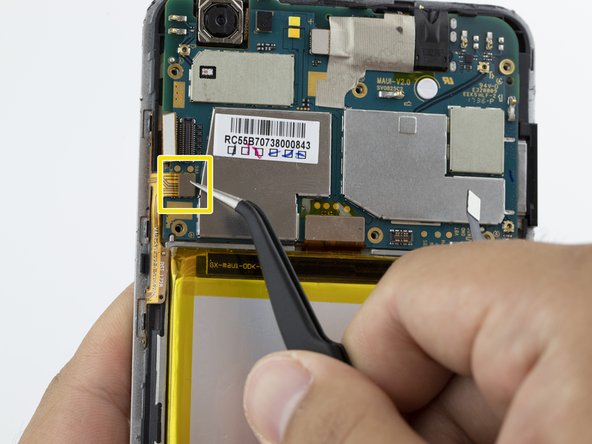
    • Unplug the second connector with a pair of tweezers.

  5. Orbic Wonder Power Button Replacement: 手順 5、 3の画像 1 Orbic Wonder Power Button Replacement: 手順 5、 3の画像 2 Orbic Wonder Power Button Replacement: 手順 5、 3の画像 3
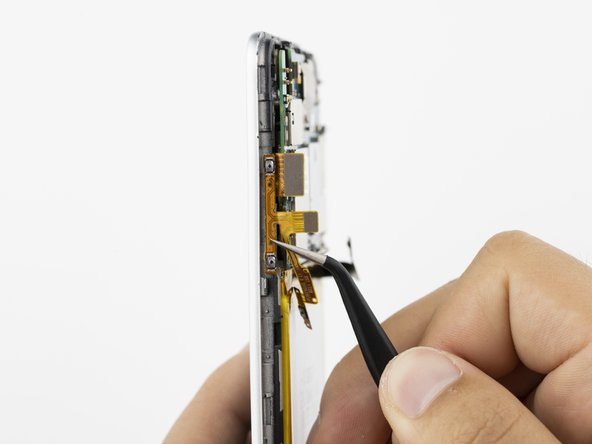
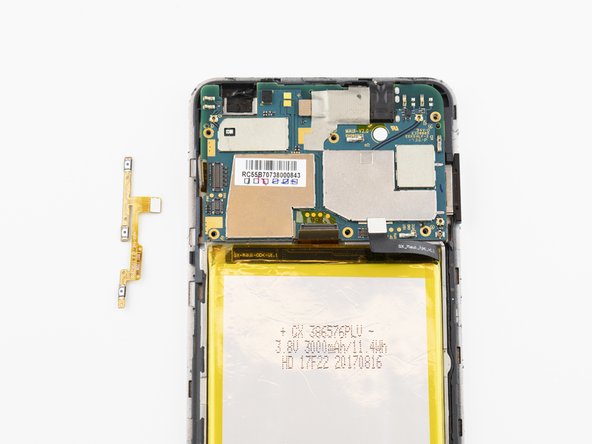
    • Using a pair of angled tweezers, gently pull the orange power strip off of the phone housing.

終わりに

To reassemble your device, follow these instructions in reverse order.

3 の人々がこのガイドを完成させました。

作成者

2人の作成者と共同で作成されました。

Grant Adler

メンバー登録日: 09/17/19

859 ポイント

5のガイドは作成済み

チーム

0 件のコメント

コメントを追加

統計データ:

過去 24時間: 0

過去 7 日: 0

過去 30 日: 4

今までの合計 553