メインコンテンツにスキップ

Optoma HD72 Projection Lamp Replacement

必要な工具と部品

  1. Optoma HD72 Projection Lamp Replacement, Projection Lamp: 手順 1、 1の画像 1
    • Use a Phillips screwdriver to loosen the single captive 2 mm screw that secures the small lamp panel on the lower case.

    • Remove the panel.

  2. Optoma HD72 Projection Lamp Replacement: 手順 2、 1の画像 1
    • Use a Phillips screwdriver to loosen the two 2 mm screws on the bottom of the projection lamp housing.

  3. Optoma HD72 Projection Lamp Replacement: 手順 3、 2の画像 1 Optoma HD72 Projection Lamp Replacement: 手順 3、 2の画像 2
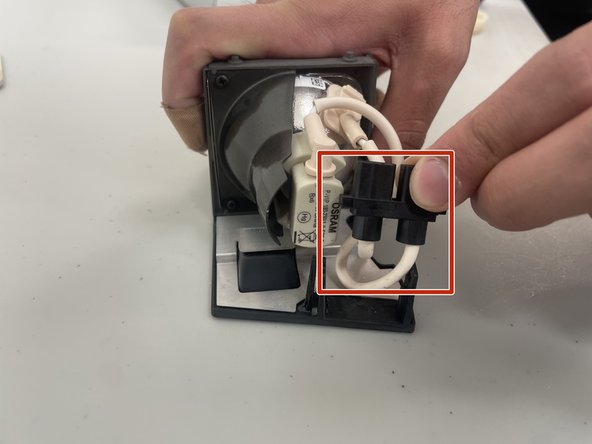
    • Lift the panel off of the device using the metal handle.

    • Disconnect the pink wires from the black plastic housing.

  4. Optoma HD72 Projection Lamp Replacement: 手順 4、 3の画像 1 Optoma HD72 Projection Lamp Replacement: 手順 4、 3の画像 2 Optoma HD72 Projection Lamp Replacement: 手順 4、 3の画像 3
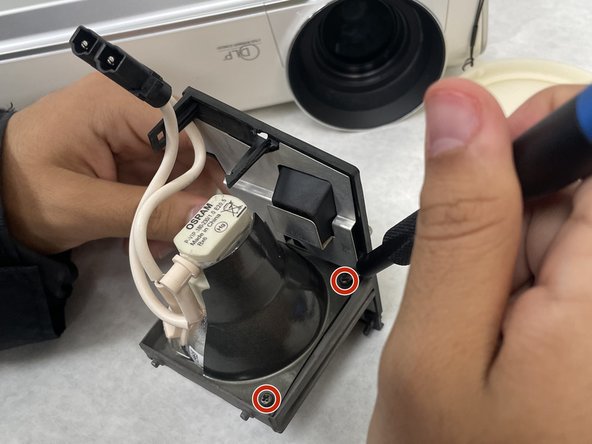
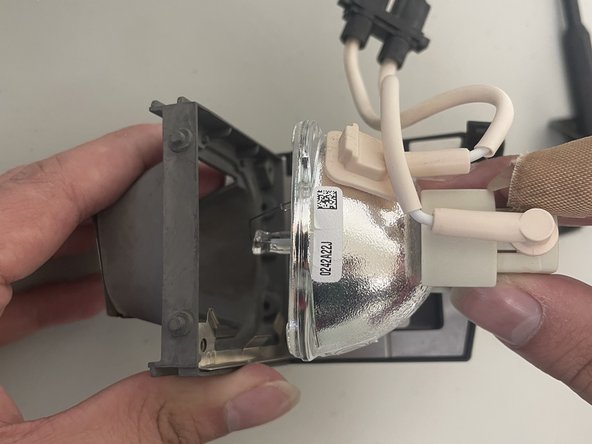
    • Use a Phillips #2 screwdriver to remove the four 2 mm screws that secure the lamp to its housing.

    • Remove the projection lamp casing by gently lifting the bulb from its housing.

  5. Optoma HD72 Projection Lamp Replacement: 手順 5、 2の画像 1 Optoma HD72 Projection Lamp Replacement: 手順 5、 2の画像 2
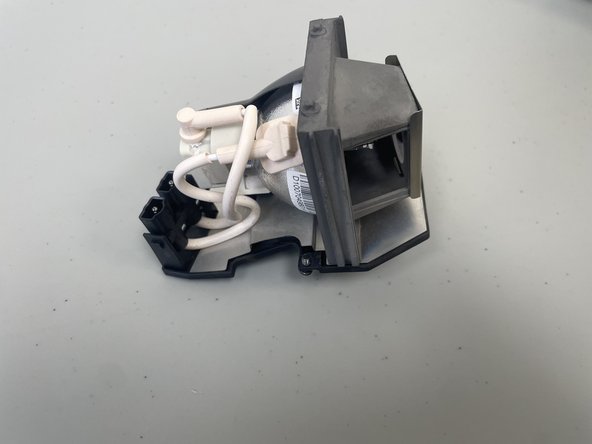
    • Once the bulb is out, replace it with another bulb and re-secure the housings in reverse order to this guide.

    • The second photo is what the completed bulb housing should look like.

終わりに

To reassemble your device, follow these instructions in reverse order.

作成者

1人の作成者と共同作成されました。

Oscar Garcia

メンバー登録日: 02/07/24

677 ポイント

5のガイドは作成済み

チーム

University of North Texas, Team 2-5, Kilpatrick Spring 2024 University of North Texas, Team 2-5, Kilpatrick Spring 2024人のメンバー

UNT-KILPATRICK-S24S2G5

3 メンバー

5のガイドは作成済み

0 件のコメント

コメントを追加

統計データ:

過去 24時間: 0

過去 7 日: 0

過去 30 日: 11

今までの合計 43