メインコンテンツにスキップ

Optoma HD72 Motherboard Replacement

必要な工具と部品

  1. Optoma HD72 Motherboard Replacement, Upper Case: 手順 1、 2の画像 1 Optoma HD72 Motherboard Replacement, Upper Case: 手順 1、 2の画像 2
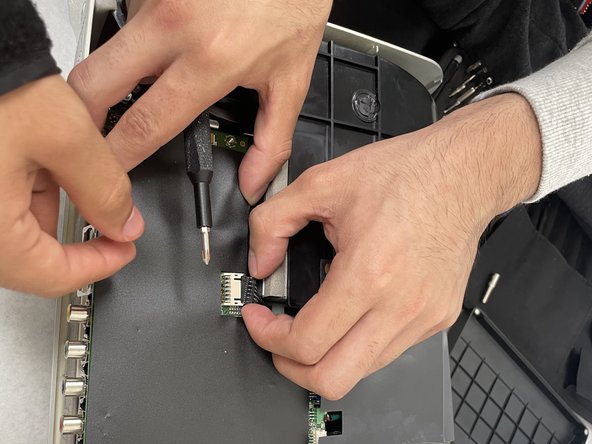
    • Use a Phillips screwdriver to remove the five 2 mm screws on the underside of the device.

  2. Optoma HD72 Motherboard Replacement: 手順 2、 1の画像 1
    • Flip the device over and slightly lift the upper case, with care not to strain the two cables.

    • Disconnect the two cables that connect the top case to the motherboard.

    • Lift the upper case up and off.

  3. Optoma HD72 Motherboard Replacement, Motherboard: 手順 3、 3の画像 1 Optoma HD72 Motherboard Replacement, Motherboard: 手順 3、 3の画像 2 Optoma HD72 Motherboard Replacement, Motherboard: 手順 3、 3の画像 3
    • Disconnect all of the cables that are connected to the motherboard.

  4. Optoma HD72 Motherboard Replacement: 手順 4、 1の画像 1
    • Remove the four 2 mm Phillips screws that secure the motherboard.

    • Lift the motherboard up and out of the chassis.

終わりに

To reassemble your device, follow these instructions in reverse order.

Connor

メンバー登録日: 03/29/22

8,431 ポイント

42のガイドは作成済み

チーム

iFixit iFixit人のメンバー

Staff

140 メンバー

18,077のガイドは作成済み

0 件のコメント

コメントを追加

統計データ:

過去 24時間: 0

過去 7 日: 0

過去 30 日: 6

今までの合計 6