はじめに
Use this guide to open your Apple Watch Series 4 for repairs.
During the display opening procedure of the Apple Watch it is likely to damage the Force Touch gasket. If you separate the gasket layers or cut the cable, you'll also need to replace the Force Touch gasket itself.
You’ll need replacement adhesive to reattach components when reassembling the device.
必要な工具と部品
-
-
Before starting repairs, take your watch off the charger and power it down.
-
If your touchscreen is broken and prevents powering off the watch, use this alternate method to power it down.
-
-
-
Because the gap between the screen and watch body is so thin, a sharp blade is needed to separate the two. Read the following warnings carefully before proceeding.
-
-
-
Prepare an iOpener (or use a hair dryer or heat gun) and heat the face of the watch to loosen the display adhesive.
-
Leave the iOpener on the watch for at least two minutes to fully heat the screen and soften the adhesive holding it to the case.
-
-
-
-
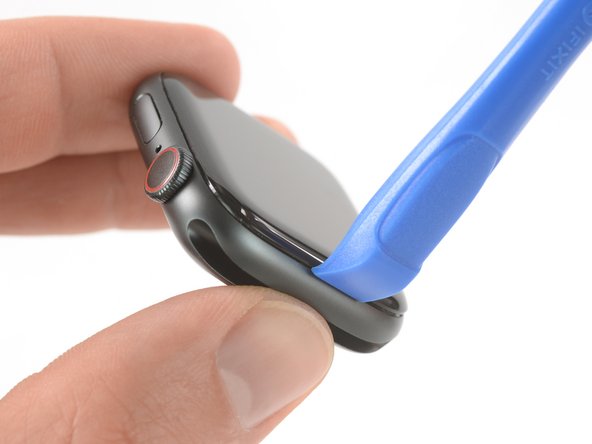
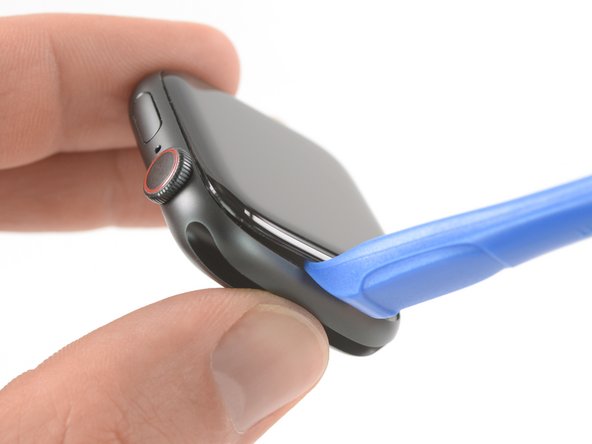
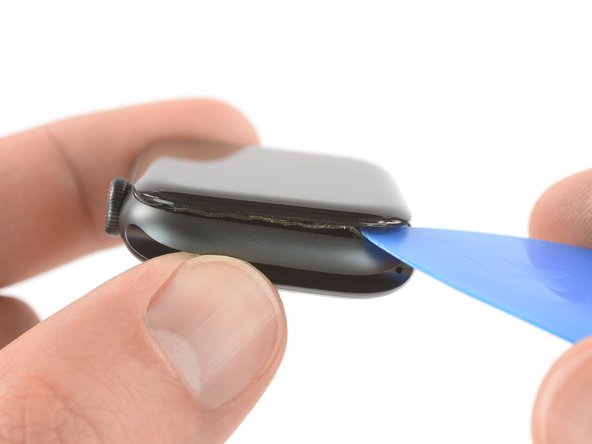
It's likely that the Force Touch sensor will stick to the display frame instead to the watch's body. In this case, insert an opening pick under the display and carefully separate the Force Touch gasket from the display.
-
Slide the pick around the display to separate the adhesive between the Force Touch gasket and the display.
-
-
-
Open the display at max. to an 45° angle, and use tweezers to peel off the adhesive between the display and the Force Touch gasket.
-
Thread the adhesive around and behind the display cables to get it off completely. Since the adhesive needs to be replaced anyway, you can cut it if that makes removal easier for you.
-
To reassemble your device, follow these instructions in reverse order.
Take your e-waste to an R2 or e-Stewards certified recycler.
Repair didn’t go as planned? Check out our Answers community for troubleshooting help.
To reassemble your device, follow these instructions in reverse order.
Take your e-waste to an R2 or e-Stewards certified recycler.
Repair didn’t go as planned? Check out our Answers community for troubleshooting help.
5 の人々がこのガイドを完成させました。


