はじめに
Using just a Phillips head screwdriver, you can open a bObi Pet yourself and access any internal parts for replacement.
必要な工具と部品
-
-
Before we get started, turn bObi Pet OFF and flip her over onto a flat surface.
-
Next, remove bObi Pet's dustbin. Grip the small tab on the back of the bin, and pull to remove.
-
-
-
Grip the front wheel and pull straight up, using the screwdriver for leverage.
-
The wheel will pop out and you will see two screws beneath it.
-
There is a larger screw set deeper in the wheel compartment. Use the screwdriver to remove it.
-
-
-
-
Remove the screws on both sides of bObi Pet’s dustbin. Then, remove the corner pieces that were held down by the screws.
-
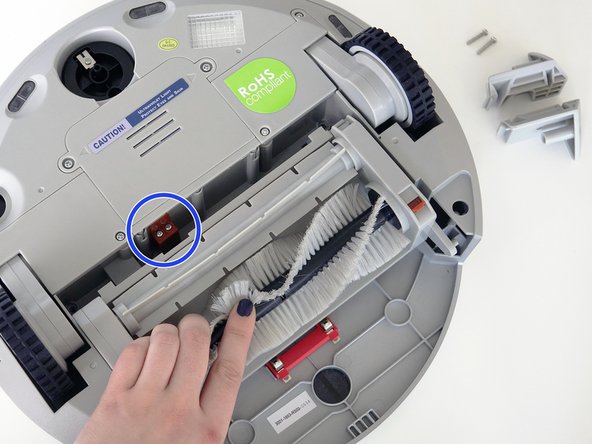
Grip the brush compartment and pull down to reveal two screws on a red fastener.
-
Remove them with the screwdriver.
-
-
-
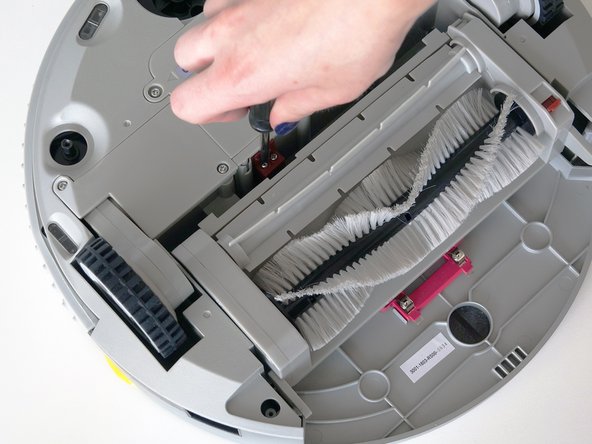
Pull the brush compartment up until the fastener is freed from bObi Pet. Then, detach the brush compartment's circuit plug and set it aside.
-
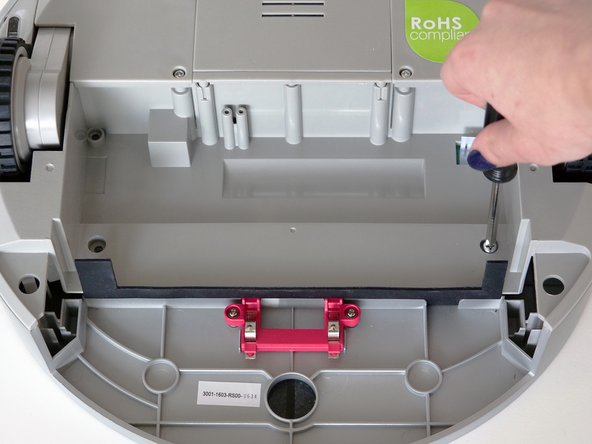
Remove the 4 screws located beneath the brush compartment.
-
-
-
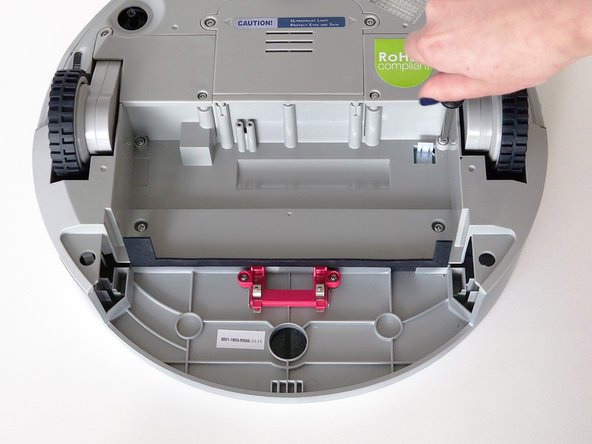
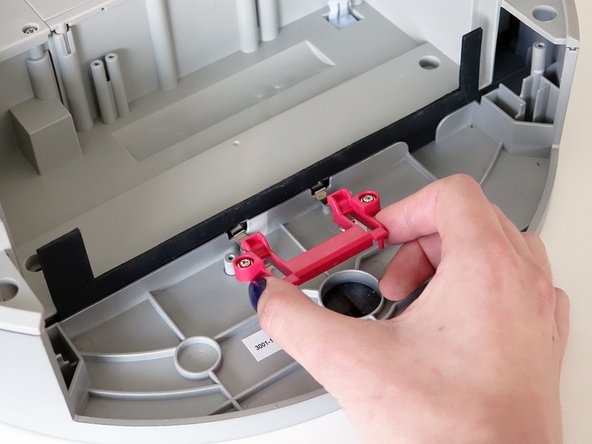
Remove the 2 screws on the dustbin’s red fastener.
-
Remove the fastener and set it aside for reassembly.
-
The cover is no longer secured, so carefully flip bObi Pet onto her wheels.
-
-
-
Lift the cover to reveal the main board underneath.
-
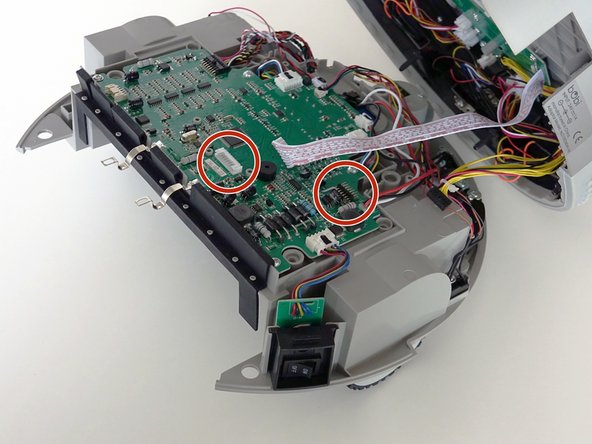
Remove the two circuit plugs connecting the lid to the mainboard.
-
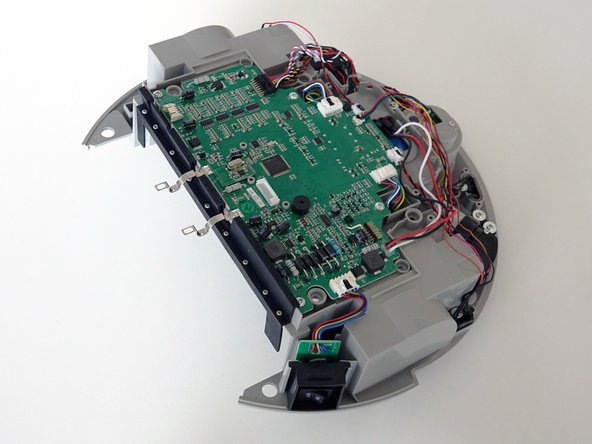
bObi Pet's cover is entirely separated, and you may now access any of her internal parts for replacement.
-


To reassemble bObi Pet, follow these instructions in reverse order after completing an internal repair.
To reassemble bObi Pet, follow these instructions in reverse order after completing an internal repair.