メインコンテンツにスキップ

Onkyo TX-800 Button Pins Repair

必要な工具と部品

  1. Onkyo TX-800 Button Pins Repair, Disassembling Onkyo TX-800 Top case: 手順 1、 3の画像 1 Onkyo TX-800 Button Pins Repair, Disassembling Onkyo TX-800 Top case: 手順 1、 3の画像 2 Onkyo TX-800 Button Pins Repair, Disassembling Onkyo TX-800 Top case: 手順 1、 3の画像 3
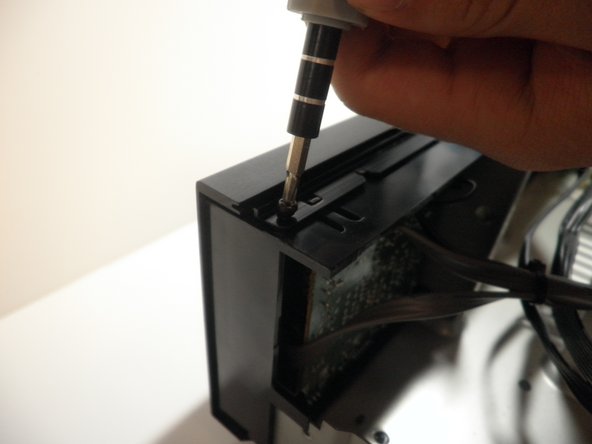
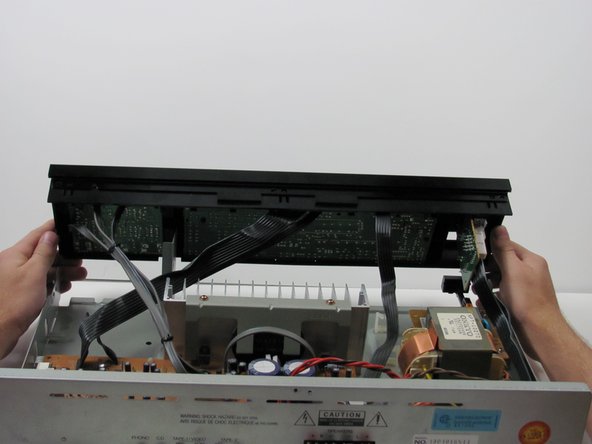
    • Remove the two screws on both sides of the receiver. Keep these and the rest of the screws in a safe place.

  2. Onkyo TX-800 Button Pins Repair: 手順 2、 2の画像 1 Onkyo TX-800 Button Pins Repair: 手順 2、 2の画像 2
    • Remove the top screw on the back panel.

  3. Onkyo TX-800 Button Pins Repair: 手順 3、 2の画像 1 Onkyo TX-800 Button Pins Repair: 手順 3、 2の画像 2
    • Slide off the case to expose the internal components of the receiver.

  4. Onkyo TX-800 Button Pins Repair, Face plate: 手順 4、 3の画像 1 Onkyo TX-800 Button Pins Repair, Face plate: 手順 4、 3の画像 2 Onkyo TX-800 Button Pins Repair, Face plate: 手順 4、 3の画像 3
    • Unscrew the three screws on top of the face plate.

  5. Onkyo TX-800 Button Pins Repair: 手順 5、 2の画像 1 Onkyo TX-800 Button Pins Repair: 手順 5、 2の画像 2
    • Unscrew the one screw on the bottom of the front panel.

  6. Onkyo TX-800 Button Pins Repair: 手順 6、 3の画像 1 Onkyo TX-800 Button Pins Repair: 手順 6、 3の画像 2 Onkyo TX-800 Button Pins Repair: 手順 6、 3の画像 3
    • Simultaneously push down on the head of the snap on each end of the device with your thumbs and push to seperate the face plate. This may take some force.

  7. Onkyo TX-800 Button Pins Repair, Logic board: 手順 7、 3の画像 1 Onkyo TX-800 Button Pins Repair, Logic board: 手順 7、 3の画像 2 Onkyo TX-800 Button Pins Repair, Logic board: 手順 7、 3の画像 3
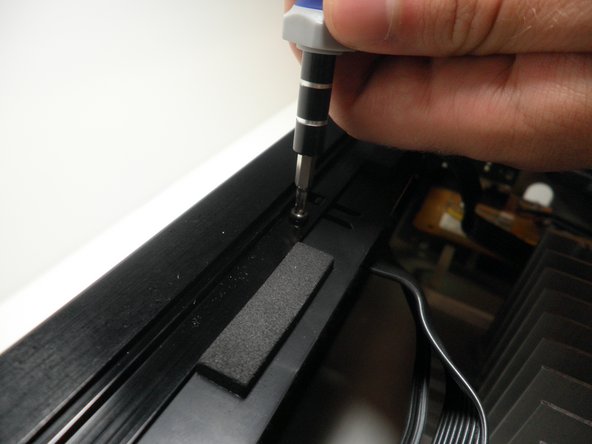
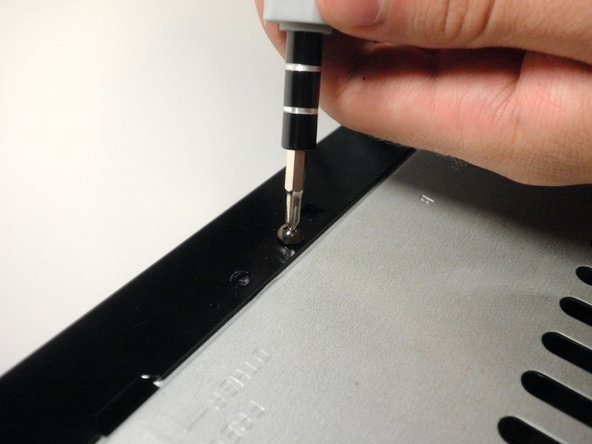
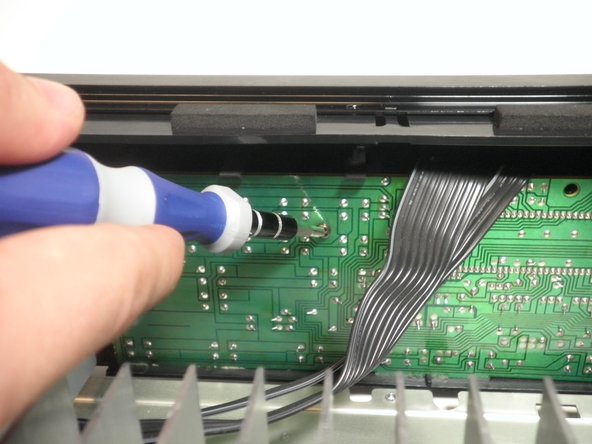
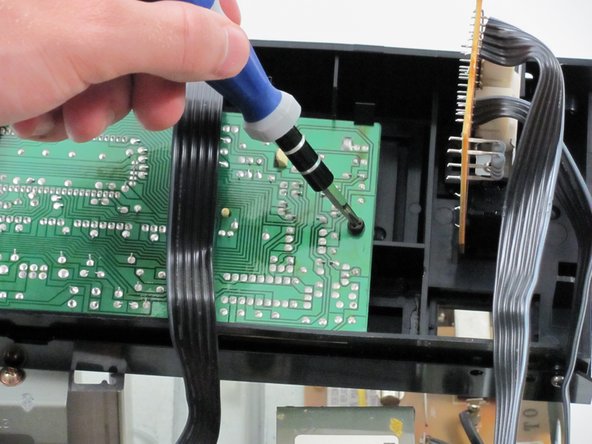
    • On the inside middle of the face plate you will see two screws in the logic board. Unscrew these two screws.

  8. Onkyo TX-800 Button Pins Repair: 手順 8、 2の画像 1 Onkyo TX-800 Button Pins Repair: 手順 8、 2の画像 2
    • You will see the same snaps along the top of the logic board. Press the heads of the snaps down and pull the logic board out and up.

  9. Onkyo TX-800 Button Pins Repair, Onkyo TX-800 Button Pins Repair: 手順 9、 2の画像 1 Onkyo TX-800 Button Pins Repair, Onkyo TX-800 Button Pins Repair: 手順 9、 2の画像 2
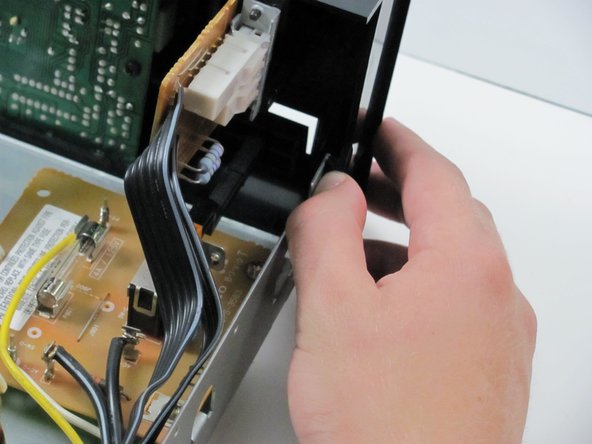
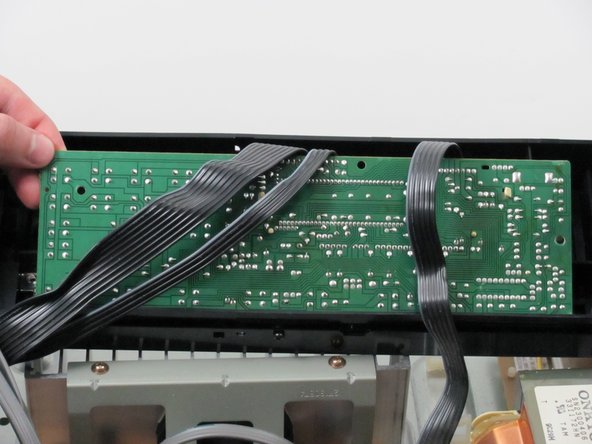
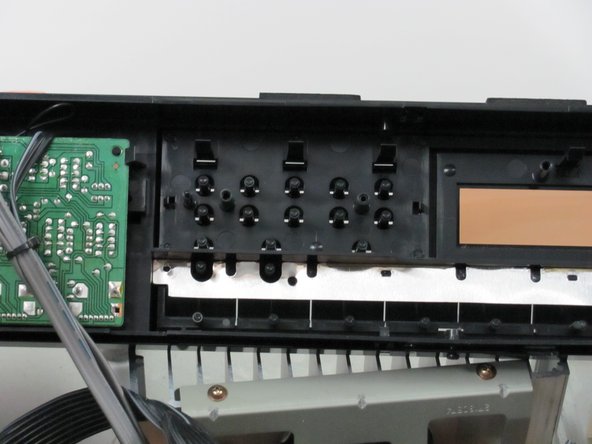
    • You will see that each button on the face plate has a button pin that presses the corresponding button on the logic board. Visually check if any of these pins are bent or broken.

  10. Onkyo TX-800 Button Pins Repair: 手順 10、 1の画像 1
    • If any of the pins are bent use your pliers to bend the pins back into shape.

    • Take caution that too much force can break the button pins.

終わりに

To reassemble your device, follow these instructions in reverse order.

作成者

7人の作成者と共同で作成されました。

Ryan

メンバー登録日: 04/13/10

108 ポイント

3のガイドは作成済み

チーム

Cal Poly, Team 27-92, Amido Spring 2010 Cal Poly, Team 27-92, Amido Spring 2010人のメンバー

CPSU-AMIDO-S10S27G92

4 メンバー

7のガイドは作成済み

0 件のコメント

コメントを追加

統計データ:

過去 24時間: 0

過去 7 日: 2

過去 30 日: 8

今までの合計 5,123