メインコンテンツにスキップ

OnePlus 5 Back Panel Replacement

必要条件のみ
この修理ガイドは、他のガイドの前提条件として使用されます。それ自体は不完全で、単独で使用されることはありません。

必要な工具と部品

  1. OnePlus 5 Back Panel Replacement, Back Panel Replacement: 手順 1、 1の画像 1
    • Always make sure to turn off the phone before attempting to replace a part.

    • Power off the phone by holding down the rectangular power button on right side and pressing the red button that says "Power off."

  2. OnePlus 5 Back Panel Replacement: 手順 2、 2の画像 1 OnePlus 5 Back Panel Replacement: 手順 2、 2の画像 2
    • Remove the two 1mm Torx #2 screws at the bottom of the phone by rotating the screwdriver counter-clockwise.

  3. OnePlus 5 Back Panel Replacement: 手順 3、 3の画像 1 OnePlus 5 Back Panel Replacement: 手順 3、 3の画像 2 OnePlus 5 Back Panel Replacement: 手順 3、 3の画像 3
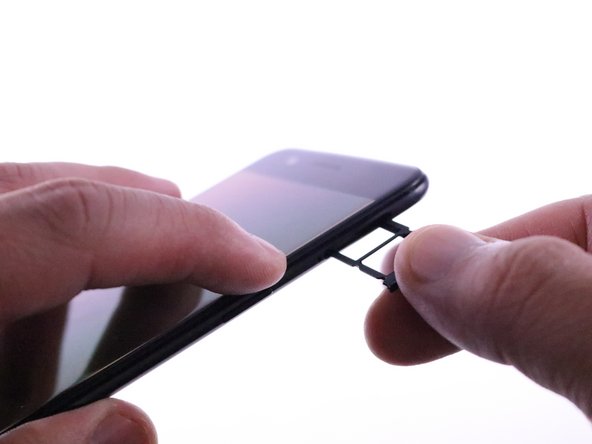
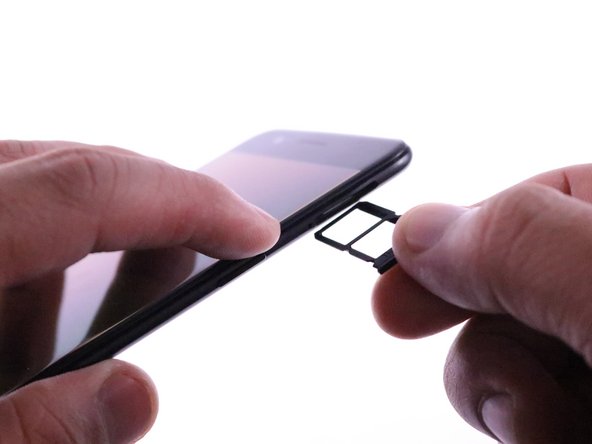
    • Locate the sim card on the right side of the phone.

    • Insert the SIM ejector screwdriver bit into the hole left of the sim card holder by applying pressure.

    • It is also okay to use the SIM card eject tool for this step.

    • Remove the sim card holder by pulling it out with your fingers.

  4. OnePlus 5 Back Panel Replacement: 手順 4、 3の画像 1 OnePlus 5 Back Panel Replacement: 手順 4、 3の画像 2 OnePlus 5 Back Panel Replacement: 手順 4、 3の画像 3
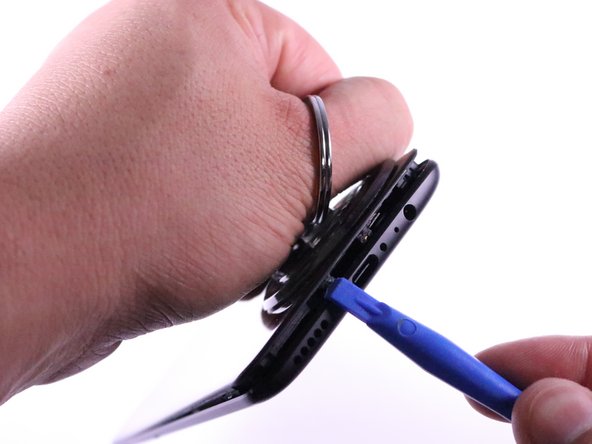
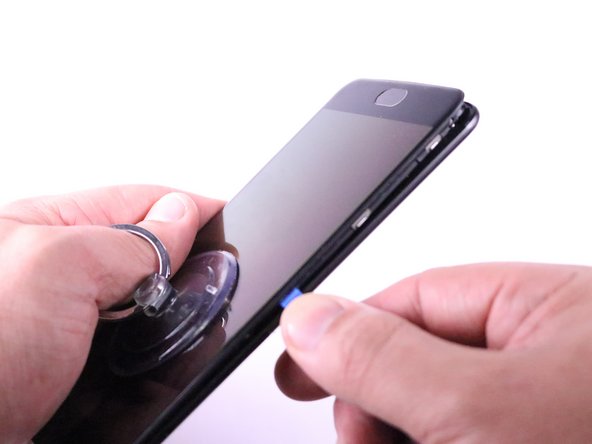
    • Insert the plastic iFixit opening tool between the the plastic rim of the screen and the metal edge of the phone.

    • Place a suction cup on the screen to gain more leverage when separating the screen from the back plate.

    • Moving right to left around the phone, carefully pry the screen away from the back plate by wiggling the iFixit opening tool and pulling the suction cup in the opposite direction.

    • When reassembling, apply pressure to the edges of the screen and back plate together until they pop back into place.

  5. OnePlus 5 Back Panel Replacement: 手順 5、 3の画像 1 OnePlus 5 Back Panel Replacement: 手順 5、 3の画像 2 OnePlus 5 Back Panel Replacement: 手順 5、 3の画像 3
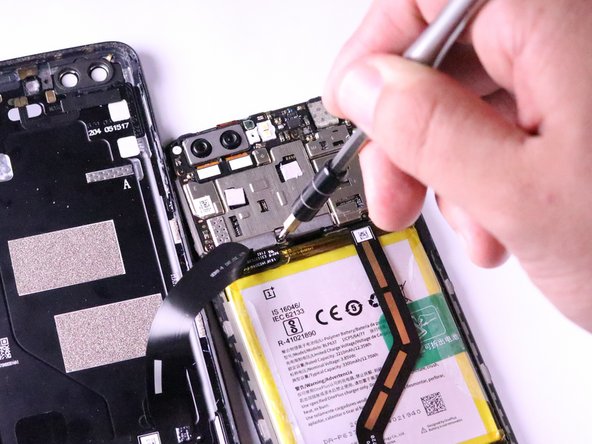
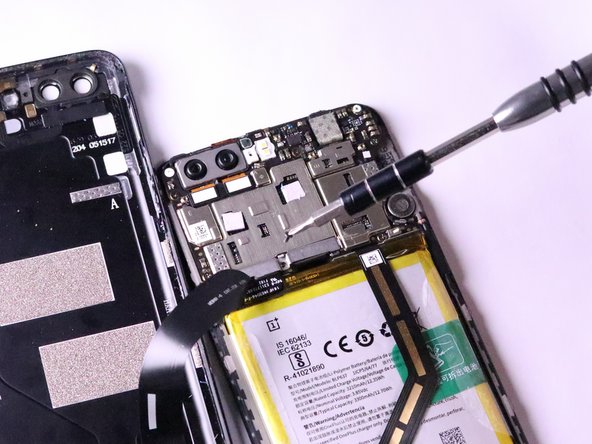
    • Locate the metal connector cap on the upper half of the device directly above the battery.

    • Remove the 1mm Phillips #0 screw from the metal connector cap by rotating the screwdriver counter-clockwise.

  6. OnePlus 5 Back Panel Replacement: 手順 6、 2の画像 1 OnePlus 5 Back Panel Replacement: 手順 6、 2の画像 2
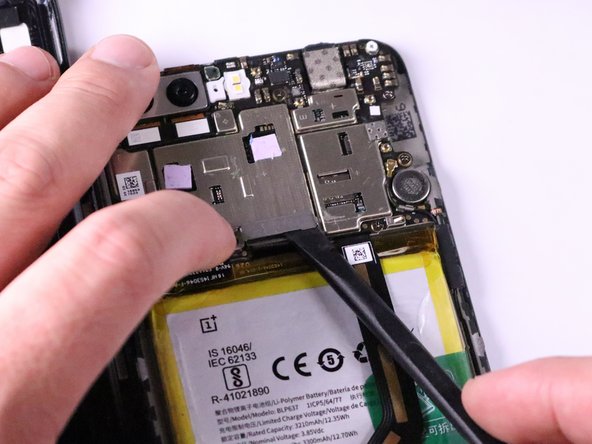
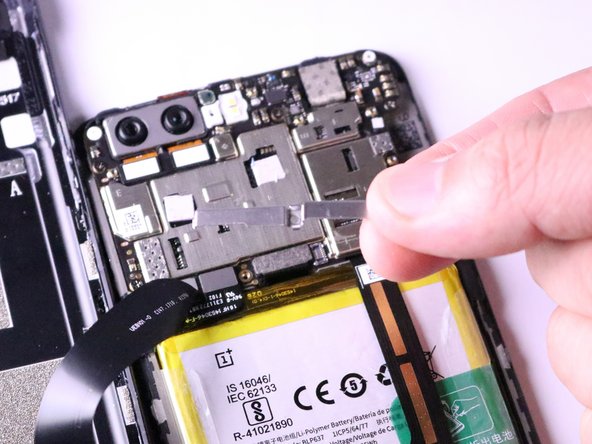
    • Carefully pop out the metal connector cap with the nylon spudger and remove it by pulling up.

  7. OnePlus 5 Back Panel Replacement: 手順 7、 3の画像 1 OnePlus 5 Back Panel Replacement: 手順 7、 3の画像 2 OnePlus 5 Back Panel Replacement: 手順 7、 3の画像 3
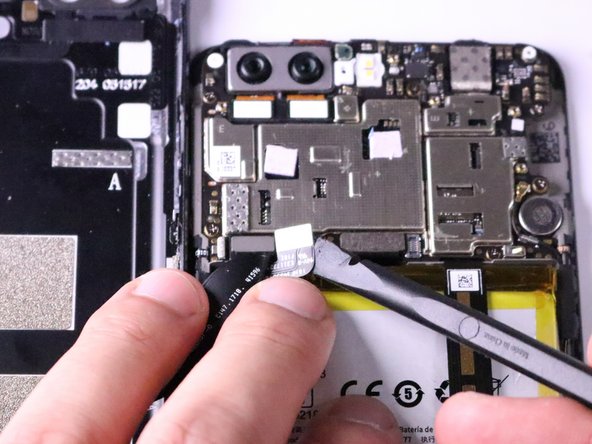
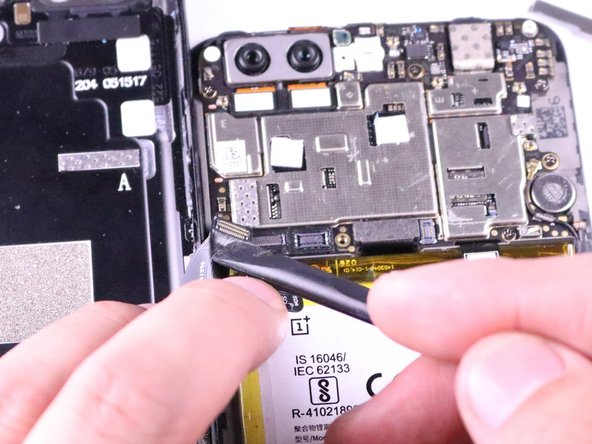
    • Locate the two connectors directly above the battery on the left side of the device.

    • Remove the battery connector cable located to the right of the charging port connector cable using a nylon spudger by prying underneath it and popping it up.

    • Remove the charging port connector cable to the left of the battery cable using a nylon spudger by prying underneath it and popping it up.

終わりに

To reassemble your device, follow these instructions in reverse order.

作成者

4人の作成者と共同で作成されました。

William Guillen

メンバー登録日: 01/24/18

473 ポイント

1ガイドが承認済み

チーム

Cal Poly, Team S19-G1, Livingston Winter 2018 Cal Poly, Team S19-G1, Livingston Winter 2018人のメンバー

CPSU-LIVINGSTON-W18S19G1

4 メンバー

6のガイドは作成済み

0 件のコメント

コメントを追加

統計データ:

過去 24時間: 0

過去 7 日: 0

過去 30 日: 0

今までの合計 72