はじめに
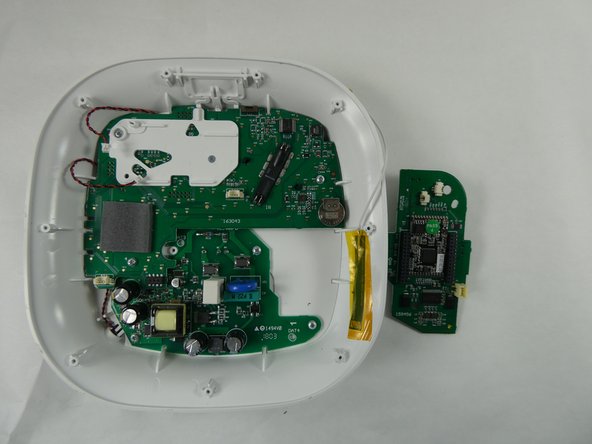
Follow this step-by-step guide to replace the motherboard of your OneLink Safe and Sound.
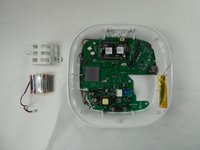
必要な工具と部品
-
-
-
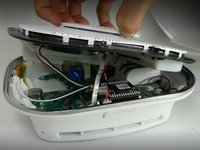
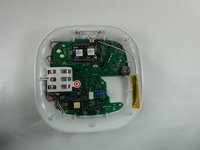
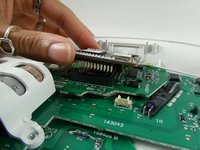
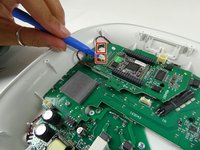
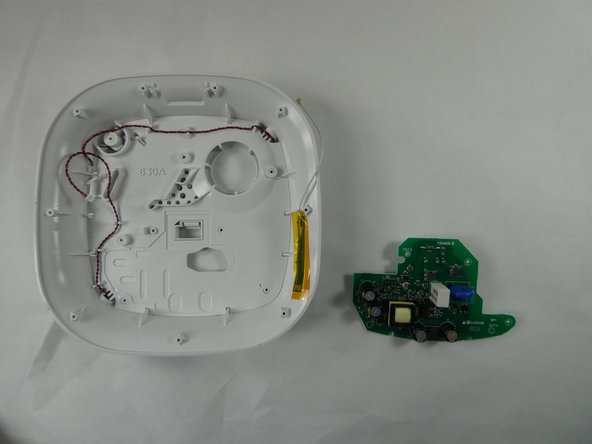
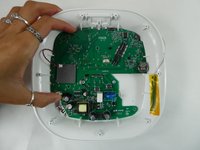
Use the opening tool to disconnect the Wi-Fi cable from the Bluetooth module.
-
-
-
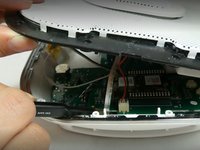
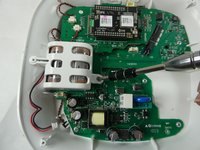
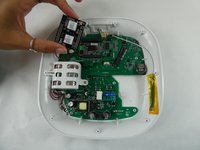
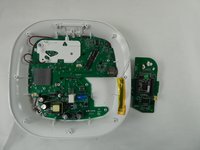
Use the opening tool to disconnect the speaker cables from the daughterboard.
-
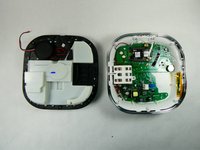
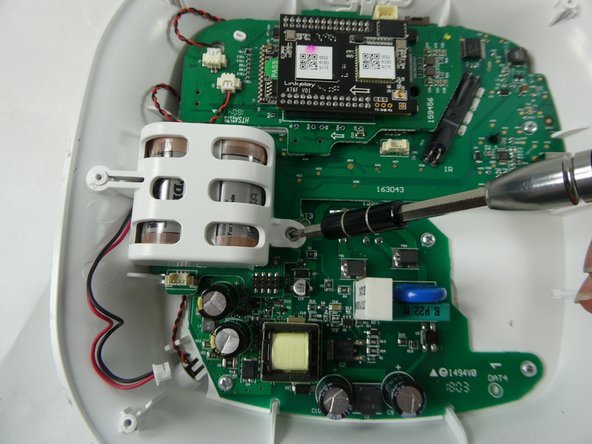
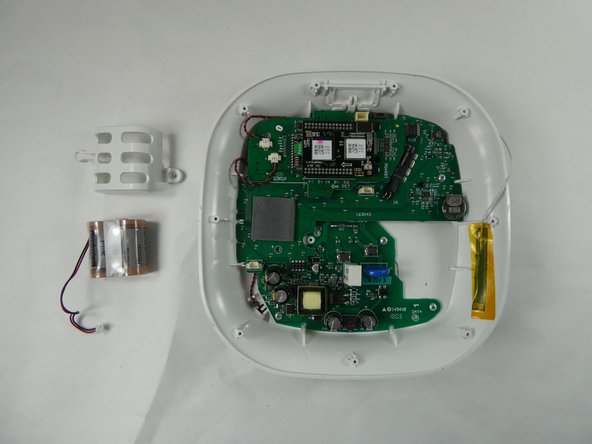
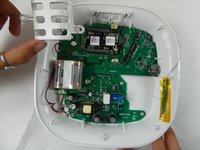
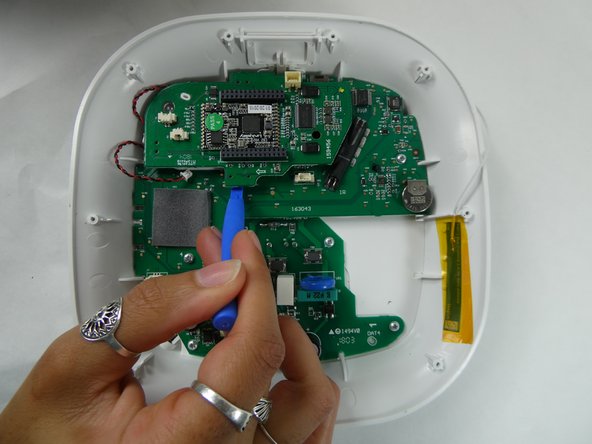
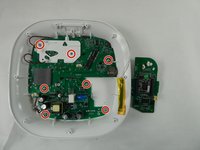
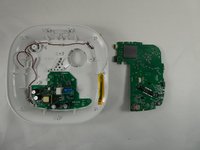
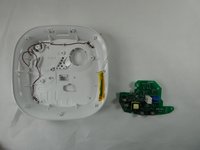
Use the opening to lift the daughterboard off of the motherboard.
-


終わりに
To reassemble your device, follow these instructions in reverse order.
チーム

UMass Dartmouth, Team 2-2, Petersen Fall 2022 UMass Dartmouth, Team 2-2, Petersen Fall 2022人のメンバー
UMASSD-PETERSEN-F22S2G2
3 メンバー
6のガイドは作成済み