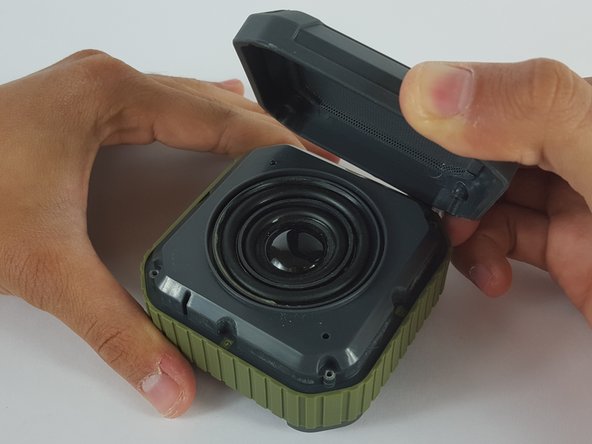
メインコンテンツにスキップ

Omaker M4 Front Case Replacement

必要な工具と部品

  1. Omaker M4 Front Case Replacement, Front Case: 手順 1、 1の画像 1
    • Flip the device over so the front of the device is facing upwards. Make sure to place the speaker on a flat surface

  2. Omaker M4 Front Case Replacement: 手順 2、 2の画像 1 Omaker M4 Front Case Replacement: 手順 2、 2の画像 2
    • Use a T6 Torx Screwdriver to remove the four screws from the front of the device.

  3. Omaker M4 Front Case Replacement: 手順 3、 1の画像 1
    • Use a magnet to remove the screws after unscrewing them and place them aside.

  4. Omaker M4 Front Case Replacement: 手順 4、 2の画像 1 Omaker M4 Front Case Replacement: 手順 4、 2の画像 2
    • Carefully remove the front case by gently pulling it from the body of the device.

終わりに

To reassemble your device, follow these instructions in reverse order.

3 の人々がこのガイドを完成させました。

作成者

3人の作成者と共同で作成されました。

[deleted]

メンバー登録日: 02/17/16

679 ポイント

4のガイドは作成済み

0 件のコメント

コメントを追加

統計データ:

過去 24時間: 0

過去 7 日: 0

過去 30 日: 1

今までの合計 631