メインコンテンツにスキップ

Olympus Stylus 1030 SW Rear Case Replacement

必要な工具と部品

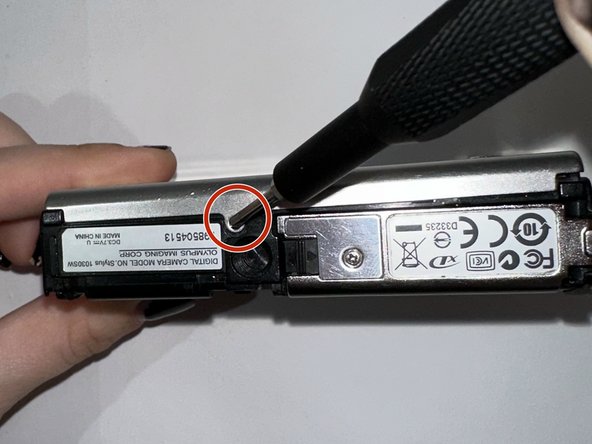
  1. Olympus Stylus 1030 SW Rear Case Replacement, Rear Case: 手順 1、 3の画像 1 Olympus Stylus 1030 SW Rear Case Replacement, Rear Case: 手順 1、 3の画像 2 Olympus Stylus 1030 SW Rear Case Replacement, Rear Case: 手順 1、 3の画像 3
    • Start by removing the front case of the Olympus Stylus 1030 SW.

    • Use a Phillips #00 screwdriver to unscrew the three screws.

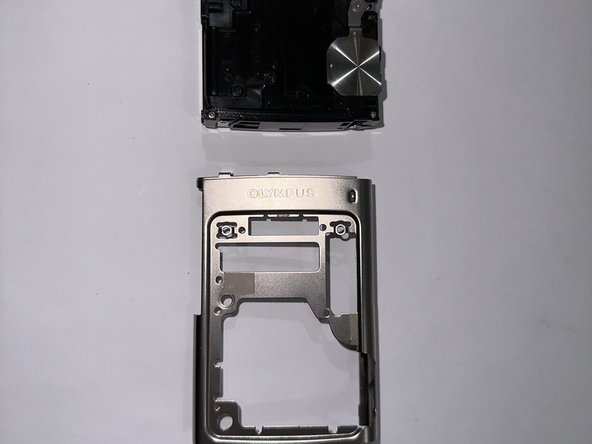
    • Once all three screws are removed, take your hand to remove the front case from the camera. You will lift until it is fully off.

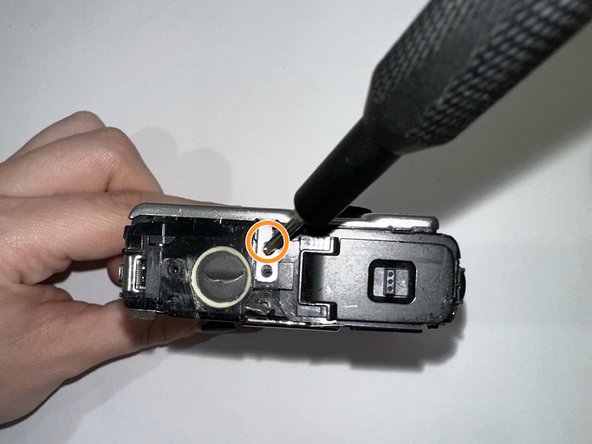
  2. Olympus Stylus 1030 SW Rear Case Replacement: 手順 2、 3の画像 1 Olympus Stylus 1030 SW Rear Case Replacement: 手順 2、 3の画像 2 Olympus Stylus 1030 SW Rear Case Replacement: 手順 2、 3の画像 3
    • Use a Phillips #00 screwdriver to remove the screws from the side panel.

    • Use a Phillips #00 screwdriver to remove both of the screws from the battery door.

  3. Olympus Stylus 1030 SW Rear Case Replacement: 手順 3、 2の画像 1 Olympus Stylus 1030 SW Rear Case Replacement: 手順 3、 2の画像 2
    • Flip the Olympus Stylus 1030 SW camera upside down, the rear side facing away from you.

    • Use a Phillips #00 screwdriver to remove both screws.

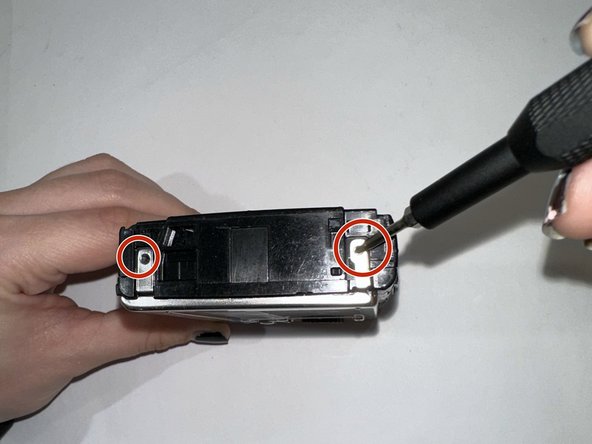
  4. Olympus Stylus 1030 SW Rear Case Replacement: 手順 4、 2の画像 1 Olympus Stylus 1030 SW Rear Case Replacement: 手順 4、 2の画像 2
    • Now flip your camera with the rear side facing away from you. Remove both Phillips #00 screws.

    • You should now be able to remove the front case.

  5. Olympus Stylus 1030 SW Rear Case Replacement: 手順 5、 3の画像 1 Olympus Stylus 1030 SW Rear Case Replacement: 手順 5、 3の画像 2 Olympus Stylus 1030 SW Rear Case Replacement: 手順 5、 3の画像 3
    • To remove the rear case of the camera, start with the rear end facing away from you.

    • Remove the two Phillips #00 screws.

    • Then flip the camera to the front facing you.

    • Remove the single Phillips #0 screw.

  6. Olympus Stylus 1030 SW Rear Case Replacement: 手順 6、 3の画像 1 Olympus Stylus 1030 SW Rear Case Replacement: 手順 6、 3の画像 2 Olympus Stylus 1030 SW Rear Case Replacement: 手順 6、 3の画像 3
    • Now place your camera right side up with the front facing you.

    • Open the battery door and locate the screw placed in the middle.

    • Remove the Phillips #00 screw.

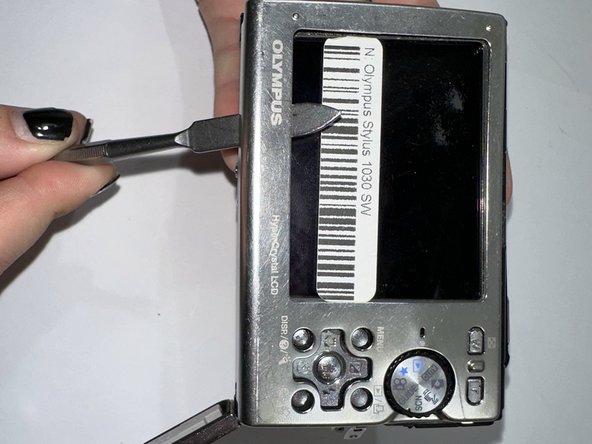
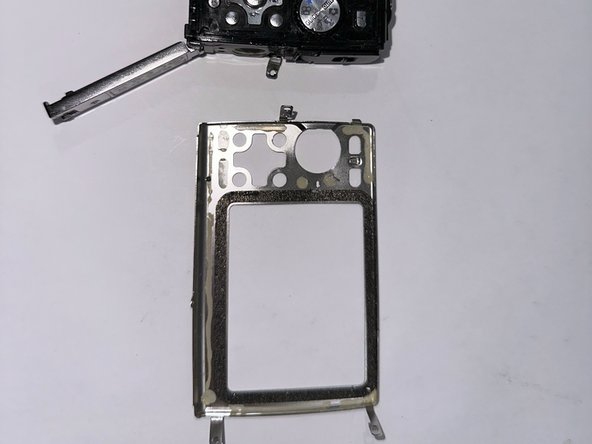
    • You now take your spatula to separate the rear case from the camera.

終わりに

To reassemble your device, follow these instructions in reverse order.

作成者

3人の作成者と共同で作成されました。

Alexis Sulzle

メンバー登録日: 03/24/23

301 ポイント

2のガイドは作成済み

チーム

Casper College, Team 1-4, Lareau Spring 2023 Casper College, Team 1-4, Lareau Spring 2023人のメンバー

CASC-LAREAU-S23S1G4

3 メンバー

5のガイドは作成済み

0 件のコメント

コメントを追加

統計データ:

過去 24時間: 0

過去 7 日: 1

過去 30 日: 5

今までの合計 66