はじめに
When your Nvidia Shield Pro Android TV is not booting up, experiencing lag, or producing clicking noises when it boots, use this guide to help remove/replace your hard drive. The only tools required for this procedure are the T6 Torx screwdriver and the plastic opening tool. This process of replacing your hard drive is not at all difficult. Please do keep in mind that the wires are relatively fragile, so be very gentle when you interact with them.
必要な工具と部品
-
-
Flip to the back side of your Nvidia Shield Pro Android TV.
-
To open the bottom cover of the Nvidia Shield, start from the corner and slide your plastic opening tool across the gap.
-
If using a plastic opening tool to open the bottom cover is difficult, try using a metal spudger.
-
-
-
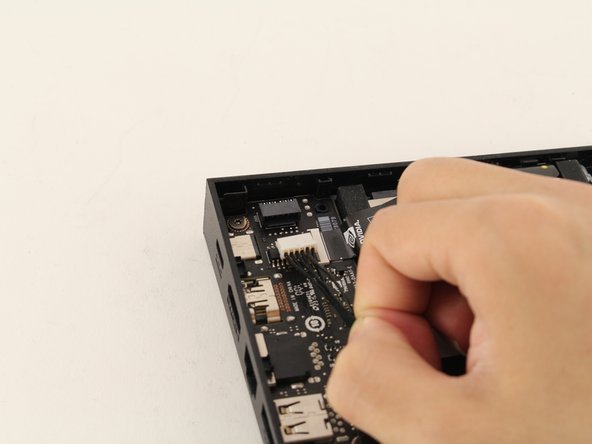
Remove the two pieces of adhesives found at the top and the bottom side of the hard drive.
-
-


To reassemble your device, follow these instructions in reverse order.
To reassemble your device, follow these instructions in reverse order.
4 の人々がこのガイドを完成させました。
チーム

Cal Poly, Team S18-G2, White Winter 2020 Cal Poly, Team S18-G2, White Winter 2020人のメンバー
CPSU-WHITE-W20S18G2
4 メンバー
6のガイドは作成済み
4 件のコメント
The problem with this, is after replacing the Malfunctioning or Corrupted drive that will not solve the problem.
The device still will not run if there’s no Software or Firmware installed onto the new drive.
Can iFixit include that procedure of getting the new drive running.
Because you cannot clone a corrupt or bad drive .
ok and now what??? nothing happens… there is no image on the new disk… how do i get it to boot? just stays on green light with no image on screen no boot
I agree with John, please describe how to flash the image on the new drive.
Hello everyone,
Since its an android device, steps are similar in flashing an android phone.
I found this, hope it helps!
steps:
https://developer.download.nvidia.com/as...
images: