メインコンテンツにスキップ

Nvidia Shield Controller Motherboard Replacement

必要な工具と部品

  1. Nvidia Shield Controller Motherboard Replacement, Motherboard: 手順 1、 3の画像 1 Nvidia Shield Controller Motherboard Replacement, Motherboard: 手順 1、 3の画像 2 Nvidia Shield Controller Motherboard Replacement, Motherboard: 手順 1、 3の画像 3
    • Use a Torx TR6 screwdriver to remove the six 7mm screws from the back of the controller.

  2. Nvidia Shield Controller Motherboard Replacement: 手順 2、 2の画像 1 Nvidia Shield Controller Motherboard Replacement: 手順 2、 2の画像 2
    • Use a plastic opening tool to pry open the back frame of the controller.

  3. Nvidia Shield Controller Motherboard Replacement: 手順 3、 3の画像 1 Nvidia Shield Controller Motherboard Replacement: 手順 3、 3の画像 2 Nvidia Shield Controller Motherboard Replacement: 手順 3、 3の画像 3
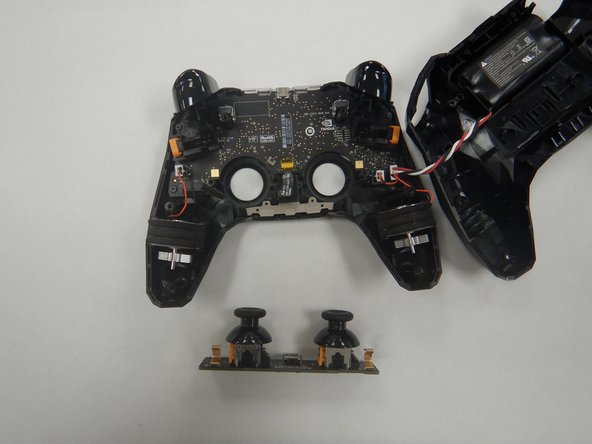
    • Use the Torx TR6 bit to remove the two 7mm screws behind the analog sticks.

    • Unplug the power supply cable from the analog stick assembly.

  4. Nvidia Shield Controller Motherboard Replacement: 手順 4、 3の画像 1 Nvidia Shield Controller Motherboard Replacement: 手順 4、 3の画像 2 Nvidia Shield Controller Motherboard Replacement: 手順 4、 3の画像 3
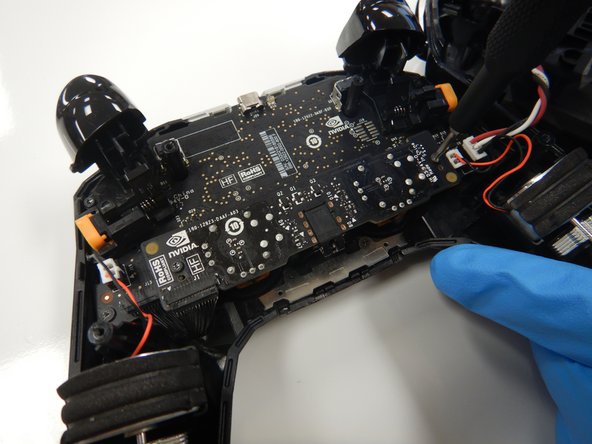
    • Use a pair of tweezers to unplug the rumble motors from the motherboard.

    • Use a pair of tweezers to unplug the battery cable from the motherboard.

  5. Nvidia Shield Controller Motherboard Replacement: 手順 5、 3の画像 1 Nvidia Shield Controller Motherboard Replacement: 手順 5、 3の画像 2 Nvidia Shield Controller Motherboard Replacement: 手順 5、 3の画像 3
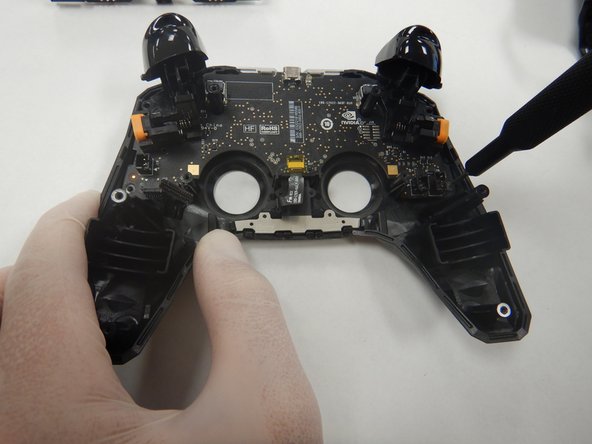
    • Use a Torx TR6 screwdriver to remove the two 7mm screws towards the top of the frame.

    • Use the Torx T5 screwdriver to remove the two 5mm screws in the bottom corners of the frame.

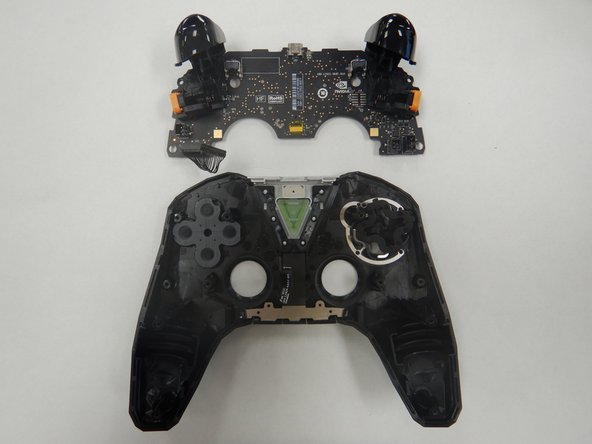
    • Lift out the motherboard from the case.

終わりに

To reassemble your device, follow these instructions in reverse order.

3 の人々がこのガイドを完成させました。

作成者

4人の作成者と共同で作成されました。

Nate Hale

メンバー登録日: 09/16/20

317 ポイント

2のガイドは作成済み

0 件のコメント

コメントを追加

統計データ:

過去 24時間: 0

過去 7 日: 7

過去 30 日: 32

今までの合計 2,110