はじめに
This guide will walk you through the steps to replace the convection Fan component inside of the NuWave Brio 37001 air fryer.
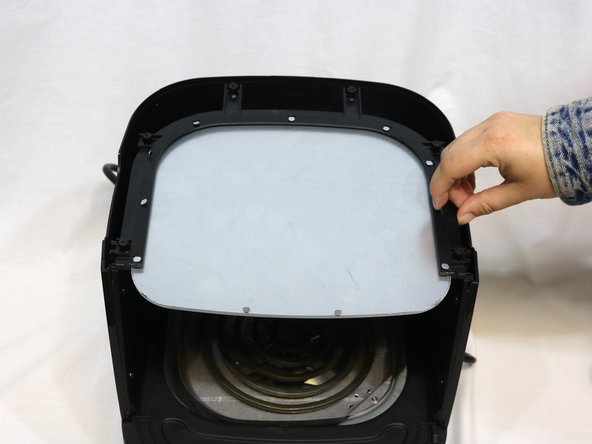
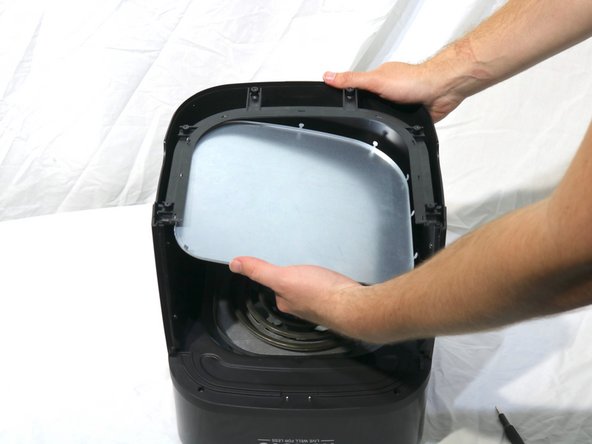
The NuWave Brio 37001 comes with a convection fan that's located inside the basket area, at the top above the heating coil. The fan is responsible for the movement of hot air inside an air fryer, which is how the food is cooked.
If damaged by food debris, or if the component becomes loose over time, this guide will help you get back to cooking dinner the right way.
This guide can be challenging due to the location of the fan, and it may be easier to follow with the help of another person.
Be sure to leave the device unplugged while following this replacement guide.
必要な工具と部品
-
-
-
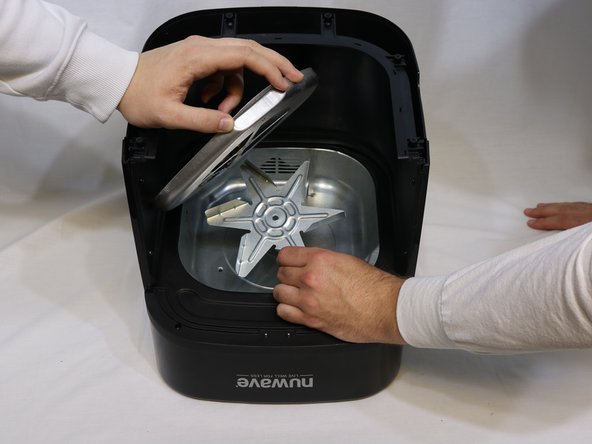
Gently apply the pliers around the bolt in the middle of the fan blade and keep it there while you place your other hand onto the fan blade itself.
-
Simultaneously hold the pliers in place to keep the bolt from spinning and turn the fan blade counterclockwise with force, as seen in the first picture.
-
The bolt should become loose allowing you to remove the fan blade from its place, as seen in picture 2.
-


To reassemble your device, follow these instructions in reverse order.
To reassemble your device, follow these instructions in reverse order.
2 の人々がこのガイドを完成させました。

チーム

University of Delaware, Team 11-3, McGuire Spring 2023 University of Delaware, Team 11-3, McGuire Spring 2023人のメンバー
UD-MCGUIRE-S23S11G3
5 メンバー
4のガイドは作成済み