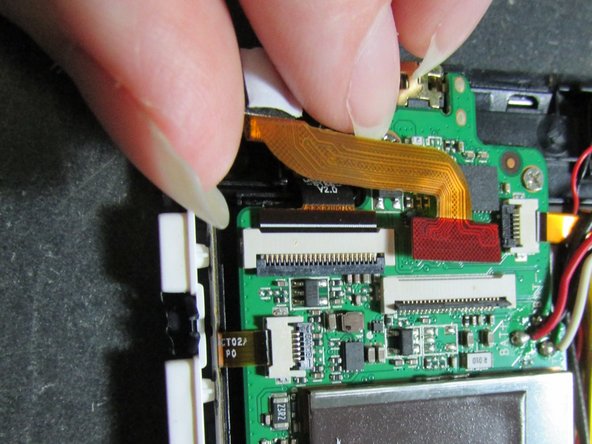
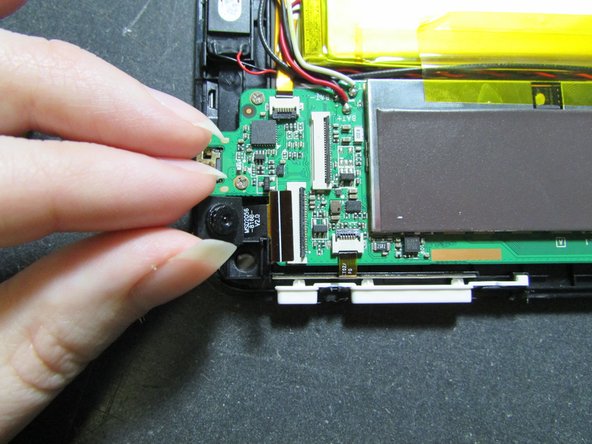
メインコンテンツにスキップ

NuVision TM800A510L Rear Camera Replacement

必要な工具と部品

  1. NuVision TM800A510L Rear Camera Replacement, Rear Camera: 手順 1、 2の画像 1 NuVision TM800A510L Rear Camera Replacement, Rear Camera: 手順 1、 2の画像 2
    • Use a Heat Gun to heat the sides of the device one at a time. The Heat Gun will loosen the adhesive.

    • Use thin tools to pry the back of the device off.

    • Metal tools may work best but may also scratch the device. Plastic prying tools can also be used.

    • Be careful around the power and volume buttons.

  2. NuVision TM800A510L Rear Camera Replacement: 手順 2、 1の画像 1
    • There are two different cameras and each have different ribbons.

    • Unlock both ribbons by flipping the black bar up.

  3. NuVision TM800A510L Rear Camera Replacement: 手順 3、 2の画像 1 NuVision TM800A510L Rear Camera Replacement: 手順 3、 2の画像 2
    • The camera facing towards the table lifts out easily, so go ahead and take that one out.

    • This works out well, if this is the camera you are most concerned about.

    • If you are more concerned the one facing you, move on to the next step.

  4. NuVision TM800A510L Rear Camera Replacement: 手順 4、 2の画像 1 NuVision TM800A510L Rear Camera Replacement: 手順 4、 2の画像 2
    • This camera is held down with adhesive, so you must be careful when prying it.

    • GO SLOW!

    • Camera pulls up and out of its slot easily.

終わりに

To reassemble your device, follow these instructions in reverse order.

Be advised that you will need to replace the adhesive.

ある他の人がこのガイドを完成しました。

作成者

2人の作成者と共同で作成されました。

Kelsey Riggs

メンバー登録日: 01/25/17

486 ポイント

5のガイドは作成済み

0 件のコメント

コメントを追加

統計データ:

過去 24時間: 0

過去 7 日: 0

過去 30 日: 3

今までの合計 367