メインコンテンツにスキップ

NuVision TM800A510L Charging Port Replacement

必要な工具と部品

  1. NuVision TM800A510L Charging Port Replacement, Charging Port: 手順 1、 2の画像 1 NuVision TM800A510L Charging Port Replacement, Charging Port: 手順 1、 2の画像 2
    • Use a Heat Gun to loosen the adhesive on the underside of the back cover.

    • Use some prying tools to lift the back cover off of the device.

    • I recommend heating up the device up to 'just barely too hot to touch' and then prying sides up one at a time.

    • Although, you can use either plastic or metal prying tools, metal prying tools may scratch the device. Make sure not to damage power and volume buttons when prying the cover off as well.

  2. NuVision TM800A510L Charging Port Replacement: 手順 2、 1の画像 1
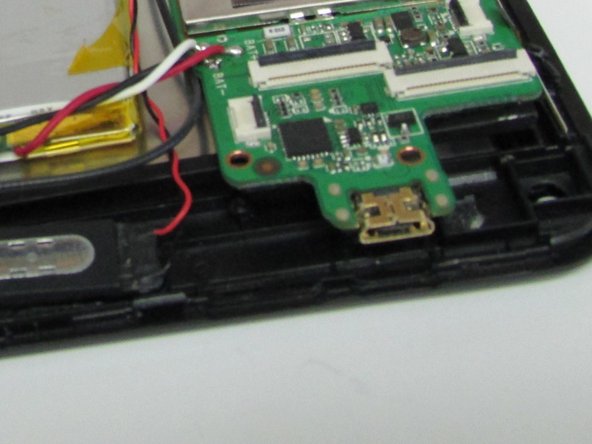
    • Unscrew the motherboard.

  3. NuVision TM800A510L Charging Port Replacement: 手順 3、 1の画像 1
    • Make sure all ribbons are disconnected.

  4. NuVision TM800A510L Charging Port Replacement: 手順 4、 2の画像 1 NuVision TM800A510L Charging Port Replacement: 手順 4、 2の画像 2
    • Desolder the Motherboard- this will make it easier to get to the charging port without breaking any cords.

    • Flip the Motherboard over and desolder the charging port from Motherboard.

終わりに

To reassemble your device, follow these instructions in reverse order.

作成者

3人の作成者と共同で作成されました。

Kelsey Riggs

メンバー登録日: 01/25/17

486 ポイント

5のガイドは作成済み

0 件のコメント

コメントを追加

統計データ:

過去 24時間: 0

過去 7 日: 0

過去 30 日: 9

今までの合計 1,925