メインコンテンツにスキップ

Nokia 6310i Back Cover Replacement

必要な工具と部品

  1. Nokia 6310i Back Cover Replacement, Battery: 手順 1、 2の画像 1 Nokia 6310i Back Cover Replacement, Battery: 手順 1、 2の画像 2
    • Press and hold the battery release button and slide the battery away from the Nokia logo

  2. Nokia 6310i Back Cover Replacement, SIM card: 手順 2、 3の画像 1 Nokia 6310i Back Cover Replacement, SIM card: 手順 2、 3の画像 2 Nokia 6310i Back Cover Replacement, SIM card: 手順 2、 3の画像 3
    • Slide the SIM card lock away from the SIM card.

    • The SIM card pops out. Remove the SIM card.

  3. Nokia 6310i Back Cover Replacement, Back Cover: 手順 3、 1の画像 1
    • Unscrew and remove the four T6 Torx screws.

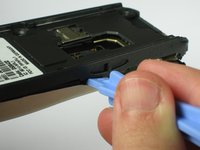
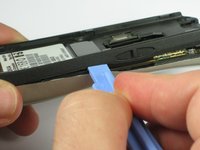
  4. Nokia 6310i Back Cover Replacement: 手順 4、 3の画像 1 Nokia 6310i Back Cover Replacement: 手順 4、 3の画像 2 Nokia 6310i Back Cover Replacement: 手順 4、 3の画像 3
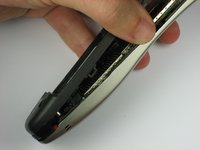
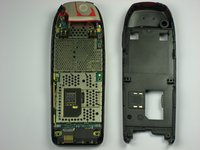
    • Insert a plastic opening tool between the faceplate and the black backplate. Gently pry them apart, working from the lower end to the upper side of the phone.

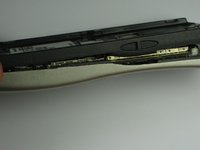
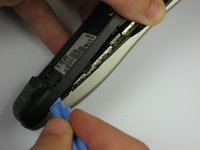
  5. Nokia 6310i Back Cover Replacement: 手順 5、 3の画像 1 Nokia 6310i Back Cover Replacement: 手順 5、 3の画像 2 Nokia 6310i Back Cover Replacement: 手順 5、 3の画像 3
    • Use the plastic opening tool to separate the top part of the backplate.

    • The plastic clips at the top require slightly more force to separate.

終わりに

To reassemble your device, follow these instructions in reverse order.

2 の人々がこのガイドを完成させました。

作成者

7人の作成者と共同で作成されました。

Mustafa

メンバー登録日: 09/23/10

156 ポイント

4のガイドは作成済み

チーム

Cal Poly, Team 14-41, Forte Fall 2010 Cal Poly, Team 14-41, Forte Fall 2010人のメンバー

CPSU-FORTE-F10S14G41

5 メンバー

16のガイドは作成済み

0 件のコメント

コメントを追加

統計データ:

過去 24時間: 0

過去 7 日: 3

過去 30 日: 5

今までの合計 4,433