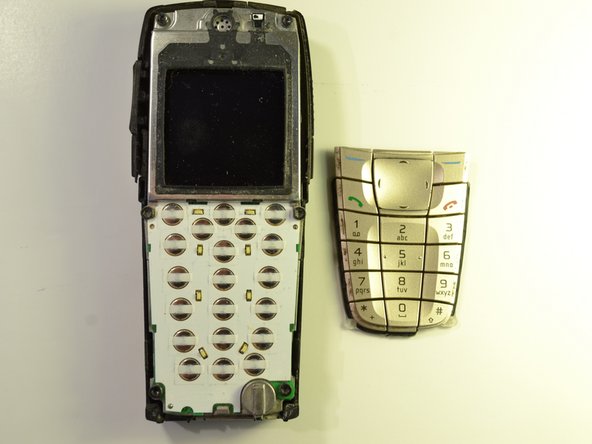
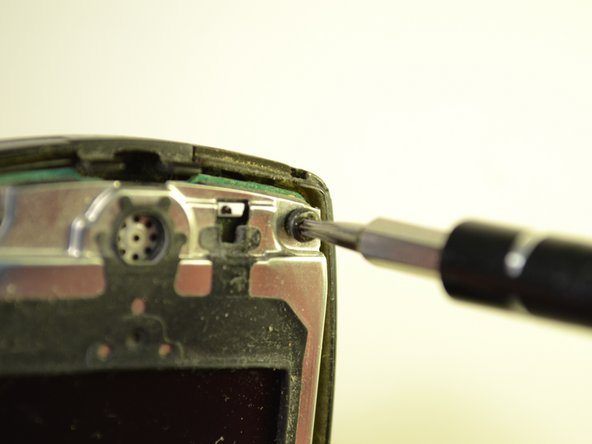
メインコンテンツにスキップ

Nokia 6200 Classic Circuit Board Replacement

必要な工具と部品

  1. Nokia 6200 Classic Circuit Board Replacement, Front Plate: 手順 1、 3の画像 1 Nokia 6200 Classic Circuit Board Replacement, Front Plate: 手順 1、 3の画像 2 Nokia 6200 Classic Circuit Board Replacement, Front Plate: 手順 1、 3の画像 3
    • Pull up on both of the clips near the bottom of the phone as shown.

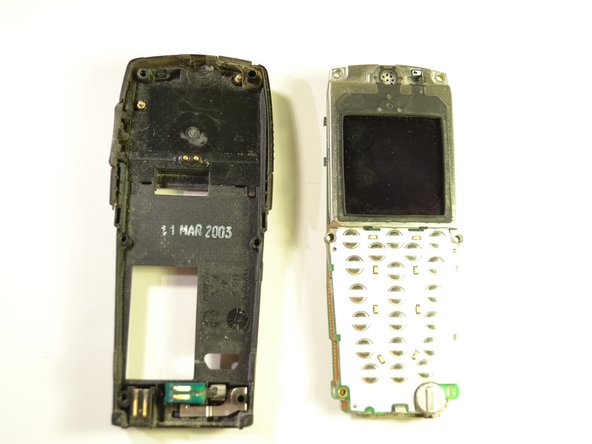
    • Lift off the front plate.

  2. Nokia 6200 Classic Circuit Board Replacement: 手順 2、 1の画像 1
    • The keypad and LCD screen are revealed.

  3. Nokia 6200 Classic Circuit Board Replacement, Circuit Board: 手順 3、 2の画像 1 Nokia 6200 Classic Circuit Board Replacement, Circuit Board: 手順 3、 2の画像 2
    • Separate the keypad from the phone and place aside.

    • Wipe off any excess dust from where the keypad was attached to the phone.

  4. Nokia 6200 Classic Circuit Board Replacement: 手順 4、 2の画像 1 Nokia 6200 Classic Circuit Board Replacement: 手順 4、 2の画像 2
    • Remove the 6 - 7.9 mm screws highlighted by the markers using the T-6 head on the screwdriver.

  5. Nokia 6200 Classic Circuit Board Replacement: 手順 5、 2の画像 1 Nokia 6200 Classic Circuit Board Replacement: 手順 5、 2の画像 2
    • Separate the inside of the phone from the back of the phone.

  6. Nokia 6200 Classic Circuit Board Replacement: 手順 6、 2の画像 1 Nokia 6200 Classic Circuit Board Replacement: 手順 6、 2の画像 2
    • Gently pull apart the circuit board from the rest of the phone.

    • There is a small connector holding these two pieces together, so use caution when pulling apart so as not to damage it.

終わりに

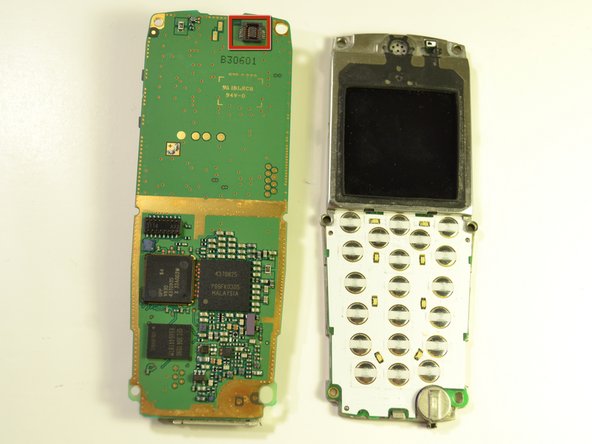
To reattach the circuit board, line up the connector at the top of the board with the back of the LCD Screen attachment. Place the two boards together, and screw in the 6 screws.

作成者

4人の作成者と共同で作成されました。

Reid Polstra

メンバー登録日: 10/22/12

1 ポイント

7のガイドは作成済み

チーム

Clemson, Team 15-5, Benson Fall 2012 Clemson, Team 15-5, Benson Fall 2012人のメンバー

CLEM-BENSON-F12S15G5

3 メンバー

7のガイドは作成済み

0 件のコメント

コメントを追加

統計データ:

過去 24時間: 0

過去 7 日: 0

過去 30 日: 3

今までの合計 767