はじめに
Follow this guide to replace your Nokia 6 microphone.
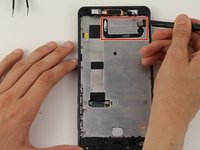
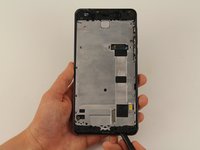
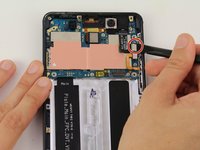
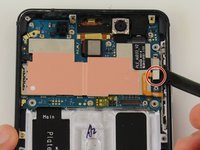
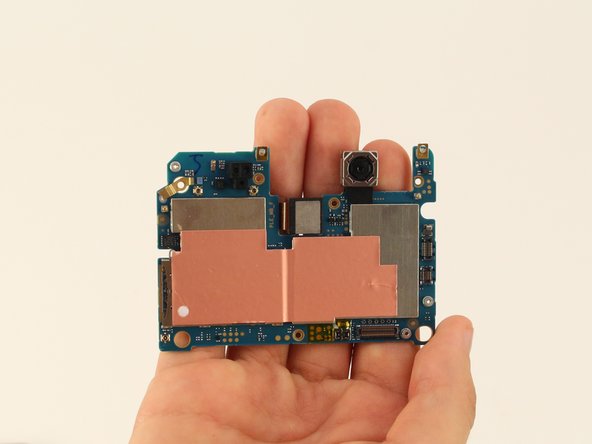
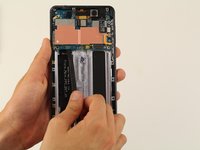
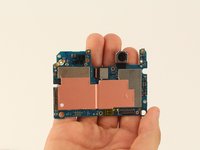
In this guide, you do not have to take apart the front and rear facing cameras from the motherboard. Simply removing the motherboard will expose the parts needed for the next steps.
必要な工具と部品
-
-
Insert the SIM card ejection tool into the hole on the left side of the phone.
-
Remove the SIM card and microSD card.
-
-
-
-
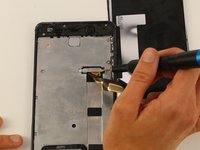
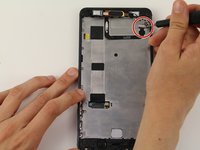
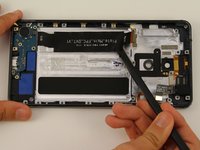
Remove 18 screws.
-
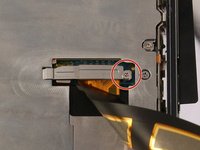
There is one 1 mm x 1.4 mm screw that needs to be removed by a Phillips #000 screwdriver.
-
One of the screws is 1.2 mm x 4.2 mm and will be removed by a Phillips #00.
-
The remaining 16 screws can be removed by the Phillips #00 screwdriver and are 1.2 mm x 2.2 mm.
-
-
この手順で使用する道具:Tweezers$4.99
-
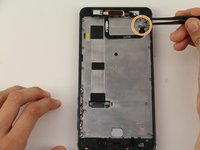
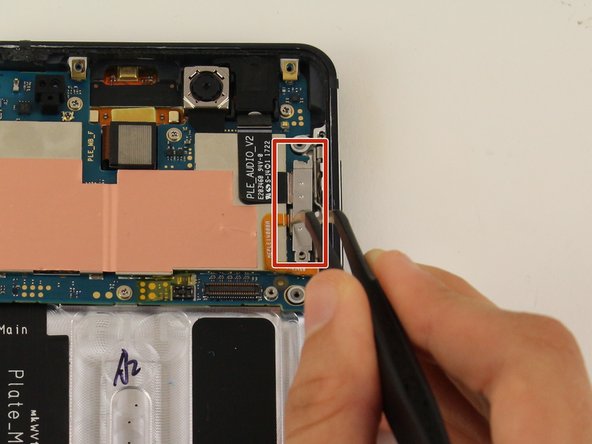
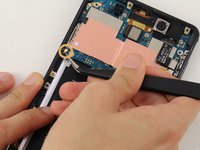
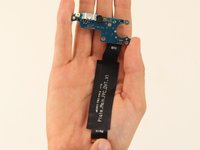
With tweezers, lift the wire by the microUSB port and the microphone unit.
-


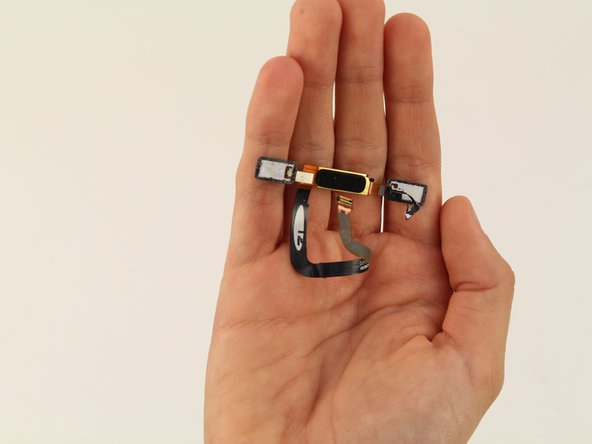


To reassemble your device, follow these instructions in reverse order.
2 の人々がこのガイドを完成させました。

チーム

Cal Poly, Team S9-G15, Maness Spring 2019 Cal Poly, Team S9-G15, Maness Spring 2019人のメンバー
CPSU-MANESS-S19S9G15
4 メンバー
14のガイドは作成済み
1件のガイドコメント
Thanks. I used this guide to help me replace the thermal paste TIM on my LG V20 H990DS… It did make the phone more stable, but didn’t fix image ghosting… Oh well. Thanks again! 8 ball pool