メインコンテンツにスキップ

Nokia C7 - 00 Touchscreen Replacement

必要な工具と部品

  1. Nokia  C7 - 00 Touchscreen  Replacement, Touchscreen and LCD: 手順 1、 3の画像 1 Nokia  C7 - 00 Touchscreen  Replacement, Touchscreen and LCD: 手順 1、 3の画像 2 Nokia  C7 - 00 Touchscreen  Replacement, Touchscreen and LCD: 手順 1、 3の画像 3
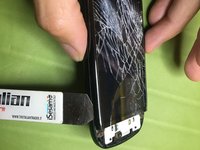
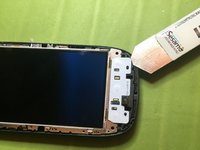
    • With a thin tool insert it in the cover at the bottom and pry up to release it

  2. Nokia  C7 - 00 Touchscreen  Replacement: 手順 2、 2の画像 1 Nokia  C7 - 00 Touchscreen  Replacement: 手順 2、 2の画像 2
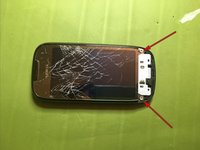
    • Pry up the two points indicated by the arrows to release the keyboard

  3. Nokia  C7 - 00 Touchscreen  Replacement: 手順 3、 2の画像 1 Nokia  C7 - 00 Touchscreen  Replacement: 手順 3、 2の画像 2
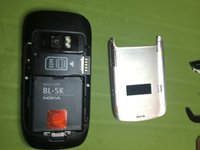
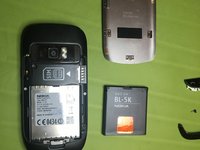
    • Remove battery and battery cover

  4. Nokia  C7 - 00 Touchscreen  Replacement: 手順 4、 2の画像 1 Nokia  C7 - 00 Touchscreen  Replacement: 手順 4、 2の画像 2
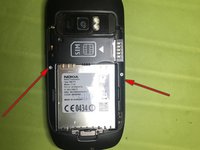
    • Unscrew the 2 rear screws

    • Unscrew the 2 front screws

  5. Nokia  C7 - 00 Touchscreen  Replacement: 手順 5、 3の画像 1 Nokia  C7 - 00 Touchscreen  Replacement: 手順 5、 3の画像 2 Nokia  C7 - 00 Touchscreen  Replacement: 手順 5、 3の画像 3
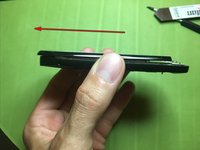
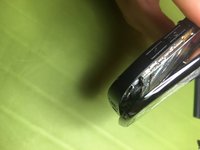
    • Gently lift the front glass and slide it slightly in the direction of the arrow so you can free it

  6. Nokia  C7 - 00 Touchscreen  Replacement: 手順 6、 3の画像 1 Nokia  C7 - 00 Touchscreen  Replacement: 手順 6、 3の画像 2 Nokia  C7 - 00 Touchscreen  Replacement: 手順 6、 3の画像 3
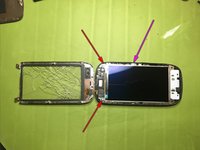
    • if the display needs to be replaced and then you have no problems if it is broken in the door, proceed with a heat source and a thin tool to be able to break it from underneath

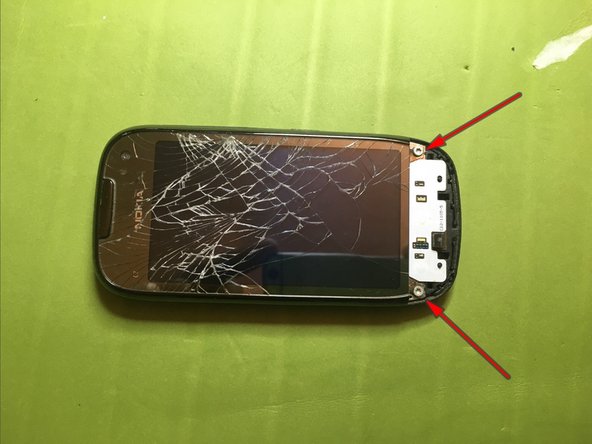
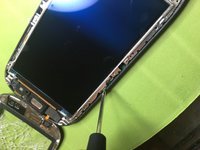
    • If the display is as good as in my case to avoid the risk of breaking it, unscrew the two red arrow screws

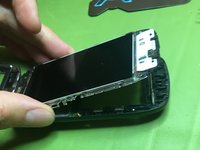
    • Gradually unscrew the purple arrow screw so that you do not lose too much on the back of the display to avoid breaking it, at the same time lift it from the keyboard area and gradually unscrew Dino to the complete lifting of the display and its housing doing Leva also laterally on the releases

  7. Nokia  C7 - 00 Touchscreen  Replacement: 手順 7、 2の画像 1 Nokia  C7 - 00 Touchscreen  Replacement: 手順 7、 2の画像 2
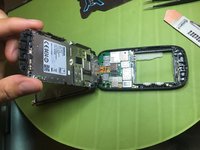
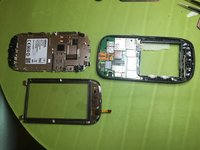
    • Lift up display assembly.

  8. Nokia  C7 - 00 Touchscreen  Replacement: 手順 8、 3の画像 1 Nokia  C7 - 00 Touchscreen  Replacement: 手順 8、 3の画像 2 Nokia  C7 - 00 Touchscreen  Replacement: 手順 8、 3の画像 3
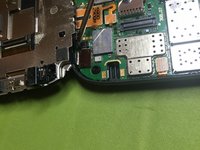
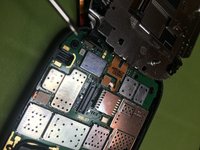
    • Disconnect touch screen connector

    • Disconnect display connector

終わりに

To reassemble the device, follow these instructions in reverse order.

4 の人々がこのガイドを完成させました。

以下の翻訳者の皆さんにお礼を申し上げます:

it en

100%

これらの翻訳者の方々は世界を修理する私たちのサポートをしてくれています。 あなたも貢献してみませんか?
翻訳を始める ›

作成者

1人の作成者と共同作成されました。

Smilzo

メンバー登録日: 11/09/13

11,276 ポイント

39のガイドは作成済み

0 件のコメント

コメントを追加

統計データ:

過去 24時間: 5

過去 7 日: 14

過去 30 日: 24

今までの合計 2,205