はじめに
The Wii was first released on November 19, 2006.
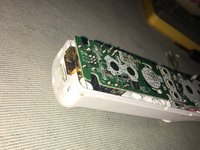
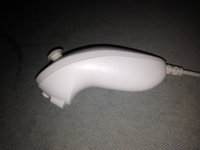
The model number of the original Wii remote I will be tearing apart is RVL-003.
My partner is also going to be showing how to tear down a Wii nunchuk.
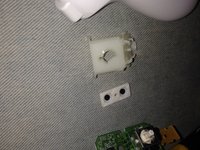
The model number of the Wii nunchuk is RVL-004.
必要な工具と部品
-
-
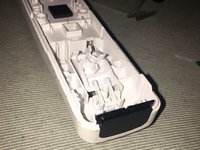
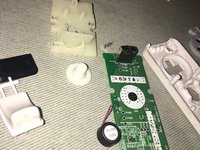
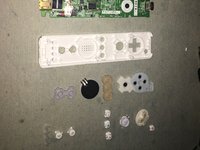
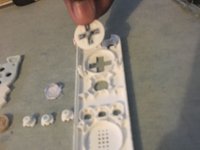
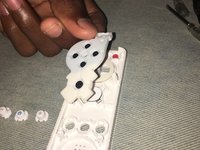
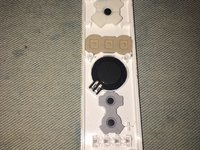
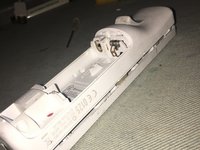
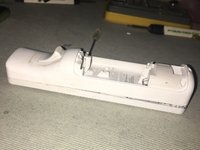
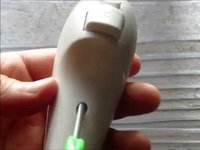
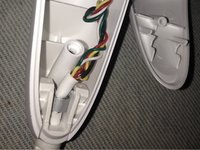
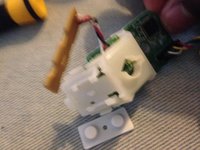
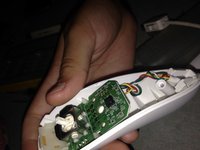
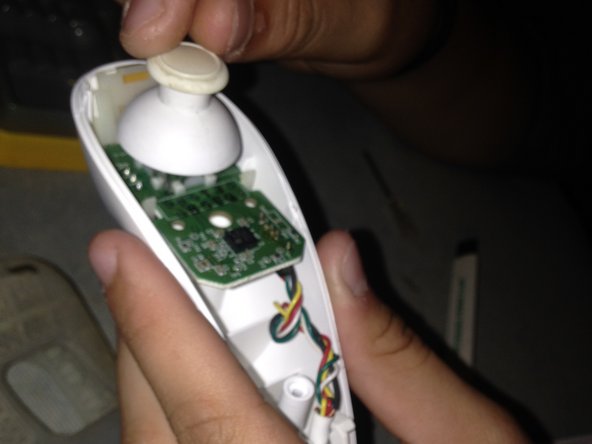
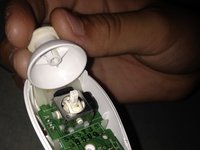
Remove the battery cover from the remote and batteries inside.
-
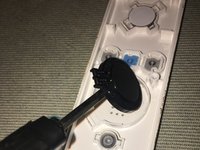
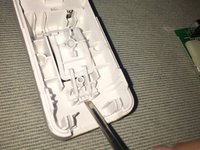
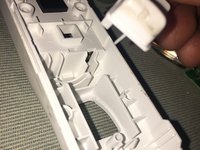
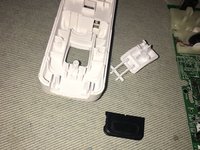
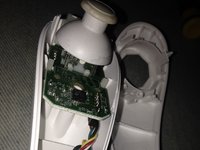
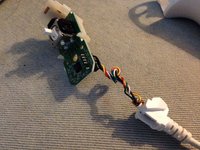
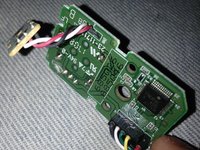
Unscrew the four visible screws on the remote. These are Y1 tri-point screws.
-
-
-
-
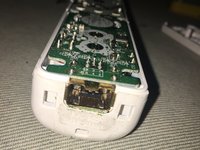
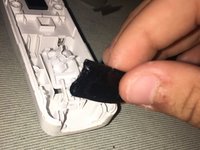
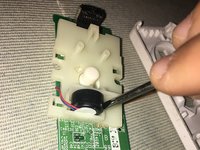
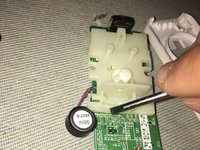
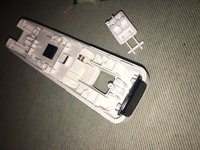
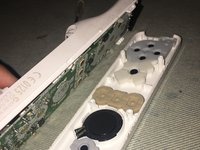
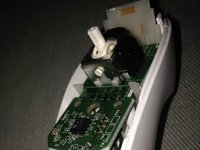
there are two small screws that need to be unscrewed on the bottom of the remote.
-


To reassemble your device, follow these instructions in reverse order.
To reassemble your device, follow these instructions in reverse order.
24 の人々がこのガイドを完成させました。
8 Guide Comments
Great guide! I took one of my remotes apart some years ago. Now, with fresh tri-wing driver in hand, I am ready to reassemble the thing. Problem: where to solder the green ground? It currently is fused to the nunchuk connector housing, but where does the other end go??? Wish I'd noted that, back then
K. Lehnert - 返信
Hello do you have tutorials for unassembly nunchuck's connector please?