はじめに
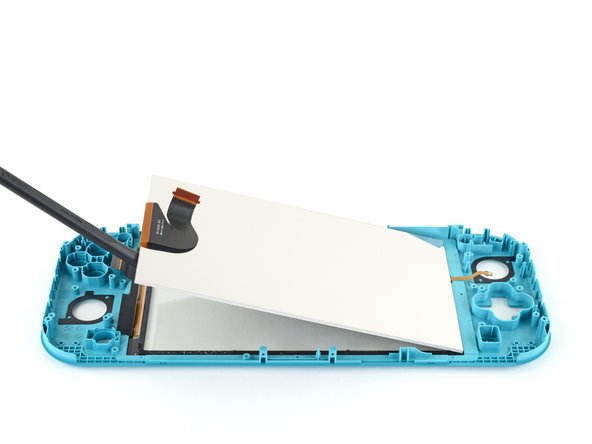
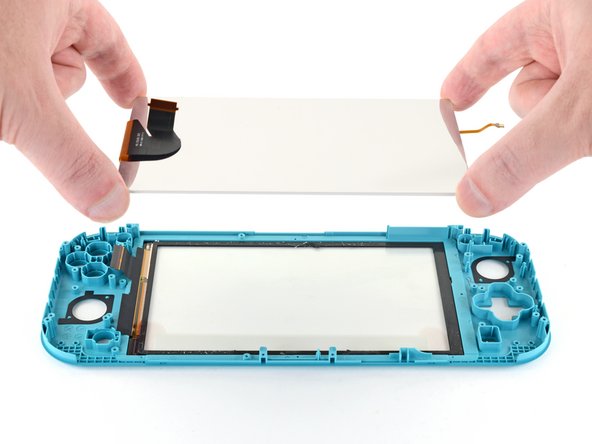
このガイドを参照してNintendo Switch Liteの破損したLCDを交換します。
Switch LiteはJISネジを使用していますが、急なときはプラスドライバーでも対応できます。iFixitのプラスビットはJIS規格のネジと相互互換性があるように設計されているので、ネジを剥がさないように十分注意してください。
注意:このガイドは、LCDのみの修理ガイドです。スクリーン(デジタイザーに取り付けられている液晶)を交換する場合は、このガイドに従ってください。ディスプレイのガラスにひびが入ったり粉々になったりしているが、LCDはまだ動作している場合は、代わりに デジタイザを交換する必要があります。
ご注意:Joysstickとボタンの取り外しは必須ではありませんが、これらを取り外すと作業が簡単になります。
ご注意:この修理ガイドでは、シールドプレートとヒートシンクを取り外します。両方のコンポーネントとCPU上に残っている放熱グリスを除去して、シールドプレートとヒートシンクを再インストールする前に、放熱グリスを新しく塗布してください。
必要な工具と部品
-
-
Y00ドライバーを使って、バックパネルを固定している6.3mmネジを4本外します。
-
-
-
プラスドライバーもしくはiFixit PH000ドライバー で、バックパネルを固定している次のネジを外します。
-
デバイス上部の長さ3.6mmネジー2本
-
デバイス下部の長さ3.6mmネジー2本
-
-
-
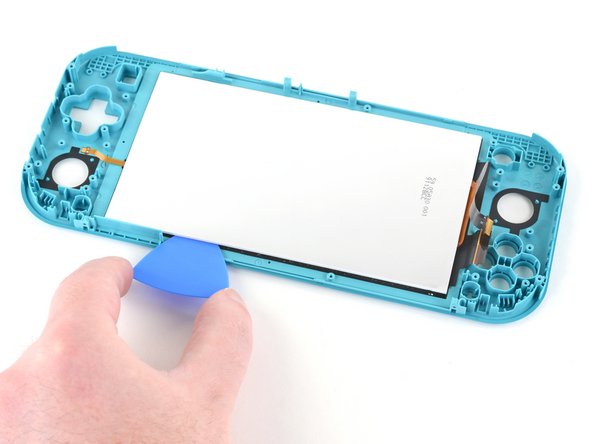
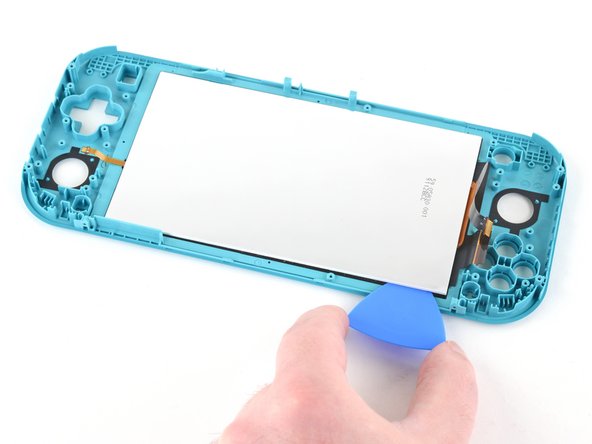
デバイス下部の左側スピーカーグリルの内側に、開口ツールを差し込みます。
-
開口ツールをひねって、バックパネルを固定しているクリップを外します。
-
-
-
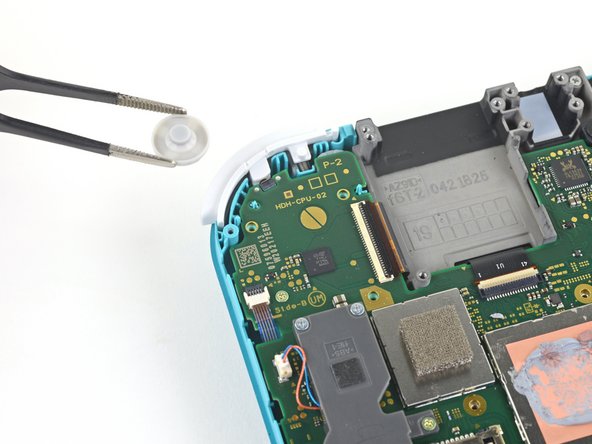
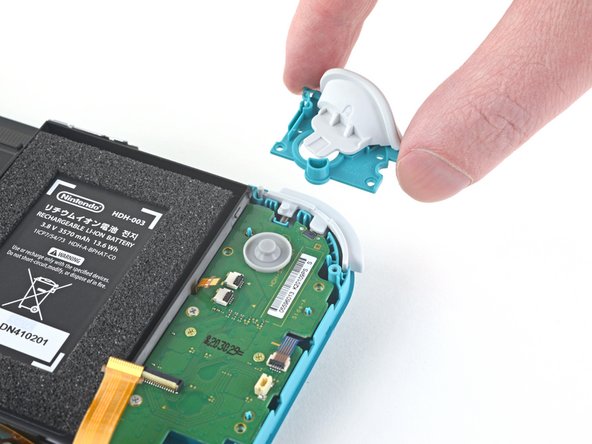
JIS000ドライバーもしくはiFixit PH000ドライバーを使って、右側トリガーボタンアセンブリをマザーボードに固定している、長さ4.5mmネジを2本外します。
-
-
-
-
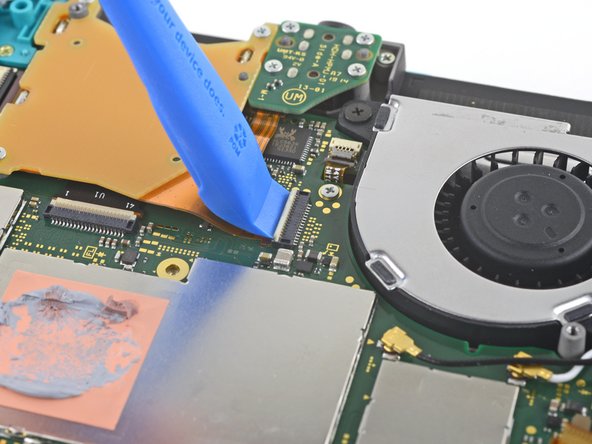
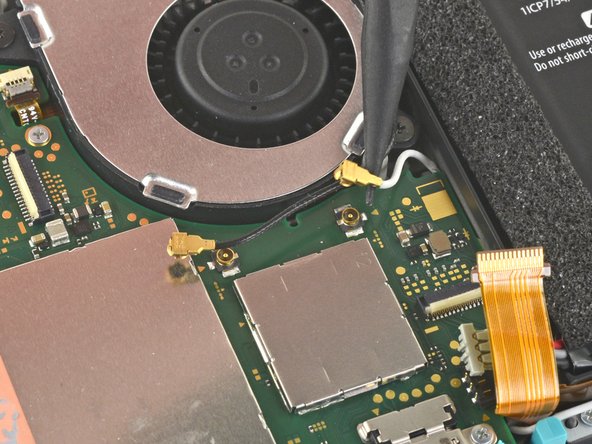
スパッジャーの先端を使って、マザーボード上のソケットから黒いアンテナケーブルをまっすぐ持ち上げて外します。
-
白いアンテナケーブルについても同じ作業を繰り返します。
-
-
-
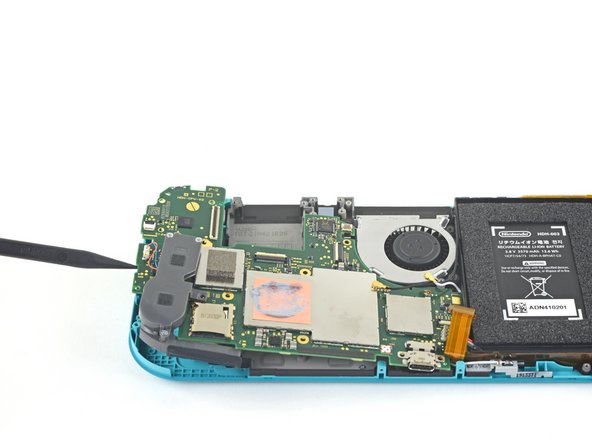
JIS000ドライバーもしくはiFixit PH000ドライバーで、マザーボードを固定している次の6本のネジを外します。
-
長さ3.1 mm ネジー3本
-
長さ4.5mm ネジー3本
-
-
-
JIS000ドライバーもしくはiFixit PH 000ドライバーを使って、左側トリガーボタンアセンブリを固定している4.5mmネジを2本外します。
-
-
-
JIS000ドライバーもしくは iFixit PH 000ドライバーを使って、次の4本のネジを外します。
-
2.5 mmネジー3本
-
6 mmネジー1本
-


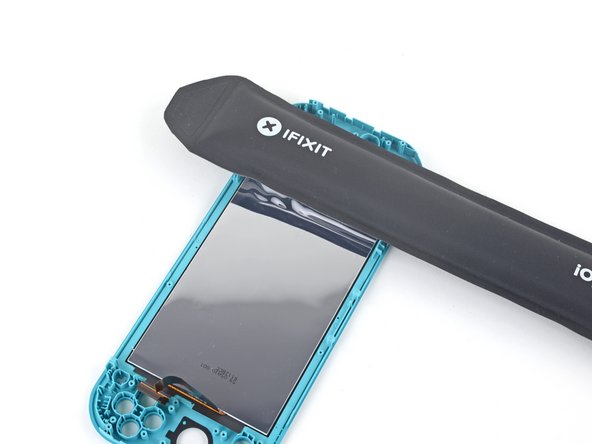


このデバイスを再組み立てするには、インストラクションを逆の順番に従って作業を進めてください。
e-wasteを処理する場合は、認可済みリサイクルセンターR2を通じて廃棄してください。
修理が上手く進みませんか?ベーシックなトラブルシューティングのページを参照するか、Nintendo Switch Liteのアンサーコミュニティに尋ねてみましょう。
このデバイスを再組み立てするには、インストラクションを逆の順番に従って作業を進めてください。
e-wasteを処理する場合は、認可済みリサイクルセンターR2を通じて廃棄してください。
修理が上手く進みませんか?ベーシックなトラブルシューティングのページを参照するか、Nintendo Switch Liteのアンサーコミュニティに尋ねてみましょう。
41 の人々がこのガイドを完成させました。
以下の翻訳者の皆さんにお礼を申し上げます:
100%

これらの翻訳者の方々は世界を修理する私たちのサポートをしてくれています。 あなたも貢献してみませんか?
翻訳を始める ›

20 件のコメント
Followed the guide to replaced a cracked screen on a Switch Lite, all good, guide was easy to follow and refitting wasn't too hard either, just a reversal of the disassembly
Fantastic guide, exactly what I was looking for! Unfortunately I managed to make the tape unusable and I need tape to connect the lcd to the digitizer and the digitizer to the case. I will likely use 2-3mm tape for the lcd to digitizer but I'm unsure what to use to connect the digitizer to the case. Any suggestions?
Thanks for taking the time to type this up. Really appreciate the effort that went in to this guide.
Great guide, I wish it would mention some of the procedures to tape the screen back in. After that, reversing the process was easy.
For gluing the screen and digitizer back in, I would strongly recommend liquid glue, like Zhanlida T-8000 for example. You can apply it very precisely and you can also correct/remove it if needed pretty easily. I used this stuff to repair around 200 phones and tablets in the last couple of years and were never disappointed.
Also I would remove the digitizer AND the screen together, before removing the screen first from the digitizer… This will make the process of removing the screen from the digitizer a lot easier and safer.
I have ordered a crystal replacement case and a used lite with a scratched digitizer.. Have glued in the replacement digitizer so far, the console should arrive tomorrow.
Gluing in the digitizer was a breeze, just applied some glue all around (be careful not to use too much) and then just pressed down the digitizer all around and put a book on the top… Let the glue harden for around 24 hours and you are good to go.
Will leave some feedback how the screen removal went tomorrow. ;)