はじめに
この修理ガイドは、Nintendo Switch(モデル番号HAC-015)の左側ジョイコンのシェルを交換するためのマニュアルです。
ジョイコンのシェルにひびが入っていたり、変色している場合は、交換することをお勧めします。ジョイコンのシェルは、内部部品を保護すると同時に、美的魅力を与えます。損傷したシェルは、最終的には内部部品を損傷し、プレイを不快にする可能性もあります。
交換用のシェルはAmazonで見つけることができ、任天堂で購入するよりもはるかに安価です。 これらは多くの異なる色とデザインで提供されます。
手順を実行するときは、ネジを剥がしたり、力を入れすぎて部品を取り外したりしないでください。 小さな損傷があると、再組み立て後にジョイコンが動かなくなる可能性があります。
右ジョイコンのシェルも交換したい場合は、右ジョイコンのシェルの交換にそのプロセスを説明する役立つガイドがあります。
必要な工具と部品
-
-
開口ピックをバックパネルの下側端の継ぎ目部分に差し込みます。(LとZLボタンの反対側)
-
Joy-Con横側に沿って開口ピックの先端を水平にスライドします。
-
-
-
プラスチック製スパッジャー(部品をショートさせる危険性があるため、金属製のものは避けてください)を使って、マザーボード上のソケットからバッテリーコネクターをゆっくりとまっすぐ上にこじ開けます。この作業をすると、修理中にJoy-Conの電源が入らないようにすることができます。
-
-
-
-
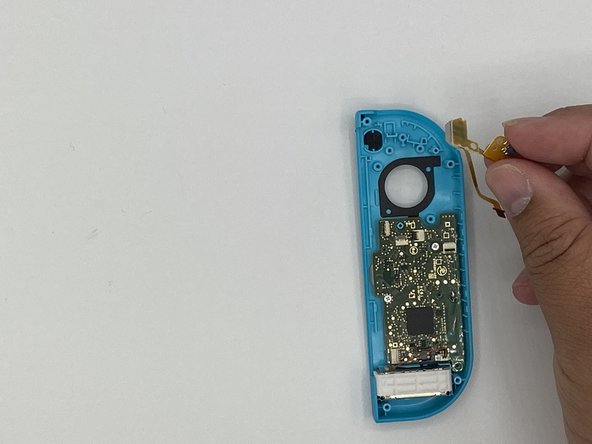
ピンセットを使って、ZIFコネクタのロックをケーブルの反対側に反転させます。
-
ZLボタンは、マザーボード上の小さなZIFコネクタで固定されています。
-
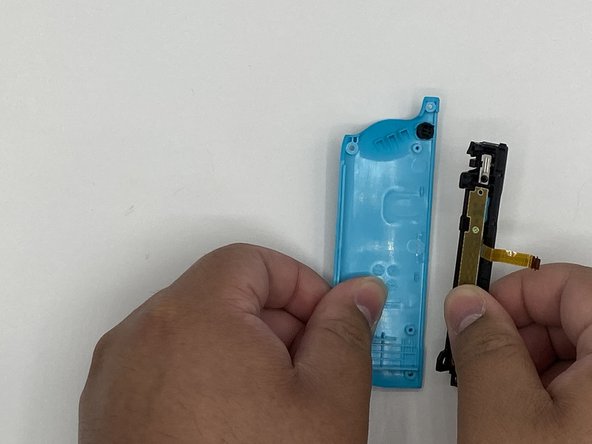
ピンセットを使って、ZLボタンのフレックスケーブルをZIFコネクタのソケットから慎重に引き抜きます。ミッドフレームはこれで接続が外れて、取り出せます。
-
-
-
レールの上部のZIFコネクタのロックを解除してから、ケーブルを外します。
-
レールの下部のZIFコネクタのロックを解除し、ケーブルを外します。 これで、バックフレームからレールを取り外すことができます。
-
Lボタンとスプリングを取り外します。
-
-
-
レールを固定しているネジを外します。 レールをバックフレームから取り外し、横に置きます。
-
-
-
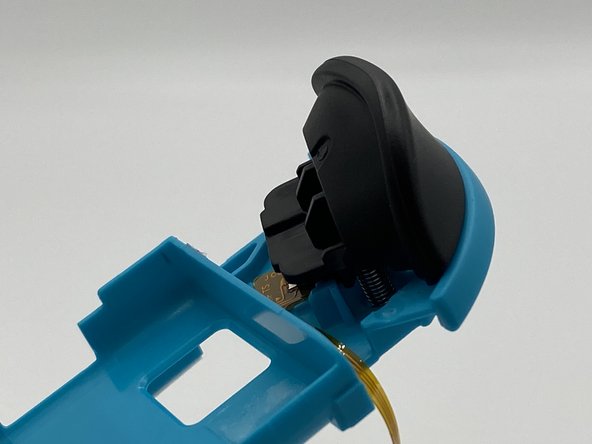
ピンセットを使用して、トリガーの下にあるラッチを押し下げます。 引き金をそっとこじ開けます。
Ahh nevermind. Figured this one out via brute force. Press and hold near the bottom of the trigger button—to keep the springs from flying away—then use a prying tool (I used a flat pick) to separate the top of the button from the midframe. The trigger button is held in place from behind with two circular indentations near the top of the button. Pry the button straight away from the midframe to release them.
-
-
-
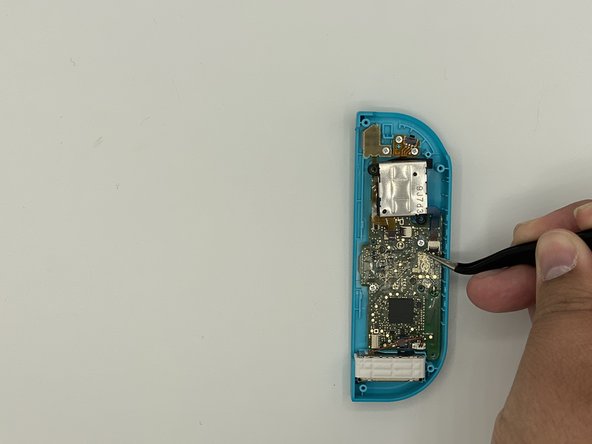
ジョイスティックを固定しているネジを外します。
-
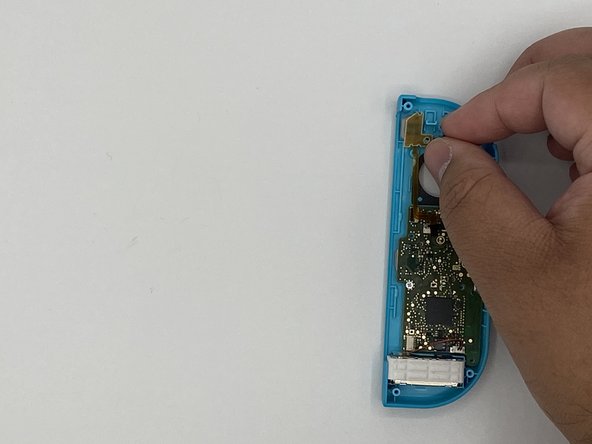
ZIFコネクタのロックを解除し、ピンセットを使用してリボンケーブルを取り外します。
Unlock the ZIF connector and release the ribbon on the left that is covering a screw before attempting to remove the screws
Luke Lucas - 返信
-


組み立て直すには、これらの手順を逆の順序で実行します。
組み立て直すには、これらの手順を逆の順序で実行します。
74 の人々がこのガイドを完成させました。
以下の翻訳者の皆さんにお礼を申し上げます:
100%


これらの翻訳者の方々は世界を修理する私たちのサポートをしてくれています。 あなたも貢献してみませんか?
翻訳を始める ›
チーム

University of North Texas, Team S1-G12, Raign Spring 2020 University of North Texas, Team S1-G12, Raign Spring 2020人のメンバー
UNT-RAIGN-S20S1G12
2 メンバー
7のガイドは作成済み
11 件のコメント
This guide was very helpful! A picture of the latch location on the trigger (step 12) would have been a big help, that step took a minute because I was putting pressure on the wrong spot.
I also noticed that most of the #00 screws were more receptive to a J00 bit. Might be worth noting in the tools section since swapping between them can strip a screw.
Used this guide for reference on the tools needed, someone else pointed out to use the J00 bit instead of the P00 and I’ll second that as the fit for the screws was much better, thanks for the guide much appreciated!
Exactly what I needed! Dropped a set of controllers on a tile flow and the rail popped out and pulled the ribbon cables too. I picked up another iFixit toolkit with some J bits to put it back together. I don’t know why I waited this long to fix it. Charged the controllers overnight and I’m up another set now!
Others above have mentioned that they needed to use a J00 bit instead of P00, but mine did not work with a J00 and was better with a P000
Small thing. In the tools list, it incorrectly says Y0 while the rest of the post correctly says Y00 for the back screws.
Nicht ohne Lupe, Pinzette und Spudger als Brillenträger an diese Reparatur gehen. Die Verbindungen der Flachkabel sind verdammt klein. Eine Gute Anleitung. Hat bei mir funktioniert!
I followed these instructions and everything works perfectly except my Switch doesn't think the joycon is attached anymore; it thinks I'm using it wirelessly even though it's docked into the system. Any advice?
It means you did not situate your Joycon rail correctly, since it does not “click” with the console. Take it apart, make sure the detach button and rail ribbons are secure, readjust, and reassemble your controller
Great guide, used it to mod my shell and replace the thumbstick at the same time. The only thing I would say is that if you are replacing the rail and slide locks you'll need a bit of extra guide via YT or something (not sure if there is one on here.) As others have said 'depress the latch' for the ZL button is tricky (kind of just pulled about on mine until it came off, still not sure where the latch is.) And one final thing, it says ZL button at one point but ZL is a trigger - they mean the Z button. But again, great guide, far less issues than expected - thank you to the author.
Luke Lucas - 返信