はじめに
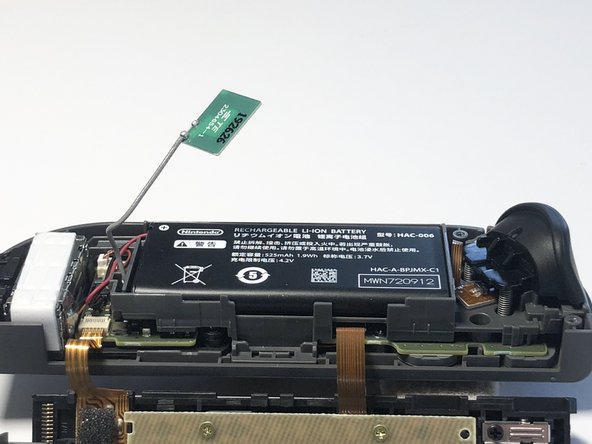
このガイドでは、Nintendo Switchの右側ジョイコンのフェイスボタンを交換するための手順です。右側のジョイコンには左側のジョイコンよりも多くのパーツが組み込まれているため、この修理は左側よりも若干難しくなっています。また、赤外線センサー、Bluetoothアンテナ、NFCアンテナにもご注意ください。
必要な工具と部品
-
-
-
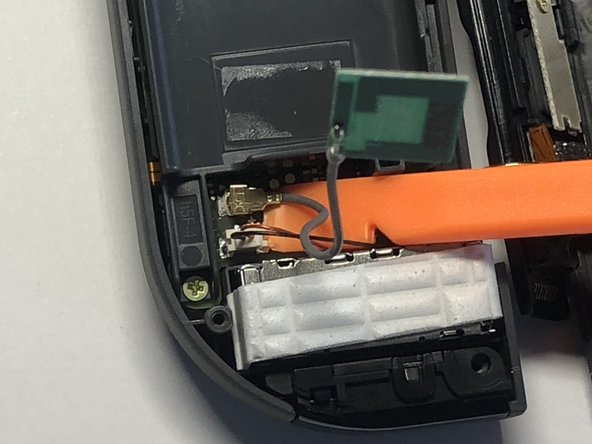
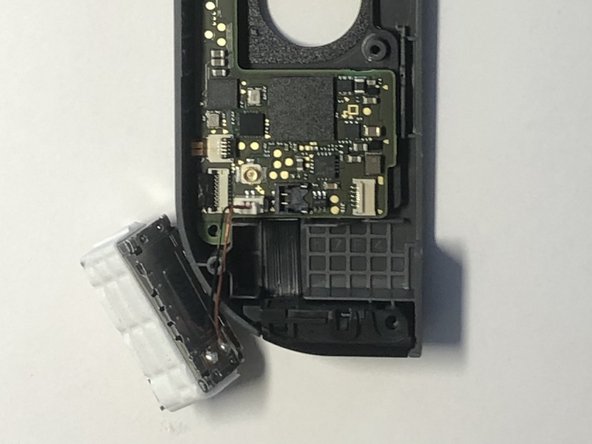
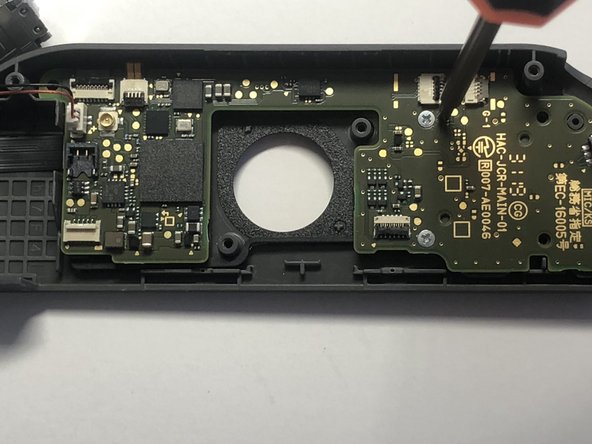
ピンセットを使って、 リボンケーブルを固定しているグレーの留め具を軽く持ち上げ、コネクタからスライドさせて取り出します。
Connecting this ribbon cable back was the hardest part for me :) I think it's worth mentioning that this ribbon cable's contact points should be facing the bottom when connecting it.
-


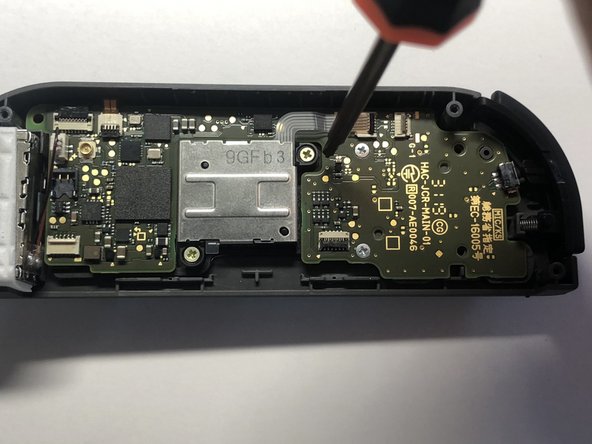


本機を組み立てるには、以下の手順を逆に行ってください。マザーボードのネジをきつく締めすぎると、ボタンの反応が悪くなることがあります。パーツを取り付ける際は、ネジに均等な圧力をかけ、片側が反対側よりもきつくならないようにしてください。
本機を組み立てるには、以下の手順を逆に行ってください。マザーボードのネジをきつく締めすぎると、ボタンの反応が悪くなることがあります。パーツを取り付ける際は、ネジに均等な圧力をかけ、片側が反対側よりもきつくならないようにしてください。
37 の人々がこのガイドを完成させました。
以下の翻訳者の皆さんにお礼を申し上げます:
100%

Midori Doiさんは世界中で修理する私たちを助けてくれています! あなたも貢献してみませんか?
翻訳を始める ›

チーム

York University, Team S1-G17, O'Regan Summer 2020 York University, Team S1-G17, O'Regan Summer 2020人のメンバー
YORK-O'REGAN-SU20S1G17
1 メンバー
7のガイドは作成済み
7 件のコメント
How do I take the black inner part of the home button out of it’s holding thing?
I need help with this as well. In the last picture you can see how the home button sits in a clear plastic ring and I cant get it out of there to place my new colorful home button
Doesn’t include how to change the trigger button…. :/
Super guide as always. Succesfully replaced the sl and sr buttons. Thanks!!
Thanks, I had a problem with the A button sometimes not registering, but after following this guide and simply cleaning both contact points and rubber pad, the button works as new again :)
Would it be possible for a lot more of these steps to have before and after pictures to better clarify with the layout of the covers and rubber bits are before taking them apart? I find myself coming to these guides for more visual indicators and many of them brush over what it's supposed to look like removing certain wires and connectors and such which I imagine is very important when you're dealing with very delicate and potentially costly to replace parts if disconnected improperly.