メインコンテンツにスキップ

Nintendo Family Computer (Famicom) Motherboard Replacement

必要な工具と部品

  1. Nintendo Family Computer (Famicom) Motherboard Replacement, Motherboard: 手順 1、 2の画像 1 Nintendo Family Computer (Famicom) Motherboard Replacement, Motherboard: 手順 1、 2の画像 2
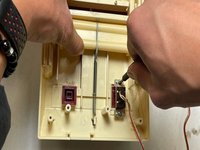
    • Use a Phillips screwdriver to remove the six 13.5 mm screws that secure the lower case.

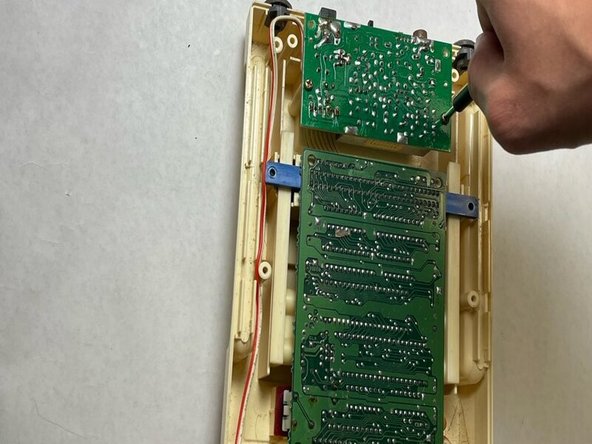
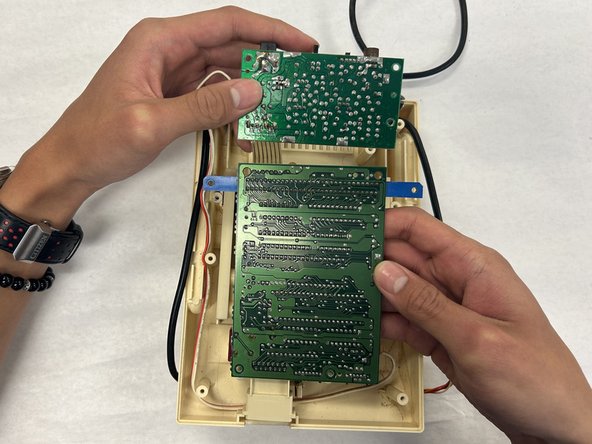
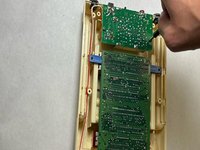
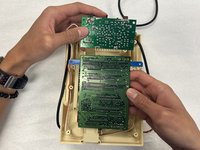
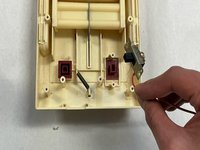
    • Remove the lower case.

  2. Nintendo Family Computer (Famicom) Motherboard Replacement: 手順 2、 2の画像 1 Nintendo Family Computer (Famicom) Motherboard Replacement: 手順 2、 2の画像 2
    • Disconnect both of the controller motherboard connections.

    • Do not pull on the wires.

  3. Nintendo Family Computer (Famicom) Motherboard Replacement: 手順 3、 1の画像 1
    • Lift the controller cables out of the chassis.

  4. Nintendo Family Computer (Famicom) Motherboard Replacement: 手順 4、 3の画像 1 Nintendo Family Computer (Famicom) Motherboard Replacement: 手順 4、 3の画像 2 Nintendo Family Computer (Famicom) Motherboard Replacement: 手順 4、 3の画像 3
    • Remove the eight 13.5 mm Phillips screws that secure the motherboard.

    • Lift the motherboard up and out of the chassis.

  5. Nintendo Family Computer (Famicom) Motherboard Replacement: 手順 5、 2の画像 1 Nintendo Family Computer (Famicom) Motherboard Replacement: 手順 5、 2の画像 2
    • Remove the two 13.8 mm Phillips screws that secure the power switch.

    • The motherboard is connected to the power switch, and cannot be replaced without removing the switch. Forcibly removing the motherboard will only cause damage to the device

終わりに

To reassemble your device, follow these instructions in reverse order.

作成者

1人の作成者と共同作成されました。

Siddharth Murali

メンバー登録日: 04/02/24

121 ポイント

1ガイドが承認済み

チーム

IUPUI, Team 2-2, Harley Spring 2024 IUPUI, Team 2-2, Harley Spring 2024人のメンバー

IUPUI-HARLEY-S24S2G2

4 メンバー

3のガイドは作成済み

0 件のコメント

コメントを追加

統計データ:

過去 24時間: 5

過去 7 日: 19

過去 30 日: 29

今までの合計 67