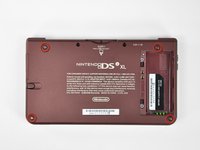
はじめに
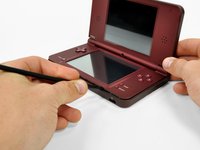
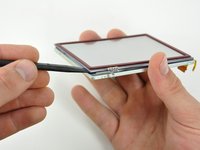
DSi XLの下部ディスプレイスクリーンは、タッチセンサー方式です。新しいタッチスクリーンで、お持ちのDSiのタッチコントロールを回復させましょう。
必要な工具と部品
-
-
-
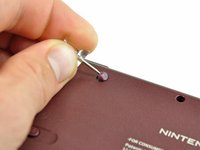
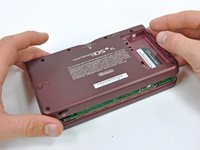
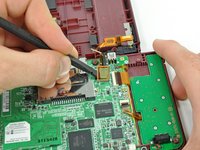
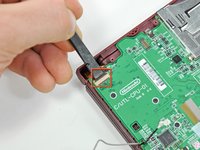
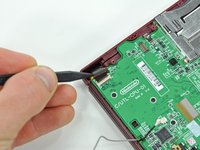
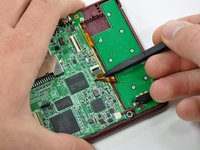
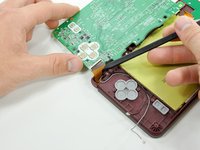
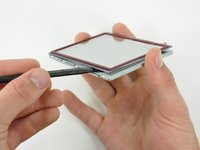
コンソールを裏返しにした状態で、DSi XLをわずかに開口します。
-
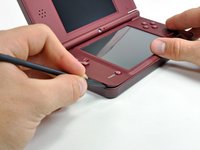
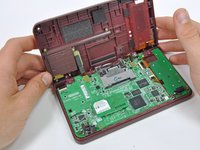
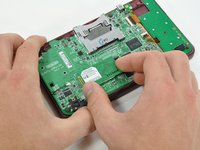
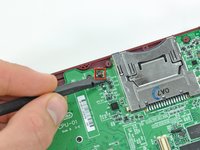
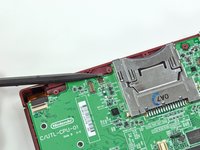
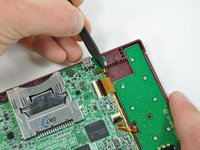
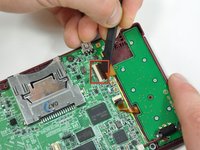
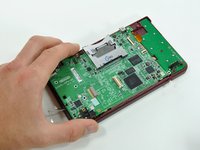
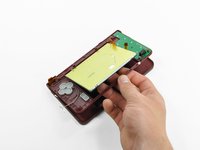
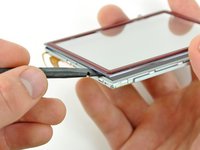
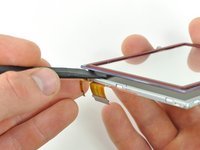
上部ケースから下部ディスプレイを押し上げて離します。
-
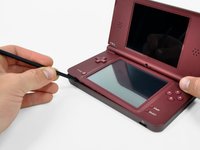
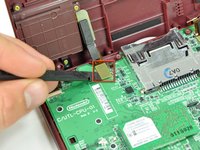
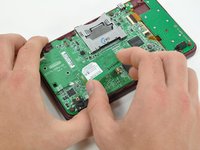
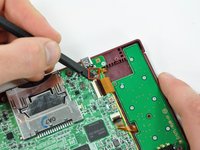
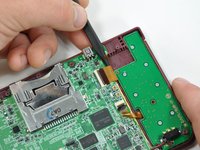
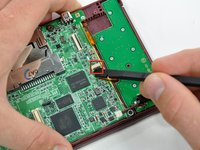
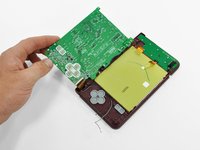
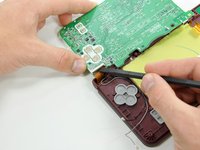
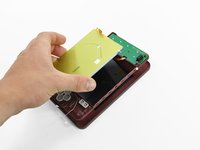
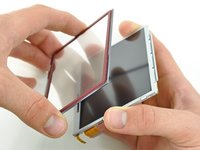
DSi XLから下部ディスプレイを取り外します。
-


終わりに
デバイスを再度組み立てるには、この説明書の逆の順番で組み立ててください。
19 の人々がこのガイドを完成させました。

4件のガイドコメント
Great tutorial, I completely missed the fact that the lower screen is TWO screens: the touchscreen and the proper screen. Nailed it!!
Step 16 = whole socket came off the motherboard with the least amount of effort. Tried soldering new contacts but too fine. Device now only good for parts.
Be super careful with p10 and p18 retention clips. If these come out, you are up the creek without a paddle.