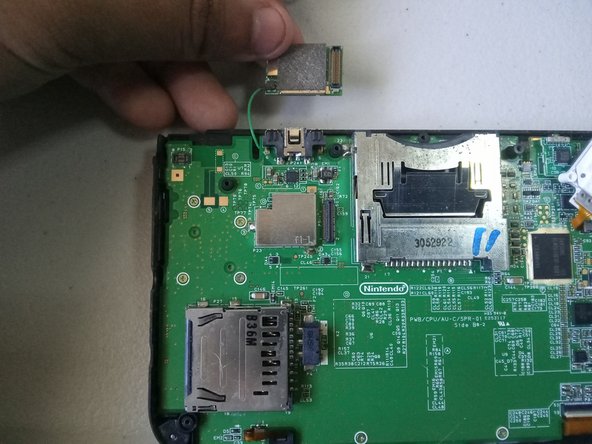
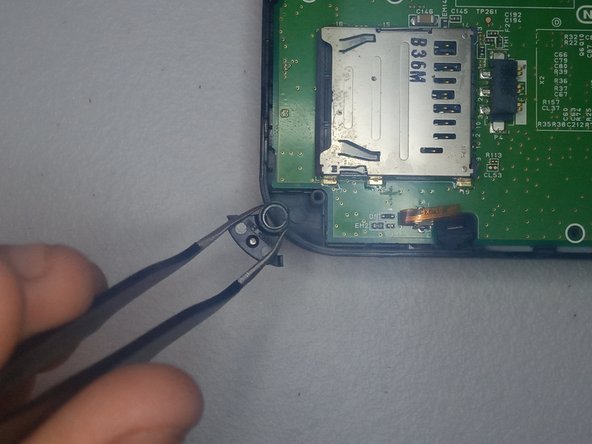
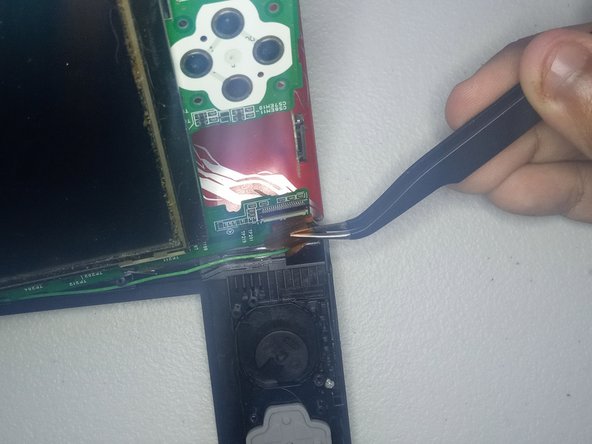
メインコンテンツにスキップ

Nintendo 3DS XL Hinge/Midframe Replacement

必要な工具と部品

  1. Nintendo 3DS XL Hinge/Midframe Replacement, Hinge/Midframe: 手順 1、 2の画像 1 Nintendo 3DS XL Hinge/Midframe Replacement, Hinge/Midframe: 手順 1、 2の画像 2
    • Flip the 3DS XL upside down.

  2. Nintendo 3DS XL Hinge/Midframe Replacement: 手順 2、 1の画像 1
    • Remove the two 4.2 mm screws from the back cover using a Phillips #00 screwdriver.

  3. Nintendo 3DS XL Hinge/Midframe Replacement: 手順 3、 1の画像 1
    • Use an opening tool to pry the cover loose and lift the back cover.

    • Caution: Make sure to lift the side with the screws up first as to not break hooks on the cover.

  4. Nintendo 3DS XL Hinge/Midframe Replacement: 手順 4、 2の画像 1 Nintendo 3DS XL Hinge/Midframe Replacement: 手順 4、 2の画像 2
    • Use an opening tool to remove the battery.

  5. Nintendo 3DS XL Hinge/Midframe Replacement: 手順 5、 1の画像 1
    • Remove the six 6.2 mm screws from the back cover using a Phillips #00 screwdriver.

    • Remove the single 2.3 mm screw from the back cover using a Phillips #00 screwdriver.

  6. Nintendo 3DS XL Hinge/Midframe Replacement: 手順 6、 3の画像 1 Nintendo 3DS XL Hinge/Midframe Replacement: 手順 6、 3の画像 2 Nintendo 3DS XL Hinge/Midframe Replacement: 手順 6、 3の画像 3
    • Use your hands to carefully remove the back cover at an angle, while keeping it connected to the top edge with caution regarding the ribbons.

  7. Nintendo 3DS XL Hinge/Midframe Replacement: 手順 7、 2の画像 1 Nintendo 3DS XL Hinge/Midframe Replacement: 手順 7、 2の画像 2
    • Use a pair of tweezers to carefully detach both of the ribbon cables connected to the back cover.

  8. Nintendo 3DS XL Hinge/Midframe Replacement: 手順 8、 2の画像 1 Nintendo 3DS XL Hinge/Midframe Replacement: 手順 8、 2の画像 2
    • Remove the two 7.5 mm screws from the white plate.

    • Use your fingers to lift it off the space carefully.

  9. Nintendo 3DS XL Hinge/Midframe Replacement: 手順 9、 1の画像 1
    • Use a pair of tweezers to remove the small plastic circle from the opened space.

  10. Nintendo 3DS XL Hinge/Midframe Replacement: 手順 10、 2の画像 1 Nintendo 3DS XL Hinge/Midframe Replacement: 手順 10、 2の画像 2
    • Use your fingers to carefully disconnect the small green rectangle.

  11. Nintendo 3DS XL Hinge/Midframe Replacement: 手順 11、 1の画像 1
    • Remove the ten 3 mm screws from the motherboard.

  12. Nintendo 3DS XL Hinge/Midframe Replacement: 手順 12、 2の画像 1 Nintendo 3DS XL Hinge/Midframe Replacement: 手順 12、 2の画像 2
    • On the bottom right corner, remove the small plastic piece using a pair of tweezers.

  13. Nintendo 3DS XL Hinge/Midframe Replacement: 手順 13、 2の画像 1 Nintendo 3DS XL Hinge/Midframe Replacement: 手順 13、 2の画像 2
    • On the bottom left corner, remove the small plastic piece using a pair of tweezers.

  14. Nintendo 3DS XL Hinge/Midframe Replacement: 手順 14、 2の画像 1 Nintendo 3DS XL Hinge/Midframe Replacement: 手順 14、 2の画像 2
    • With caution yet with slight force, use a pair of tweezers to pull and disconnect the ribbon cable from the latch on the top right corner.

  15. Nintendo 3DS XL Hinge/Midframe Replacement: 手順 15、 2の画像 1 Nintendo 3DS XL Hinge/Midframe Replacement: 手順 15、 2の画像 2
    • With caution yet with slight force, use a pair of tweezers to pull and disconnect the second ribbon cable from the latch on the top right corner.

  16. Nintendo 3DS XL Hinge/Midframe Replacement: 手順 16、 2の画像 1 Nintendo 3DS XL Hinge/Midframe Replacement: 手順 16、 2の画像 2
    • With caution yet with slight force, use your hands to lift the screen and the green motherboard from the frame.

    • Caution: There is still a ribbon cable connected, so do not suddenly remove what was lifted.

  17. Nintendo 3DS XL Hinge/Midframe Replacement: 手順 17、 2の画像 1 Nintendo 3DS XL Hinge/Midframe Replacement: 手順 17、 2の画像 2
    • With caution yet with slight force, use a pair of tweezers to pull and disconnect the ribbon cable at the hinge from the latch.

  18. Nintendo 3DS XL Hinge/Midframe Replacement: 手順 18、 2の画像 1 Nintendo 3DS XL Hinge/Midframe Replacement: 手順 18、 2の画像 2
    • Use your fingers to disconnect the green rectangle from the small green cable.

  19. Nintendo 3DS XL Hinge/Midframe Replacement: 手順 19、 2の画像 1 Nintendo 3DS XL Hinge/Midframe Replacement: 手順 19、 2の画像 2
    • Flip the 3DS XL right side up and open it.

  20. Nintendo 3DS XL Hinge/Midframe Replacement: 手順 20、 3の画像 1 Nintendo 3DS XL Hinge/Midframe Replacement: 手順 20、 3の画像 2 Nintendo 3DS XL Hinge/Midframe Replacement: 手順 20、 3の画像 3
    • Use a pair of tweezers to remove the small rubber squares from each corner of the front screen.

  21. Nintendo 3DS XL Hinge/Midframe Replacement: 手順 21、 1の画像 1
    • Remove the four 4.3 mm screws from the top screen using a Phillips #00 screwdriver.

  22. Nintendo 3DS XL Hinge/Midframe Replacement: 手順 22、 3の画像 1 Nintendo 3DS XL Hinge/Midframe Replacement: 手順 22、 3の画像 2 Nintendo 3DS XL Hinge/Midframe Replacement: 手順 22、 3の画像 3
    • Use your hands to remove the top cover by pushing the cover horizontally away from the hinges, as to not break any plastic hooks.

  23. Nintendo 3DS XL Hinge/Midframe Replacement: 手順 23、 2の画像 1 Nintendo 3DS XL Hinge/Midframe Replacement: 手順 23、 2の画像 2
    • Flip the 3DS XL upside down and find the top left hinge.

    • In the small opening, use a small opening tool to push the small white plastic piece down towards the other hinge.

    • Caution: A decent amount of force will be needed to push it down, so use a small but sturdy object that can fit in the opening to push it down.

  24. Nintendo 3DS XL Hinge/Midframe Replacement: 手順 24、 2の画像 1 Nintendo 3DS XL Hinge/Midframe Replacement: 手順 24、 2の画像 2
    • Use a pair of tweezers to remove the small black plastic piece covering the hinge.

  25. Nintendo 3DS XL Hinge/Midframe Replacement: 手順 25、 2の画像 1 Nintendo 3DS XL Hinge/Midframe Replacement: 手順 25、 2の画像 2
    • Use a pair of tweezers to remove the small clear plastic piece from the hinge.

    • At this point you can remove the bottom frame from the left hinge using your hands.

  26. Nintendo 3DS XL Hinge/Midframe Replacement: 手順 26、 3の画像 1 Nintendo 3DS XL Hinge/Midframe Replacement: 手順 26、 3の画像 2 Nintendo 3DS XL Hinge/Midframe Replacement: 手順 26、 3の画像 3
    • At the top right hinge, use your hands to carefully slide the ribbon cables through a small gap next to the hinge to remove them from the bottom frame.

  27. Nintendo 3DS XL Hinge/Midframe Replacement: 手順 27、 2の画像 1 Nintendo 3DS XL Hinge/Midframe Replacement: 手順 27、 2の画像 2
    • Use your fingers to remove all buttons and rubber covers from the old frame and place them into the new frame.

終わりに

To reassemble your device, follow these instructions in reverse order.

ある他の人がこのガイドを完成しました。

作成者

1人の作成者と共同作成されました。

FixitKevin

メンバー登録日: 10/25/23

412 ポイント

1ガイドが承認済み

チーム

CSU Los Angeles, Team 4-9, Kershman Fall 2023 CSU Los Angeles, Team 4-9, Kershman Fall 2023人のメンバー

CSULA-KERSHMAN-F23S4G9

1 メンバー

3のガイドは作成済み

0 件のコメント

コメントを追加

統計データ:

過去 24時間: 43

過去 7 日: 220

過去 30 日: 1,174

今までの合計 3,775