はじめに
The bottom casing of the Nikon D90 can sometimes be scuffed up and damaged. This guide shows how to replace the bottom casing of the Nikon D90. Be forewarned, the screws can be easily be stripped so be careful.
必要な工具と部品
-
-
-
Next, use a PH00 screwdriver to remove the screws from the bottom casing.
-
Remove the four 5.3 mm Phillips screws.
-
Remove the three other 6.3 mm Phillips screws.
-
-
-
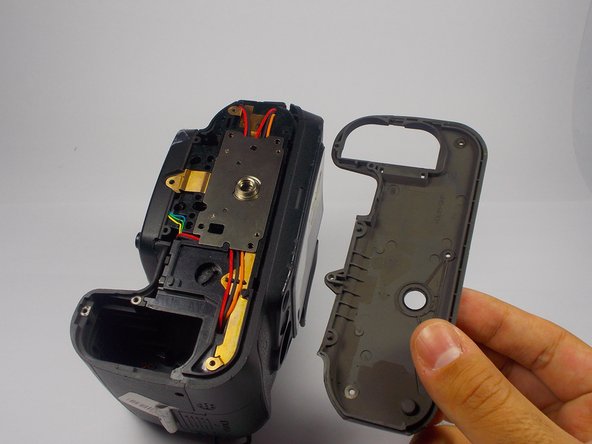
Next, use a plastic opening tool and carefully pop off the bottom case.
-
Then, lift and remove the bottom case.
-


To reassemble your device, follow these instructions in reverse order.
To reassemble your device, follow these instructions in reverse order.
4 の人々がこのガイドを完成させました。
チーム

UMass Dartmouth, Team 1-7, Duarte Fall 2014 UMass Dartmouth, Team 1-7, Duarte Fall 2014人のメンバー
UMASSD-DUARTE-F14S1G7
3 メンバー
6のガイドは作成済み