はじめに
This guide will help you to get to the internal components of the Nikon D610 camera.
必要な工具と部品
-
-
-
After removal of the battery. Pull the battery compartment door away from the lens.
-
There are eleven Philips head screws that hold the bottom cover on, including a few inside the battery compartment.
-
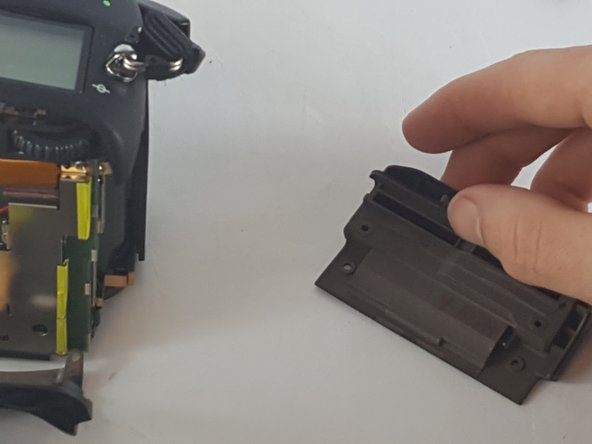
Remove all the screws and the bottom face should pop off easily.
-
-
-
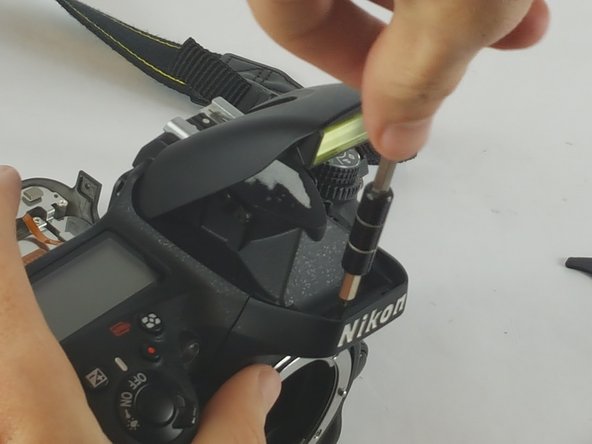
Then next step is removing the seven Philips #00 screws that hold the rear face plate on.
-
There are screws hidden in three separate spots.
-
One is under the rubber doors on the left side of the camera. the next one at the eye hole.
-
The final one involves taking off the small dial that is about half an inch to the right of the eye hole.
-
Removing this dial involves putting a spungder tool behind it and applying a gradual amount of pressure.
-


To reassemble your device, follow these instructions in reverse order.
To reassemble your device, follow these instructions in reverse order.
ある他の人がこのガイドを完成しました。
チーム

USF Tampa, Team 4-4, Lacy Spring 2016 USF Tampa, Team 4-4, Lacy Spring 2016人のメンバー
USFT-LACY-S16S4G4
3 メンバー
6のガイドは作成済み
4 件のコメント
Very useful guide, thank you. I have some damage to my rear casing and have a replacement which I would like to install. From your photos it looks as though there is a lot of dismantling to do to achieve this. Is this very difficult for an amateur to do? I do have a replacement casing.
Hello Everyone, how is everything over there? Please i have one issue with my camera in which i want to share here if i can get help, my camera Nikon d610 is changing Black color, not black alone, most colors that are deep, even at times i will snapped 2 people what wore Black, one will remain as black and the other one will change to something like brown, at times, it will change like purple. Have been battling with it, have checked different settings, i meet one Camara engineer in my area and he advice not to allow any engineer to touch it, he said i should take it to Nikon office. Please do anybody have the idea of such problem and who knows how to book appointment with Nikon office in lagos or ibadan. Thanks
Great guide for dismantling this superb camera, I wonder if you can help me, After dropping my D610 from a small height. the auto focus no longer operates I have tried several lenses and checked all the manual settings of course, no such luck for an easy fix. I am partly convinced that a connection may have gotten loose from the drop for the AF to operate,please can you advise on which area to check to save this camera.thank you.all help and suggestions welcome and appreciated,thank you all