はじめに
The Coolpix S9050 was introduced in 2012 and discontinued in 2013
必要な工具と部品
-
-
Flip the camera upside down.
-
Slide the locking mechanism to the left.
-
Push yellow holding pin upward until battery pops up.
-
Pull out battery.
-
-


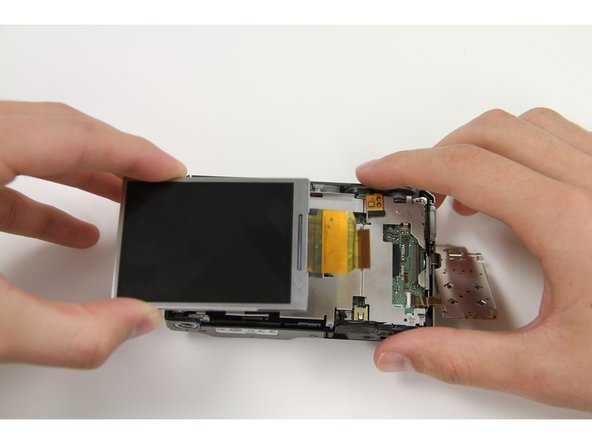

もう少しです!
Follow the steps in reverse order to put the camera back together.
終わりに
Follow the steps in reverse order to put the camera back together.
チーム

Texas Tech, Team 22-3, Rauch Fall 2015 Texas Tech, Team 22-3, Rauch Fall 2015人のメンバー
TTU-RAUCH-F15S22G3
3 メンバー
1のガイドは作成済み