はじめに
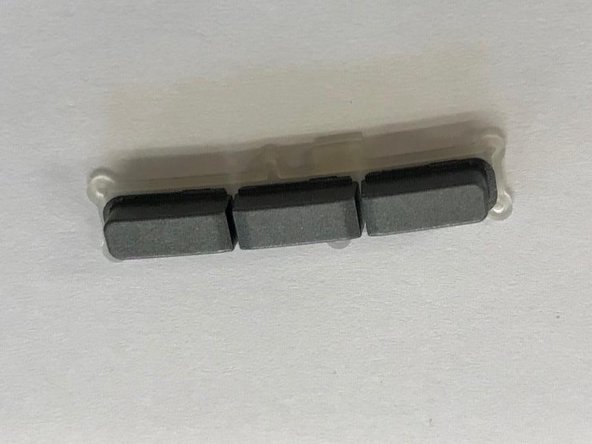
The user will learn how to replace the selector button set including the menu, home, and back buttons on the Nikon Coolpix S800c. This replacement may be necessary due to damage on the unit.
必要な工具と部品
-
-
Remove all 4 screws from the bottom face of the camera using a Phillips #00 head screwdriver (found in iFixit tool kit).
-
-
-
-
Isolate the back panel/touch screen section.
-
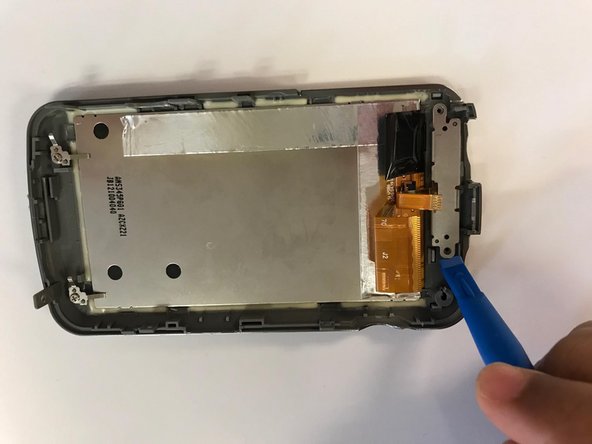
Using a Phillips #00 head screwdriver (found in iFixit tool kit), remove the 2 screws that secure the metal plate protecting the selector buttons.
-
Pry the small metal plate up with a plastic tool of your choice.
-


To reassemble your device, follow these instructions in reverse order.
To reassemble your device, follow these instructions in reverse order.
チーム

Baylor, Team S2-G6, Johnson Spring 2018 Baylor, Team S2-G6, Johnson Spring 2018人のメンバー
BU-JOHNSON-S18S2G6
3 メンバー
10のガイドは作成済み