メインコンテンツにスキップ

Nikon Coolpix S4100 External Casing Replacement

必要な工具と部品

  1. Nikon Coolpix S4100 External Casing Replacement, External Casing: 手順 1、 3の画像 1 Nikon Coolpix S4100 External Casing Replacement, External Casing: 手順 1、 3の画像 2 Nikon Coolpix S4100 External Casing Replacement, External Casing: 手順 1、 3の画像 3
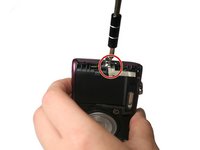
    • Using a Philips #000 head screwdriver, remove the 8 screws (3.30 mm) visible on the external part of the camera.

    • There are 2 on each side, and 4 on the bottom.

  2. Nikon Coolpix S4100 External Casing Replacement: 手順 2、 1の画像 1
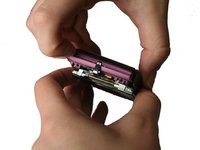
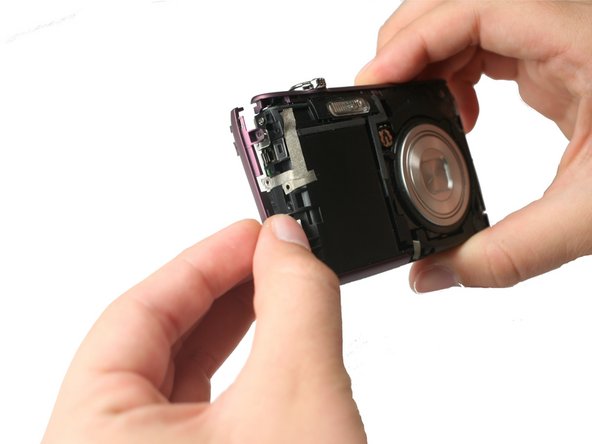
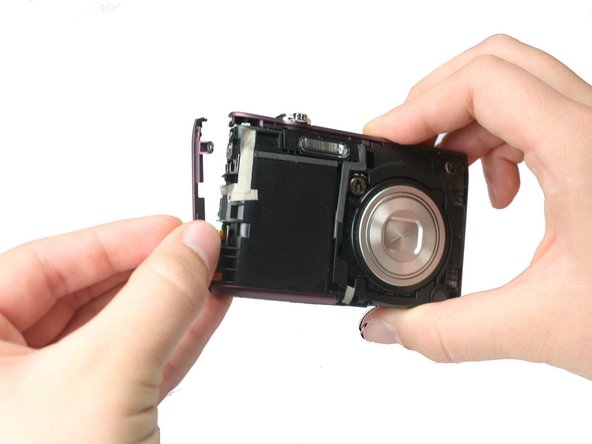
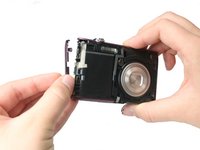
    • Remove the black casing on the back of the camera that runs around the LCD screen.

  3. Nikon Coolpix S4100 External Casing Replacement: 手順 3、 1の画像 1
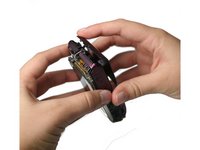
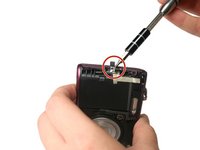
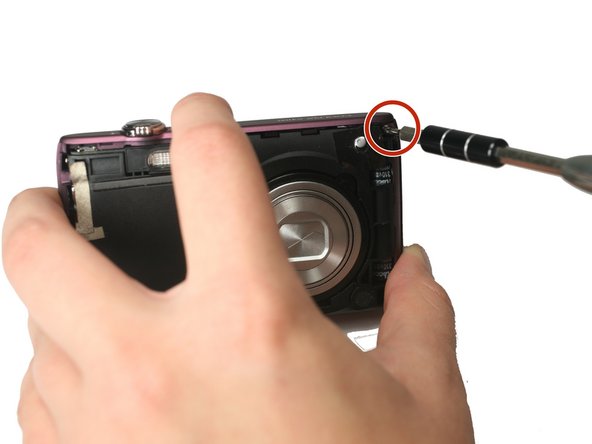
    • Using the Philips #000 head screwdriver, remove the 1.90 mm internal screw located just above the lanyard mount.

  4. Nikon Coolpix S4100 External Casing Replacement: 手順 4、 3の画像 1 Nikon Coolpix S4100 External Casing Replacement: 手順 4、 3の画像 2 Nikon Coolpix S4100 External Casing Replacement: 手順 4、 3の画像 3
    • Pry off the front shell casing.

    • If you find this difficult, use a prying tool to help gently remove the casing.

  5. Nikon Coolpix S4100 External Casing Replacement: 手順 5、 1の画像 1
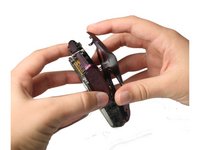
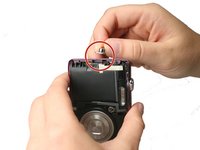
    • Using the Philips #000 head screwdriver, remove the 3.30 mm screw located on the side of the camera near the lanyard mount.

  6. Nikon Coolpix S4100 External Casing Replacement: 手順 6、 2の画像 1 Nikon Coolpix S4100 External Casing Replacement: 手順 6、 2の画像 2
    • Using the Philips #000 head screwdriver, remove 2 additional 3.30 mm screws holding the lanyard mount in place.

  7. Nikon Coolpix S4100 External Casing Replacement: 手順 7、 3の画像 1 Nikon Coolpix S4100 External Casing Replacement: 手順 7、 3の画像 2 Nikon Coolpix S4100 External Casing Replacement: 手順 7、 3の画像 3
    • Remove the lanyard mount and accompanying side shell casing off of the camera.

  8. Nikon Coolpix S4100 External Casing Replacement: 手順 8、 1の画像 1
    • Using the Philips #000 head screwdriver, remove the 3.30 mm screw securing the top shell casing.

  9. Nikon Coolpix S4100 External Casing Replacement: 手順 9、 1の画像 1
    • Using the Philips #000 head screwdriver, remove the 3.40 mm screw located on the front of the camera in the upper corner by the LED light.

  10. Nikon Coolpix S4100 External Casing Replacement: 手順 10、 1の画像 1
    • Remove the remaining side shell casing.

  11. Nikon Coolpix S4100 External Casing Replacement: 手順 11、 1の画像 1
    • Remove the top shell casing.

終わりに

To reassemble your device, follow these instructions in reverse order.

2 の人々がこのガイドを完成させました。

作成者

6人の作成者と共同で作成されました。

Matthew Willis

メンバー登録日: 09/22/15

586 ポイント

4のガイドは作成済み

チーム

Baylor, Team 4-2, Williams Fall 2015 Baylor, Team 4-2, Williams Fall 2015人のメンバー

BU-WILLIAMS-F15S4G2

4 メンバー

8のガイドは作成済み

0 件のコメント

コメントを追加

統計データ:

過去 24時間: 2

過去 7 日: 5

過去 30 日: 18

今までの合計 940