はじめに
If you own a Nikon Coolpix P4 digital camera and have noticed issues with the camera's LCD screen, such as a blank screen, distorted display, or visible cracks, this guide is here to help you replace the LCD screen.
Device Information:
Device Name and Model Number: Nikon Coolpix P4
Guide's Purpose:
This guide will walk you through the process of replacing the LCD screen on your Nikon Coolpix P4. The LCD screen is essential for viewing and framing your photos, and a malfunctioning screen can hinder your photography experience.
About the Part:
The LCD screen is the camera's display, and it's vital for reviewing and composing your photos. If your screen is damaged or not working, this guide will assist you in replacing it.
Common Symptoms:
If you're experiencing issues like a blank or distorted display on your Nikon Coolpix P4's LCD screen, this guide can provide a solution.
Tips and Warnings:
- Before you begin, back up any data on your camera's memory card to avoid data loss.
- Work in a static-free environment and use proper tools to prevent damage.
- Disconnect the camera's battery for safety.
- Handle any broken glass with care.
- Ensure the camera is powered off during the repair.
- Properly dispose of the old LCD screen as per e-waste guidelines.
By following this guide, you can restore your Nikon Coolpix P4's functionality with a new LCD screen, so you can continue taking pictures without screen issues.
必要な工具と部品
-
-
-
Flip the camera upside down (have the side with the buttons facing away from you)
-
Look for the side with the triangle icon with three lines in it, this is the battery door. Add pressure and slide this door slightly until it clicks and pops open.
 FixBotに聞いてみる
-
-
-
Once the door clicks, you can open it to reveal the slots holding the memory card and the battery.
-
Focusing on the larger slot, this holds the battery. Push the orange tab away from the slot, this will eject the old battery if one was previously inside.
-
Once this slot is open, you can place the new battery inside.
-
-
-
-
-
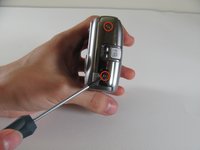
Remove the two 5 mm screws from the right side panel.
-
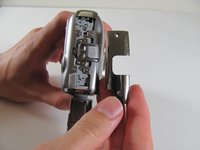
Remove the panel from the right side.
-
Remove the single 2.1 mm screw set underneath the panel.
-
-
-
-
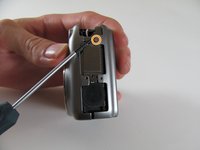
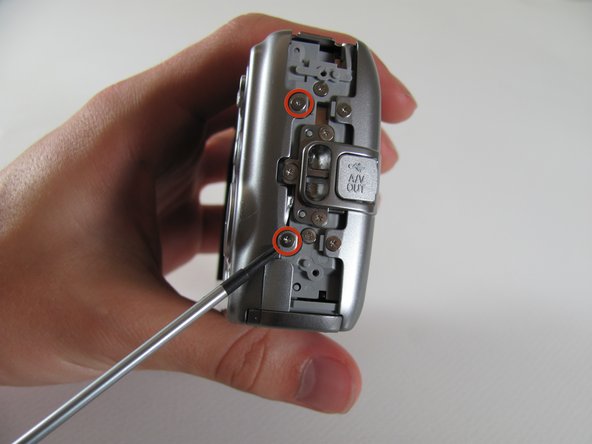
Remove the two 4.8 mm screws attaching the back panel to the body on the left side.
-
-
-
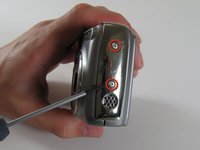
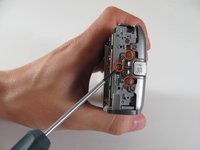
Remove the three 4.8 mm screws from the A/V out tab on the left side.
-
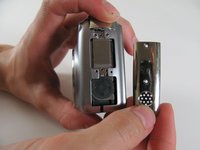
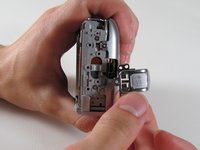
Remove the tab.
-
-
-
Remove the two 4.6 mm screws attaching the front panel to the body on the left side.
-








To reassemble your device, follow these instructions in reverse order.

チーム

Cal Poly, Team 8-5, Regan Spring 2011 Cal Poly, Team 8-5, Regan Spring 2011人のメンバー
CPSU-REGAN-S11S8G5
4 メンバー
10のガイドは作成済み
