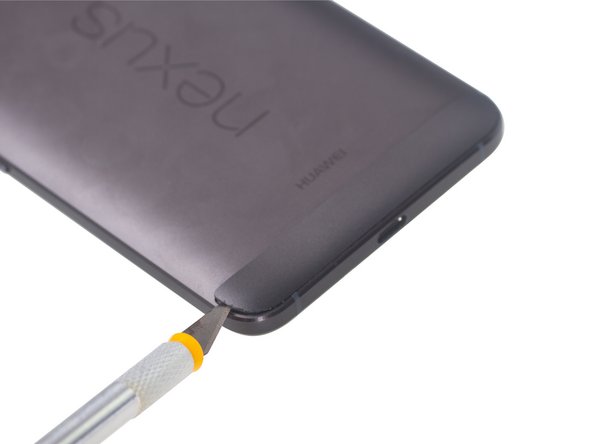
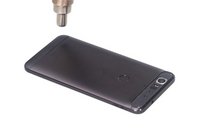
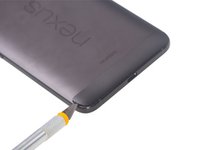
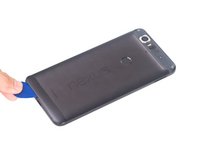
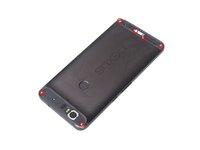
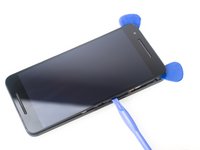
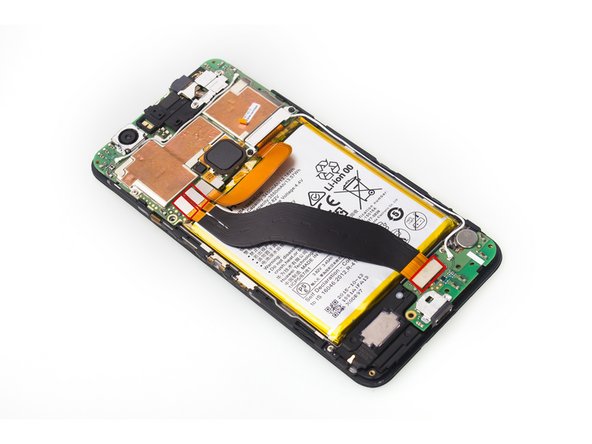
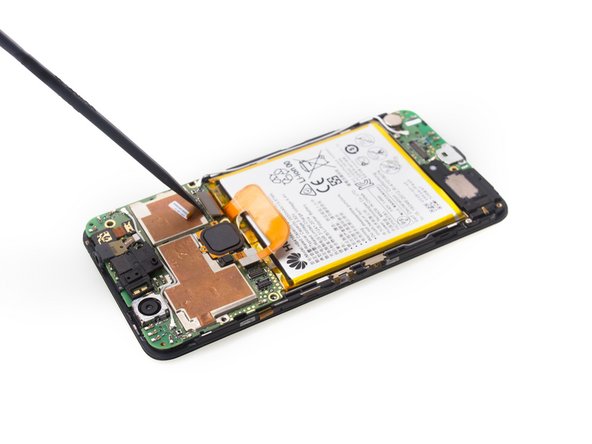
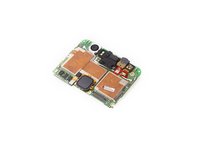
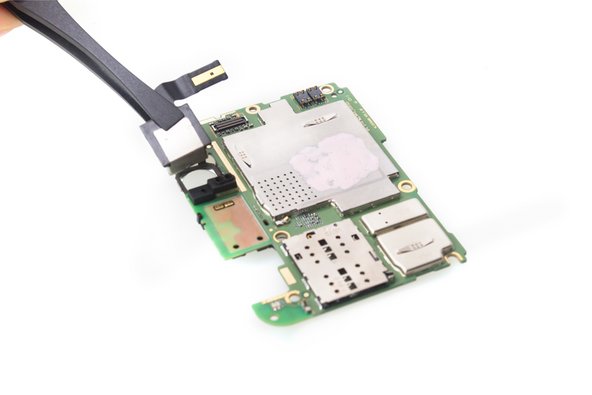
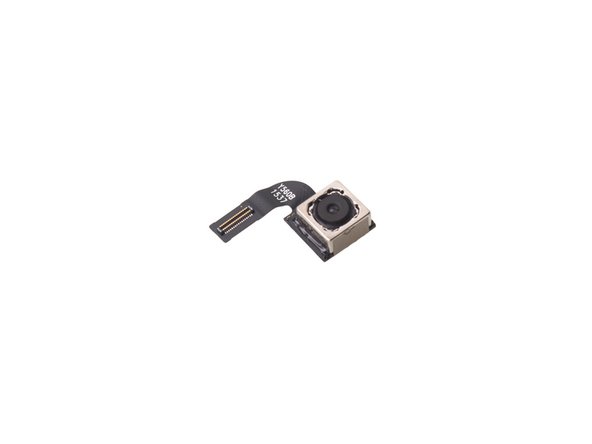
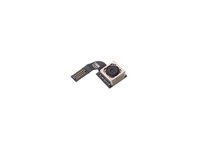
メインコンテンツにスキップ

Nexus 6P Rear Camra&Front Camera&Headphone Jack Replacement

必要な工具と部品

  1. Nexus 6P Rear Camra&Front Camera&Headphone Jack Replacement, Rear Camra&Front Camera&Headphone Jack: 手順 1、 2の画像 1 Nexus 6P Rear Camra&Front Camera&Headphone Jack Replacement, Rear Camra&Front Camera&Headphone Jack: 手順 1、 2の画像 2
    • Remove SIM card tray.

  2. Nexus 6P Rear Camra&Front Camera&Headphone Jack Replacement: 手順 2、 3の画像 1 Nexus 6P Rear Camra&Front Camera&Headphone Jack Replacement: 手順 2、 3の画像 2 Nexus 6P Rear Camra&Front Camera&Headphone Jack Replacement: 手順 2、 3の画像 3
    • Heat up back glass panel.

    • Use hobby knife to open a gap and cut the fierce sticker underneath rear glass panel.

    • The back glass panel is easily shattered and the adhesive underneath is fierce. So be careful to pry this part.

  3. Nexus 6P Rear Camra&Front Camera&Headphone Jack Replacement: 手順 3、 3の画像 1 Nexus 6P Rear Camra&Front Camera&Headphone Jack Replacement: 手順 3、 3の画像 2 Nexus 6P Rear Camra&Front Camera&Headphone Jack Replacement: 手順 3、 3の画像 3
    • Heat up bottom plastic panel.

    • Use hobby knife to open a gap and insert guitar picks to cut adhesive underneath.

  4. Nexus 6P Rear Camra&Front Camera&Headphone Jack Replacement: 手順 4、 3の画像 1 Nexus 6P Rear Camra&Front Camera&Headphone Jack Replacement: 手順 4、 3の画像 2 Nexus 6P Rear Camra&Front Camera&Headphone Jack Replacement: 手順 4、 3の画像 3
    この手順で使用する道具:
    Heavy-Duty Suction Cups (Pair)
    $14.95
    購入する
    • Twist off 6 Phillips screws together.

    • Insert guitar picks and plastic opening tool to separate front assembly from back cover.

    • Attention: These two parts fit tightly.It is very difficult to separate them. You can also try using heavy-duty suction cup to disassemble them.

  5. Nexus 6P Rear Camra&Front Camera&Headphone Jack Replacement: 手順 5、 3の画像 1 Nexus 6P Rear Camra&Front Camera&Headphone Jack Replacement: 手順 5、 3の画像 2 Nexus 6P Rear Camra&Front Camera&Headphone Jack Replacement: 手順 5、 3の画像 3
    • Unscrew one Phillips screw.

    • Remove metal bracket securing flex contactors.

    • Release 3 flex contactors and remove it .

  6. Nexus 6P Rear Camra&Front Camera&Headphone Jack Replacement: 手順 6、 3の画像 1 Nexus 6P Rear Camra&Front Camera&Headphone Jack Replacement: 手順 6、 3の画像 2 Nexus 6P Rear Camra&Front Camera&Headphone Jack Replacement: 手順 6、 3の画像 3
    • Twist off 5 Phillips screws together and release battery contactor.

    • Remove metal bracket securing LCD contactor.

    • Release metal bracket securing front camera contactor and headphone jack contactor.

  7. Nexus 6P Rear Camra&Front Camera&Headphone Jack Replacement: 手順 7、 3の画像 1 Nexus 6P Rear Camra&Front Camera&Headphone Jack Replacement: 手順 7、 3の画像 2 Nexus 6P Rear Camra&Front Camera&Headphone Jack Replacement: 手順 7、 3の画像 3
    • Disconnect signal cable contactor.

    • Release LCD contactor.

    • Pry up and remove motherboard.

  8. Nexus 6P Rear Camra&Front Camera&Headphone Jack Replacement: 手順 8、 2の画像 1 Nexus 6P Rear Camra&Front Camera&Headphone Jack Replacement: 手順 8、 2の画像 2
    • Remove headphone jack and front camera.

  9. Nexus 6P Rear Camra&Front Camera&Headphone Jack Replacement: 手順 9、 3の画像 1 Nexus 6P Rear Camra&Front Camera&Headphone Jack Replacement: 手順 9、 3の画像 2 Nexus 6P Rear Camra&Front Camera&Headphone Jack Replacement: 手順 9、 3の画像 3
    • Release rear camera contactor, then remove it.

終わりに

To reassemble your device, follow these instructions in reverse order.

10 の人々がこのガイドを完成させました。

作成者

3人の作成者と共同で作成されました。

Witrigs

メンバー登録日: 11/24/15

69,454 ポイント

378のガイドは作成済み

4 件のコメント

Does the headphone jack have a part number?

I can't find the replacement part anywhere online.

Luke Redfern - 返信

Headphone jack part number 9-HU-2909

I am searching all over the www for headphone jack. It's listed at two stores for $9.99. But, no stock.

Headphone jacks for every other silly phone are available all over the internet for couple of $.

http://www.repairsuniverse.com/huawei-ne...

isaac_kmgm -

Awesome guide! I used this guide to replace my rear camera because the old camera’s focus was stuck in one position (which is a common problem with 6p’s apparently). The guide was spot on, and it has good pictures showing you what to do. It only took me about 30-40 minutes to complete.

Jacob Higgins - 返信

Very useful, even multiple years later. I used it to complete a full mainboard swap as I corrupted the partitions on my original board. I followed this guide and it worked perfectly. Patience is key for the glass camera lens.

Chaney Goldstein - 返信

コメントを追加

統計データ:

過去 24時間: 1

過去 7 日: 6

過去 30 日: 6

今までの合計 5,804