この修理ガイドは変更されています。最新の未承認バージョンに切り替えます。
はじめに
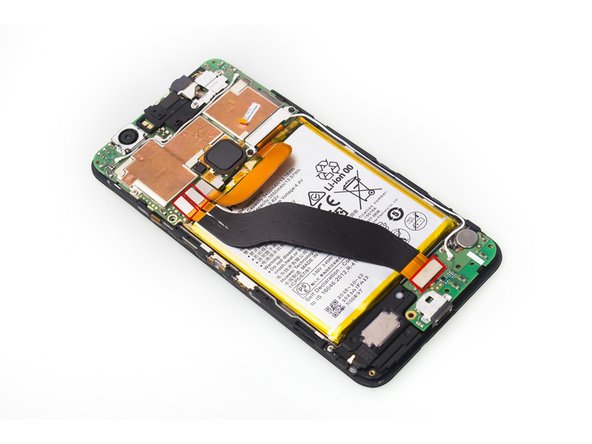
It is happy to see the charging port is attached on daughterboard, it is convenient for us to replace the usb part. Now follow us to replace it by yourself.
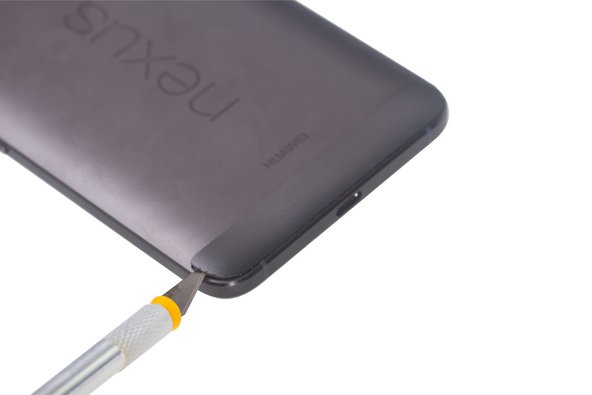
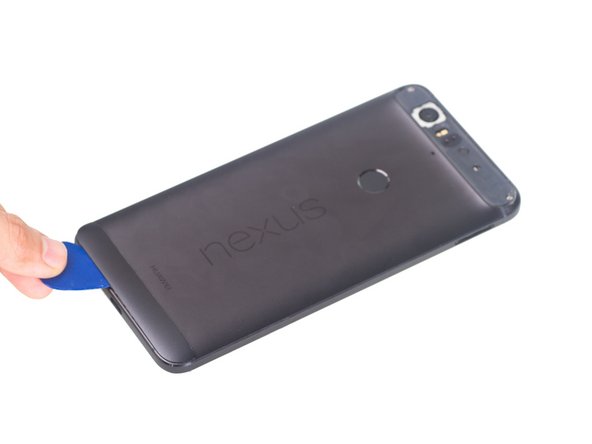
必要な工具と部品
ビデオの概要


To reassemble your device, follow these instructions in reverse order.
To reassemble your device, follow these instructions in reverse order.
23 の人々がこのガイドを完成させました。

13 件のコメント
Do you know the part number of the daughterboard, or where I can buy a replacement?
Global Direct Parts seems to have OEM parts. Don't go with eBay and stuff. The ones I saw are cheap knockoffs that don't work right (even when they say OEM).
Sunny Wu -
Do we need more adhesive or everything will stick back with heat?
I have replaced my battery. You most likely will need more adhesive. I just plan on using some double sided tape as the original glue was too tough in case I have to open it again. You can just buy a case for it after. It will keep everything nice and tight on there.
Sunny Wu -