この翻訳は、ソースガイドの最新の更新を反映していない可能性があります。 翻訳の更新に協力してください。 または ソースガイドを参照してください。
はじめに
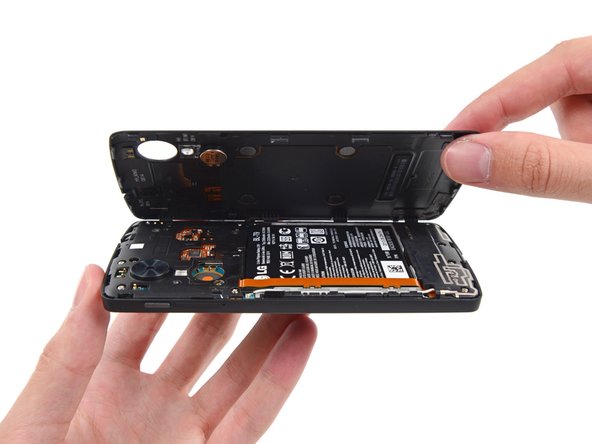
このガイドを参照して、お持ちのNexus 5のマザーボードを交換しましょう。
必要な工具と部品
-
この手順は未翻訳です。 翻訳を手伝う。
-
Insert a SIM card eject tool or a paper clip into the hole next to the SIM card slot, which is located just under the power button. Do not force the paper clip if it is too thick; instead use the head of a sewing needle.
-
Push the tool into the hole until you see the card pop out.
-
-
この手順は未翻訳です。 翻訳を手伝う。
-
Remove the six 4.0 mm Phillips #00 screws that secure the midframe to the phone.
-
To replace the LCD screen and digitizer, remove the additional four 4.0mm daughterboard cover screws with the same screwdriver. You may have to pierce through clear adhesive material to remove them.
-
-


デバイスを再度組み立てるには、この説明書の逆の順番で組み立ててください。
デバイスを再度組み立てるには、この説明書の逆の順番で組み立ててください。
31 の人々がこのガイドを完成させました。
チーム

Cal Poly, Team 7-23, Regan Spring 2014 Cal Poly, Team 7-23, Regan Spring 2014人のメンバー
CPSU-REGAN-S14S7G23
4 メンバー
19のガイドは作成済み
12 件のコメント
is the motherboard from the 32gb nexus 5, compatible for the nexus 5 16gb lcd??
It should be, yes. I've chopped and changed loads of Nexus 5 phone around and haven't had a problem.
Thanks for the repy. My Nexus 5 has some bootoop problems and when i go to the boot options, (the hold power and volume down), it says Lock State - LOCKED. so im thinking of replacing the motherboard. or is there a way to fix my problem? Thanks for the reply. I appreciate it.
I just used this guide to quickly get at the motherboard to replace a faulty power button. It's tedious but not impossible with a very clean soldering iron tip, solder wick, and lots of flux. The replacement button and covers from iFixit were an exact match (I checked under a microscope).