この翻訳は、ソースガイドの最新の更新を反映していない可能性があります。 翻訳の更新に協力してください。 または ソースガイドを参照してください。
はじめに
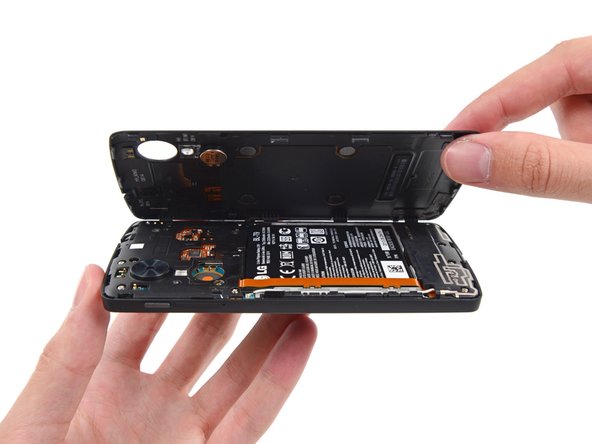
このガイドを参照して、お持ちのNexus 5のバッテリーを交換しましょう。
必要な工具と部品
-
この手順は未翻訳です。 翻訳を手伝う。
-
Remove the six 4.0 mm Phillips #00 screws that secure the midframe to the phone.
-
To replace the LCD screen and digitizer, remove the additional four 4.0mm daughterboard cover screws with the same screwdriver. You may have to pierce through clear adhesive material to remove them.
-
-


デバイスを再度組み立てるには、この説明書の逆の順番で組み立ててください。
デバイスを再度組み立てるには、この説明書の逆の順番で組み立ててください。
465 の人々がこのガイドを完成させました。

66 件のコメント
Did it in less than 10 mins..
Already had experience with taking the backcover off...
In the start of the guide it says "Replace the battery in your iPhone 5s"
After battery replacement my wireless charging was not working. Pay attention to settle holding clip in the middle of phone - just firmly press around the "S" from the back of phone until you hear it clicks in.
Thank you so much for this tip! I did it and it worked. Now Wireless charging is working again.
QNZ -