メインコンテンツにスキップ

Netgear Arlo 2 Camera HD Security System Camera/Lens Replacement

必要な工具と部品

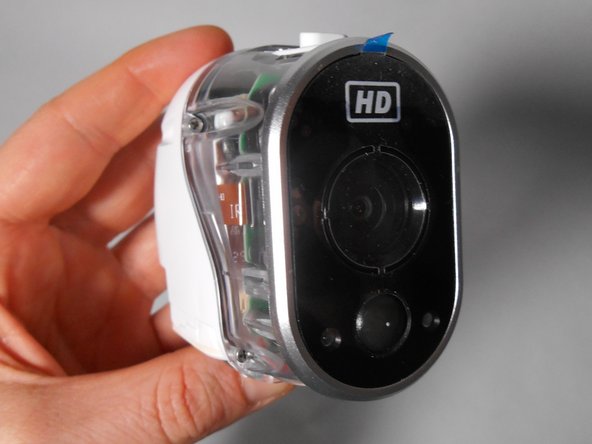
  1. Netgear Arlo 2 Camera HD Security System Camera/Lens  Replacement, Case: 手順 1、 3の画像 1 Netgear Arlo 2 Camera HD Security System Camera/Lens  Replacement, Case: 手順 1、 3の画像 2 Netgear Arlo 2 Camera HD Security System Camera/Lens  Replacement, Case: 手順 1、 3の画像 3
    • Unscrew the two 3.0 mm Phillips #00 screws on the bottom of the camera.

    • Open the battery compartment on the bottom by pushing the switch marked in orange to the side and pushing the bottom of the camera back, sliding it open.

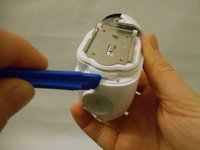
  2. Netgear Arlo 2 Camera HD Security System Camera/Lens  Replacement: 手順 2、 2の画像 1 Netgear Arlo 2 Camera HD Security System Camera/Lens  Replacement: 手順 2、 2の画像 2
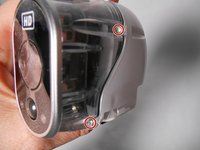
    • Remove the bottom piece of the case over the battery compartment by placing a plastic opening tool underneath the edge of the case and prying it up.

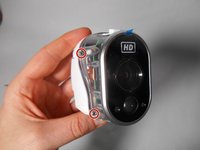
    • Unscrew the four 3.0 mm Phillips #00 screws on the outside of the battery pocket.

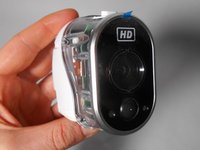
  3. Netgear Arlo 2 Camera HD Security System Camera/Lens  Replacement: 手順 3、 2の画像 1 Netgear Arlo 2 Camera HD Security System Camera/Lens  Replacement: 手順 3、 2の画像 2
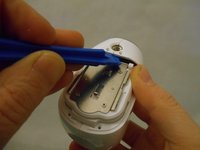
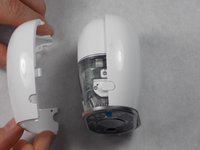
    • When facing the camera lens, the left panel of the case will be removed first (more steps are needed for the right panel).

    • Place the plastic opening tool between the two pieces of the case and pry them apart from the bottom.

    • Gently pull the side of the case off as it comes loose.

  4. Netgear Arlo 2 Camera HD Security System Camera/Lens  Replacement: 手順 4、 2の画像 1 Netgear Arlo 2 Camera HD Security System Camera/Lens  Replacement: 手順 4、 2の画像 2
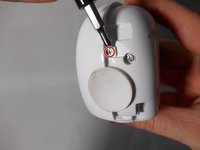
    • Unscrew the smaller 3.0 mm Phillips #00 screw in the center on the back of the device.

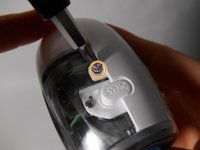
    • Flip the camera over and unscrew the center 3.0 mm Phillips #00 screw above the SYNC button.

  5. Netgear Arlo 2 Camera HD Security System Camera/Lens  Replacement: 手順 5、 2の画像 1 Netgear Arlo 2 Camera HD Security System Camera/Lens  Replacement: 手順 5、 2の画像 2
    • Using the plastic opening tool, gently pry the right panel from the device.

    • Replace either side of the plastic case as needed.

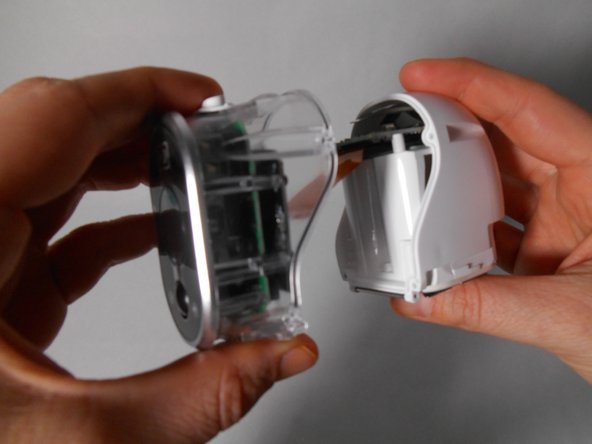
  6. Netgear Arlo 2 Camera HD Security System Camera/Lens  Replacement, Camera/Lens: 手順 6、 3の画像 1 Netgear Arlo 2 Camera HD Security System Camera/Lens  Replacement, Camera/Lens: 手順 6、 3の画像 2 Netgear Arlo 2 Camera HD Security System Camera/Lens  Replacement, Camera/Lens: 手順 6、 3の画像 3
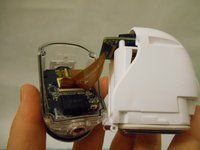
    • Unscrew the four 4.0 mm Phillips #00 screws on either side of the transparent case.

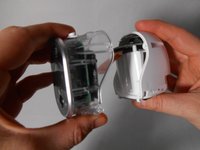
    • Separate the transparent half of the case from the white half.

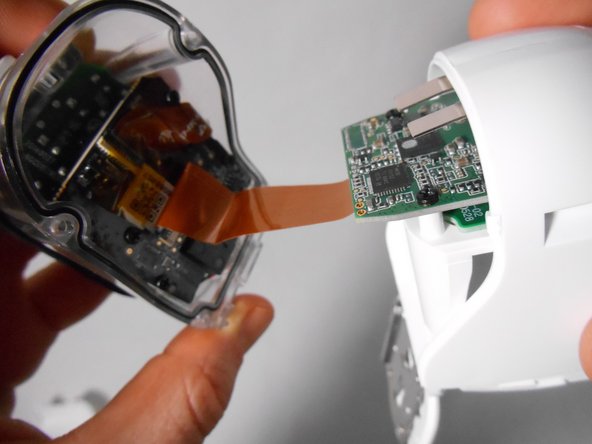
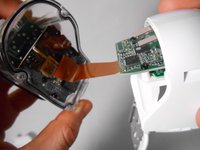
    • Only separate the two halves enough for them to be apart. The flat ribbon cable is short and its connection is delicate.

  7. Netgear Arlo 2 Camera HD Security System Camera/Lens  Replacement: 手順 7、 2の画像 1 Netgear Arlo 2 Camera HD Security System Camera/Lens  Replacement: 手順 7、 2の画像 2
    • Lift the small thin black rectangular latch that covers the connectors of the flat ribbon cable.

    • The latch is very flat, so use a finger nail or a spudger to lift it. Do not use any sharp edge like a knife as it will likely damage the device!

    • With the latch lifted, the cable will pull away freely as you separate the white half from the transparent half.

  8. Netgear Arlo 2 Camera HD Security System Camera/Lens  Replacement: 手順 8、 3の画像 1 Netgear Arlo 2 Camera HD Security System Camera/Lens  Replacement: 手順 8、 3の画像 2 Netgear Arlo 2 Camera HD Security System Camera/Lens  Replacement: 手順 8、 3の画像 3
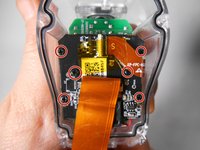
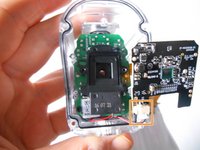
    • Repeat the same process as in Step 6 to release the flat ribbon cable from the black rectangular latch

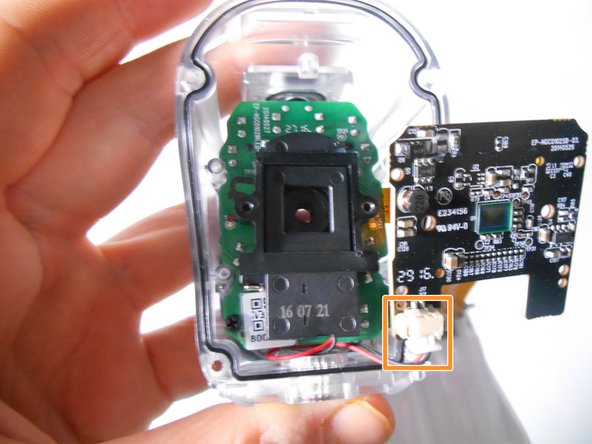
    • Unscrew the six black 3.0 mm Phillips #00 screws that hold the black motherboard on.

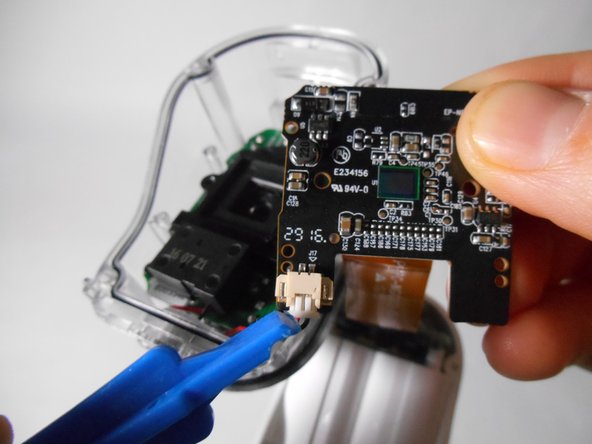
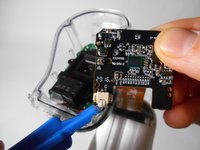
    • Release the clip at the bottom left corner of the black motherboard by pinching the wings at either side of the clip.

    • Be sure that the transparent case or the black motherboard are being held or resting on a surface so that neither falls when the clip is released.

  9. Netgear Arlo 2 Camera HD Security System Camera/Lens  Replacement: 手順 9、 3の画像 1 Netgear Arlo 2 Camera HD Security System Camera/Lens  Replacement: 手順 9、 3の画像 2 Netgear Arlo 2 Camera HD Security System Camera/Lens  Replacement: 手順 9、 3の画像 3
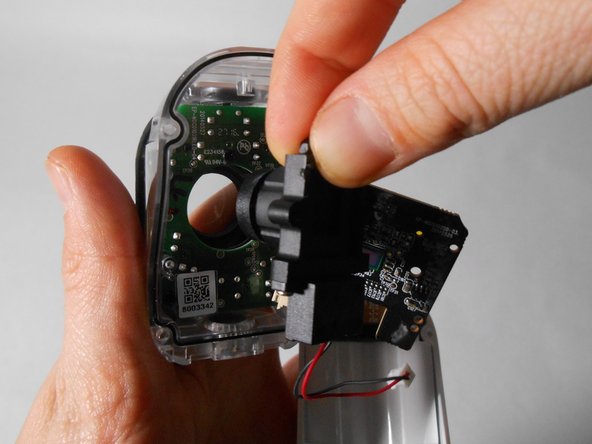
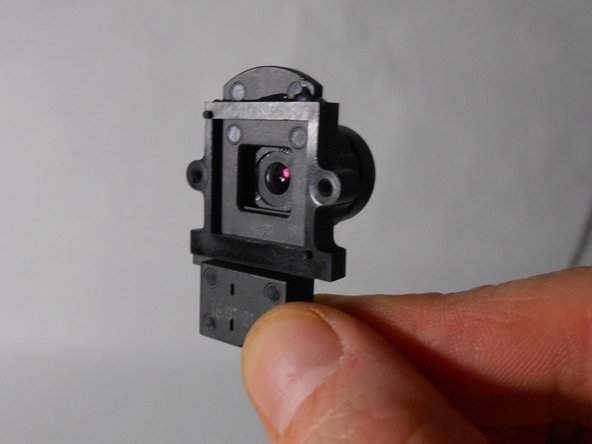
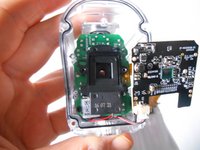
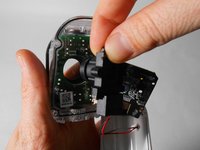
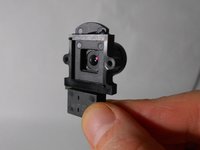
    • Remove the black plastic that contains the camera from its place.

    • Discard and replace this part as needed.

終わりに

To reassemble your device, follow these instructions in reverse order.

作成者

4人の作成者と共同で作成されました。

Ben Ingleson

メンバー登録日: 10/30/18

109 ポイント

1ガイドが承認済み

チーム

UMass Dartmouth, Team S2-G4, Peak Fall 2018 UMass Dartmouth, Team S2-G4, Peak Fall 2018人のメンバー

UMASSD-PEAK-F18S2G4

3 メンバー

10のガイドは作成済み

0 件のコメント

コメントを追加

統計データ:

過去 24時間: 1

過去 7 日: 2

過去 30 日: 10

今までの合計 1,279