メインコンテンツにスキップ

Nest Cam Outdoor S Motherboard Replacement

必要な工具と部品

  1. Nest Cam Outdoor S Motherboard Replacement, Plastic Camera Cover: 手順 1、 2の画像 1 Nest Cam Outdoor S Motherboard Replacement, Plastic Camera Cover: 手順 1、 2の画像 2
    • Wedge a spudger between the black front panel and the white outer shell.

    • Slide the spudger around the edge of the panel to pop it off.

  2. Nest Cam Outdoor S Motherboard Replacement: 手順 2、 1の画像 1
    • Remove the four small screws from the plastic camera cover.

  3. Nest Cam Outdoor S Motherboard Replacement: 手順 3、 1の画像 1
    • Disconnect the microphone cable to separate the motherboard from the main camera unit.

  4. Nest Cam Outdoor S Motherboard Replacement: 手順 4、 2の画像 1 Nest Cam Outdoor S Motherboard Replacement: 手順 4、 2の画像 2
    • Remove the plastic camera cover from the device.

  5. Nest Cam Outdoor S Motherboard Replacement, Motherboard: 手順 5、 1の画像 1
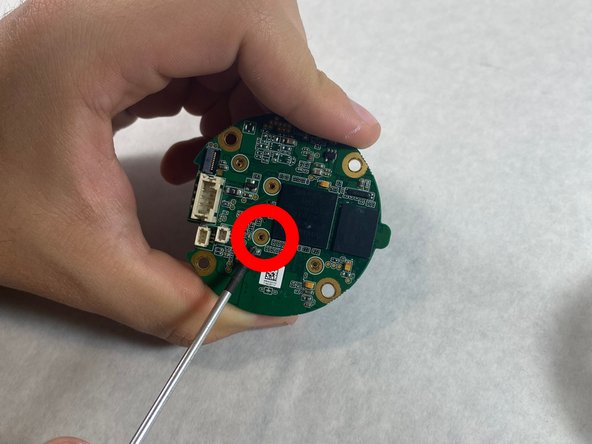
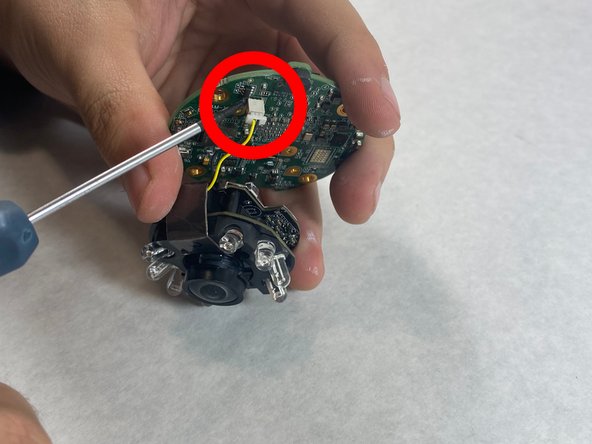
    • Pry the plastic cover away from the motherboard at the plastic clips using a spudger.

  6. Nest Cam Outdoor S Motherboard Replacement: 手順 6、 1の画像 1
    • Remove the four mounting screws from the motherboard.

  7. Nest Cam Outdoor S Motherboard Replacement: 手順 7、 1の画像 1
    • Disconnect the yellow camera cable from the motherboard.

    • Remove the motherboard from the device.

終わりに

To reassemble your device, follow these instructions in reverse order.

作成者

2人の作成者と共同で作成されました。

Skylar DeVoe

メンバー登録日: 10/28/21

235 ポイント

2のガイドは作成済み

チーム

UMass Dartmouth, Team 4-6, Gulbrandsen Fall 2021 UMass Dartmouth, Team 4-6, Gulbrandsen Fall 2021人のメンバー

UMASSD-GULBRANDSEN-F21S4G6

2 メンバー

4のガイドは作成済み

0 件のコメント

コメントを追加

統計データ:

過去 24時間: 1

過去 7 日: 2

過去 30 日: 7

今までの合計 365