メインコンテンツにスキップ

Nespresso Pixie Internal Diffuser Replacement

必要な工具と部品

  1. Nespresso Pixie Internal Diffuser Replacement, Internal Diffuser: 手順 1、 1の画像 1
    • Unplug the machine from any outlets.

    • Remove the water tank by pressing the top button and pulling outwards.

    • Make sure there is no fluid left in any part of the machine.

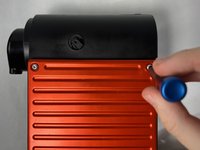
  2. Nespresso Pixie Internal Diffuser Replacement: 手順 2、 2の画像 1 Nespresso Pixie Internal Diffuser Replacement: 手順 2、 2の画像 2
    • Use a Torx T5 screwdriver to detach the lever of the machine on both sides.

  3. Nespresso Pixie Internal Diffuser Replacement: 手順 3、 1の画像 1
    • Remove the drip tray using your hand.

  4. Nespresso Pixie Internal Diffuser Replacement: 手順 4、 1の画像 1
    • Use your hand to remove the black drip tray grill behind the drip tray.

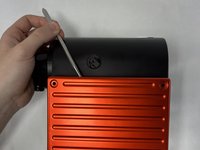
  5. Nespresso Pixie Internal Diffuser Replacement: 手順 5、 2の画像 1 Nespresso Pixie Internal Diffuser Replacement: 手順 5、 2の画像 2
    • Use a Torx T4 screwdriver to unscrew each screw on the faceplates.

    • Remove the faceplate using a metal spudger.

    • Be sure to start in both corners to separate the pieces.

  6. Nespresso Pixie Internal Diffuser Replacement: 手順 6、 1の画像 1
    この手順で使用する道具:
    Tweezers
    $4.99
    購入する
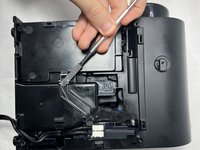
    • Locate the two springs in each top right corner and use a set of tweezers to remove them.

    • Be sure to set the machine in an enclosed container when this is done so as to not to lose the springs.

  7. Nespresso Pixie Internal Diffuser Replacement: 手順 7、 1の画像 1
    • Take off the white plastic bits using a metal spudger.

  8. Nespresso Pixie Internal Diffuser Replacement: 手順 8、 2の画像 1 Nespresso Pixie Internal Diffuser Replacement: 手順 8、 2の画像 2
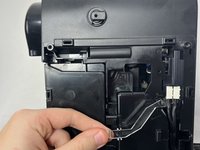
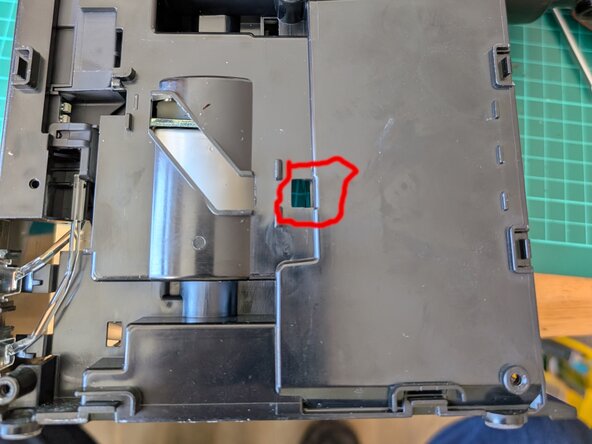
    • Remove the clear plastic bits using a metal spudger.

    • Be sure to pull it out using the hole in which it is indented.

  9. Nespresso Pixie Internal Diffuser Replacement: 手順 9、 1の画像 1
    • Use your hands to remove the cables that give power to the machine.

  10. Nespresso Pixie Internal Diffuser Replacement: 手順 10、 1の画像 1
    • Use your hands to remove the water spout.

  11. Nespresso Pixie Internal Diffuser Replacement: 手順 11、 1の画像 1
    • Seperate both halves of the machine using both a spudger and your hands.

    • Be sure to take your time and start in the middle. Note that it is incredibly well secured.

  12. Nespresso Pixie Internal Diffuser Replacement: 手順 12、 1の画像 1
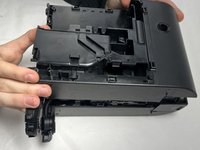
    • Use your hands to pull out the first lever housing in the spot shown in the picture.

  13. Nespresso Pixie Internal Diffuser Replacement: 手順 13、 1の画像 1
    • Pull the brewing mechanism apart from the remaining plastic barrier.

    • Once it is separated, pull off the other lever housing in the same way as was described in the previous step.

  14. Nespresso Pixie Internal Diffuser Replacement: 手順 14、 2の画像 1 Nespresso Pixie Internal Diffuser Replacement: 手順 14、 2の画像 2
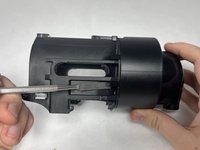
    • Use a spudger to unclip the clips holding the black case in place.

    • Pull the brewing chamber outwards from the machine and then pull it downwards to detach it.

  15. Nespresso Pixie Internal Diffuser Replacement: 手順 15、 2の画像 1 Nespresso Pixie Internal Diffuser Replacement: 手順 15、 2の画像 2
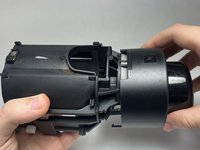
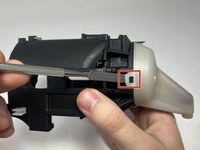
    • Pry off the clips holding the inner white chamber in place in the machine.

  16. Nespresso Pixie Internal Diffuser Replacement: 手順 16、 1の画像 1
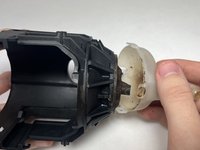
    • Use a spudger to take off your diffuser plate.

    • Insert your new diffuser plate.

終わりに

To reassemble your device, follow these instructions in reverse order.

作成者

3人の作成者と共同で作成されました。

Drew

メンバー登録日: 11/05/23

253 ポイント

1ガイドが承認済み

チーム

UMass Dartmouth, Team 2-2, Gulbrandsen Fall 2023 UMass Dartmouth, Team 2-2, Gulbrandsen Fall 2023人のメンバー

UMASSD-GULBRANDSEN-F23S2G2

4 メンバー

6のガイドは作成済み

0 件のコメント

コメントを追加

統計データ:

過去 24時間: 2

過去 7 日: 16

過去 30 日: 79

今までの合計 285