必要な工具と部品
-
この手順は未翻訳です。 翻訳を手伝う。
-
There are six ovoid screws on the bottom case. The screws look like rivets, but they are actually oval.
-
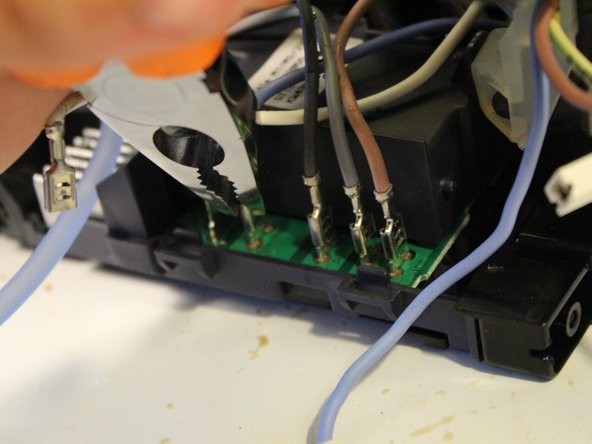
You can painstakingly remove them with pliers. Take your time.
-
If you can't get pliers to work, other people have had success using superglue, melting a BIC pen into the shape of the screw, or machining a custom bit.
-
-


32 件のコメント
or you can make your own tool! See http://www.maultech.com/chrislott/blog/2...
Where is the heating element then?
Hi Junaho.
Did you have a look to Step 26 ?
I see, my bad.