はじめに
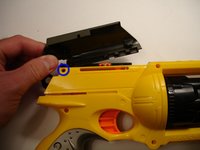
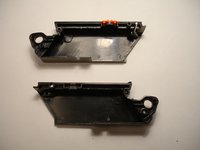
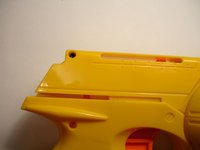
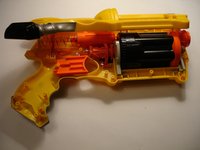
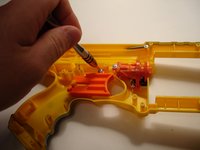
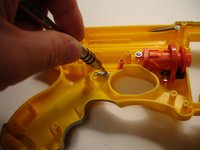
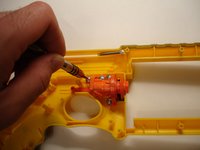
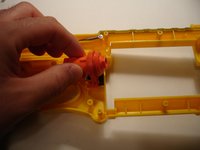
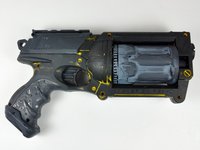
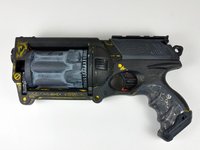
This guide shows the steps necessary to replace the O-Ring on the Nerf N-Strike Maverick. First, you should consult steps 1 through 4 of the Nerf N-Strike Maverick Teardown guide. Make sure you have a replacement O-Ring on hand.
必要な工具と部品
-
-
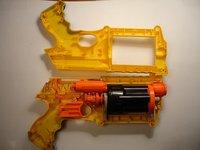
The Redeemer. Looks badass with its rotating barrel, but it's going to get a whole lot more badasserer quite soon...
-
Reminds me of a gun from the Fifth Element.
-
-
-
First thing's first: let's remove some screws. All screws are conveniently Phillips, and all can be removed with a #0 or #00 size screwdriver.
-
Remove all ten Phillips screws.
I see from the final photos that of the 10 black Phillips screws, 2 are shorter?
I think one of the short ones is for the rearmost hole of the cocking slide, but any ideas where the other goes?
Actually there should be a total of 11 screws if we include the one hidden by the slide.
Found this other site. In the tear down it says there are three screws on the slide that are different than the others so I assume they are the short ones.
-
-
-
Another Phillips screw hides beneath the cocking mechanism thing. Remove that one as well.
-
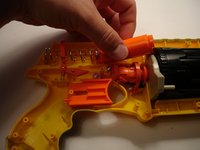
The cocking mechanism's quite simple. A metal lever pulls back on the air plunger and compresses the large spring. Another small spring returns the slider back into its original position once it's done doing the dirty business..
-
-
-
-
Looking down the gun's business end.
-
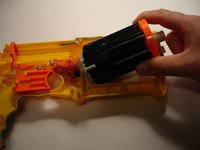
I didn't bother to take the barrel apart. I didn't feel that adventurous.
-
-
-
The finished product.
-
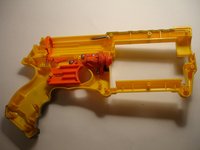
I took the gun to work and shot these pictures under a better lighting/camera setup... A much better lighting/camera setup.
I am very afraid.
David Patiernoからの引用:
I am very afraid.
taking apart the barrel is where the fun starts. pry off the orange cylinder on either end, remove 3 screws from the black side of the barrel and it's open. take out the 6 springs and the short plastic pieces. set aside. take the long plastic pieces and trim the stems flush with the convex surface. take the springs, short plastic pieces, and the stems and throw them at somebody. put it all back together making sure the former stemmed pieces are tight and you now have the most awesome nerf gun ever!
check youtube, couple of videos there...
cheers!
-
-
-
Locate the air plunger in the upper left hand corner of the opened nerf gun. Push back on the spring and carefully pull the plunger toward you to remove it.
-
-
-
Once you have the air plunger removed, locate the O-Ring by pulling the two pieces of the air plunger apart.
-
-
この手順で使用する道具:Tweezers$4.99
-
Use a pair of tweezers to remove the O-Ring from the top of the air plunger.
-
To reassemble your device, follow these instructions in reverse order.
To reassemble your device, follow these instructions in reverse order.


