メインコンテンツにスキップ

Nerf N-Strike Firestrike Wire Replacement

必要な工具と部品

  1. Nerf N-Strike Firestrike Wire Replacement, Remove battery cover: 手順 1、 1の画像 1
    • Use a #1 Phillips screwdriver to remove the 10 -mm screw that secures the battery plate, then remove the battery cover using your hands.

  2. Nerf N-Strike Firestrike Wire Replacement: 手順 2、 2の画像 1 Nerf N-Strike Firestrike Wire Replacement: 手順 2、 2の画像 2
    • Slide out the two AAA batteries using your fingers.

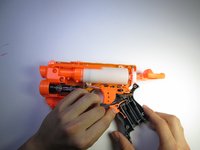
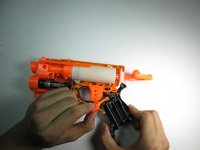
  3. Nerf N-Strike Firestrike Wire Replacement, Blaster Casing: 手順 3、 1の画像 1
    • Remove the seven 10-mm black Phillips screws from the blaster casing with a #1 Phillips Screwdriver.

  4. Nerf N-Strike Firestrike Wire Replacement: 手順 4、 2の画像 1 Nerf N-Strike Firestrike Wire Replacement: 手順 4、 2の画像 2
    • Slowly pull apart the blaster casing, starting at the battery location.

    • Keep pulling apart slowly until it separates completely. Be cautious as to not send the internal components flying.

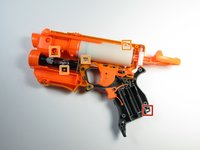
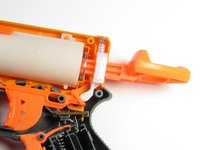
  5. Nerf N-Strike Firestrike Wire Replacement: 手順 5、 2の画像 1 Nerf N-Strike Firestrike Wire Replacement: 手順 5、 2の画像 2
    • For reassembly, ensure that the chrome nut gets put back in the proper location, signified by the red box.

    • For reassembly, ensure that all the parts are lined up correctly on the dowels, signified by the four orange boxes.

    • For reassembly, note the location of the springs as highlighted in the second photo.

  6. Nerf N-Strike Firestrike Wire Replacement, Firing Trigger: 手順 6、 2の画像 1 Nerf N-Strike Firestrike Wire Replacement, Firing Trigger: 手順 6、 2の画像 2
    • Remove the firing trigger by grabbing the trigger with your fingers and pulling it up and out.

  7. Nerf N-Strike Firestrike Wire Replacement, Laser Trigger: 手順 7、 2の画像 1 Nerf N-Strike Firestrike Wire Replacement, Laser Trigger: 手順 7、 2の画像 2
    • Remove the laser trigger by grabbing the trigger with your fingers and pulling it up and out.

  8. Nerf N-Strike Firestrike Wire Replacement, Laser Assembly: 手順 8、 1の画像 1
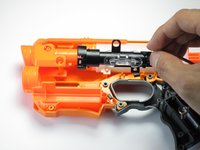
    • Gently pull up on the circuit board located near the gun handle until it separates from the gun.

    • The wire that attaches to the circuit board is also attached to the laser. Be careful not to use excessive force and damage or disconnect the wire.

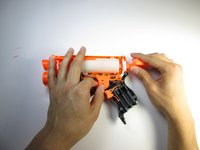
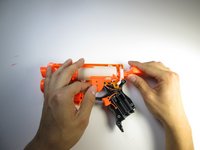
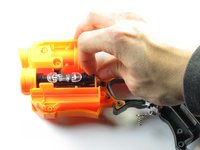
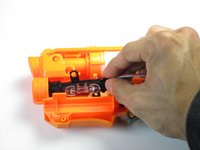
  9. Nerf N-Strike Firestrike Wire Replacement: 手順 9、 3の画像 1 Nerf N-Strike Firestrike Wire Replacement: 手順 9、 3の画像 2 Nerf N-Strike Firestrike Wire Replacement: 手順 9、 3の画像 3
    • Grip the circuit board located at the base of the laser with your fingers; rotate it towards the ammo compartment on the blaster until the guide hole is clear of the guide pin.

    • Slide the laser assembly out.

  10. Nerf N-Strike Firestrike Wire Replacement, Wire: 手順 10、 2の画像 1 Nerf N-Strike Firestrike Wire Replacement, Wire: 手順 10、 2の画像 2
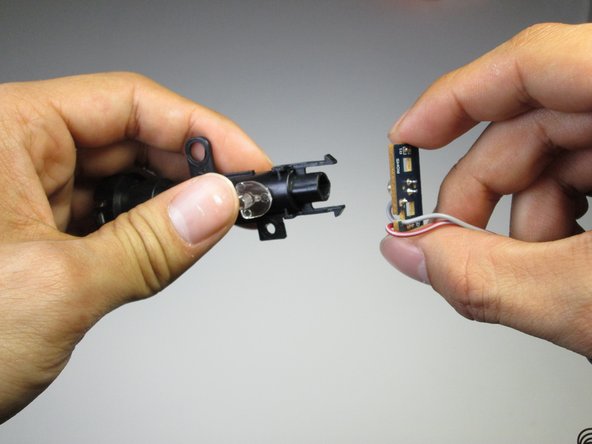
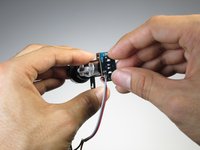
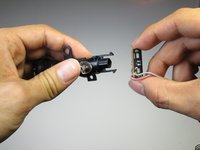
    • Pinch the clips holding the circuit board to the laser assembly and remove the circuit board.

  11. Nerf N-Strike Firestrike Wire Replacement: 手順 11、 1の画像 1
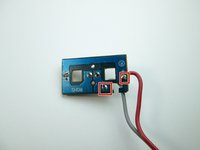
    • Desolder the wires from the circuit board.

    • The positive wire is attached at the lower left, while the negative wire is attached at the middle of the bottom.

  12. Nerf N-Strike Firestrike Wire Replacement: 手順 12、 2の画像 1 Nerf N-Strike Firestrike Wire Replacement: 手順 12、 2の画像 2
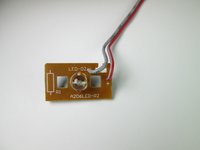
    • Use a soldering iron to melt the solder attaching the wires to the circuit board.

    • The positive lead is attached at the middle right of the board, while the negative lead is attached at the bottom right of the board.

終わりに

To reassemble your device, follow these instructions in reverse order.

ある他の人がこのガイドを完成しました。

作成者

2人の作成者と共同で作成されました。
Hayes Kimball

メンバー登録日: 04/19/15

742 ポイント

5のガイドは作成済み

チーム

Cal Poly, Team 15-6, Amido Spring 2015 Cal Poly, Team 15-6, Amido Spring 2015人のメンバー

CPSU-AMIDO-S15S15G6

3 メンバー

8のガイドは作成済み

0 件のコメント

コメントを追加

統計データ:

過去 24時間: 0

過去 7 日: 7

過去 30 日: 13

今までの合計 781