メインコンテンツにスキップ

Neato Botvac Connected Right Side Wall Sensor Replacement

必要な工具と部品

  1. Neato Botvac Connected Right Side Wall Sensor Replacement, Right Side Wall Sensor: 手順 1、 3の画像 1 Neato Botvac Connected Right Side Wall Sensor Replacement, Right Side Wall Sensor: 手順 1、 3の画像 2 Neato Botvac Connected Right Side Wall Sensor Replacement, Right Side Wall Sensor: 手順 1、 3の画像 3
    • Flip the Botvac over so that the underside is facing up and the flat front is facing toward you.

    • Remove the four screws lining the front roller using a TR10 Torx screwdriver.

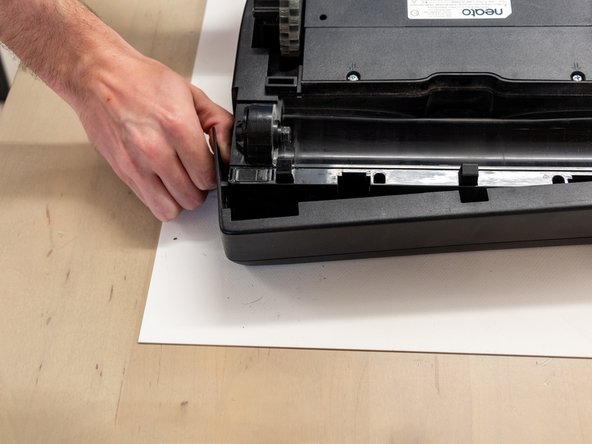
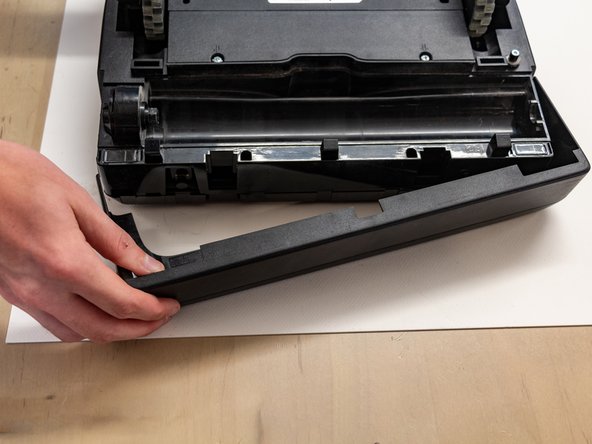
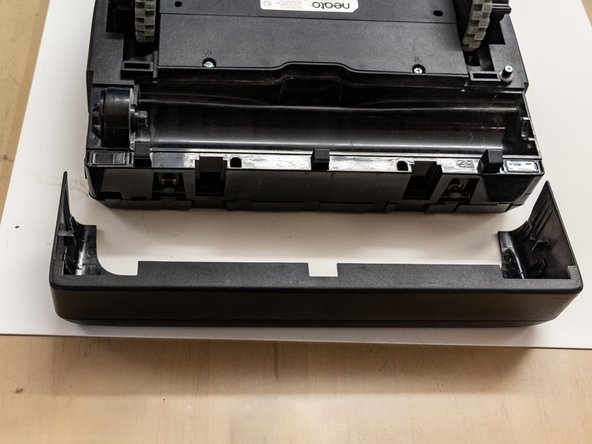
    • Remove the black panel behind and in front of the roller.

    • Gently lift the roller by the right side to remove it.

  2. Neato Botvac Connected Right Side Wall Sensor Replacement: 手順 2、 1の画像 1
    • Remove the two screws behind the front roller of the robot using a Phillips #2 screwdriver.

    • Remove the battery by lifting it out while pressing down on the wire clip inside the compartment.

  3. Neato Botvac Connected Right Side Wall Sensor Replacement: 手順 3、 3の画像 1 Neato Botvac Connected Right Side Wall Sensor Replacement: 手順 3、 3の画像 2 Neato Botvac Connected Right Side Wall Sensor Replacement: 手順 3、 3の画像 3
    • Pull one side of the front bumper out and then forward toward you. Repeat on the other side to completely detach the front bumper.

  4. Neato Botvac Connected Right Side Wall Sensor Replacement: 手順 4、 2の画像 1 Neato Botvac Connected Right Side Wall Sensor Replacement: 手順 4、 2の画像 2
    • Remove the eight screws from the underside of the Botvac using a TR10 Torx screwdriver.

    • Remove the additional two TR10 screws from the top of the Botvac.

    • Remove the dustbin.

  5. Neato Botvac Connected Right Side Wall Sensor Replacement: 手順 5、 3の画像 1 Neato Botvac Connected Right Side Wall Sensor Replacement: 手順 5、 3の画像 2 Neato Botvac Connected Right Side Wall Sensor Replacement: 手順 5、 3の画像 3
    • Pry the clips on the front of the robot apart.

    • Unplug the beige connector with a spudger, working one side at a time until it comes unplugged.

    • Make certain not to not to tear any wires out of the port.

    • Lay the bottom of the robot inside up.

    • Remove the single screw on the right side of the robot using a TR10 Torx screwdriver.

    • Remove the sensor by lifting it straight up.

    • Unplug the connector by pulling firmly on the plastic.

    • Plug the new sensor into the open port.

終わりに

To reassemble your device, follow these instructions in reverse order.

作成者

1人の作成者と共同作成されました。

Jerome

メンバー登録日: 03/01/23

365 ポイント

2のガイドは作成済み

チーム

University of Delaware, Team 12-5, McGuire Spring 2023 University of Delaware, Team 12-5, McGuire Spring 2023人のメンバー

UD-MCGUIRE-S23S12G5

5 メンバー

2のガイドは作成済み

0 件のコメント

コメントを追加

統計データ:

過去 24時間: 0

過去 7 日: 0

過去 30 日: 5

今までの合計 114