はじめに
Warning: This guide requires desoldering/soldering.
This guide will walk you through the steps to removing the Nabi 2 motherboard. A motherboard replacement may be necessary if you experience total device failure. Before beginning this guide we recommend you follow all of the listed prerequisite guides.
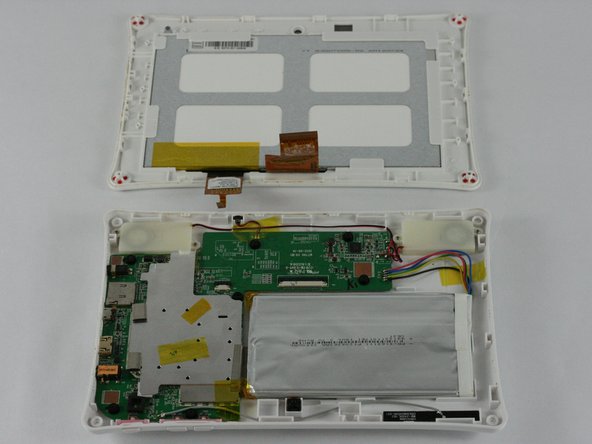
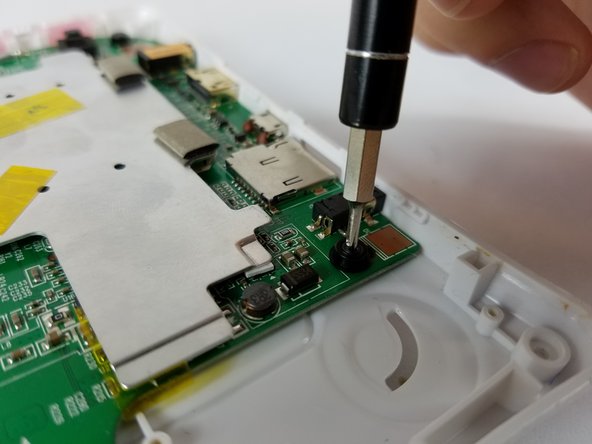
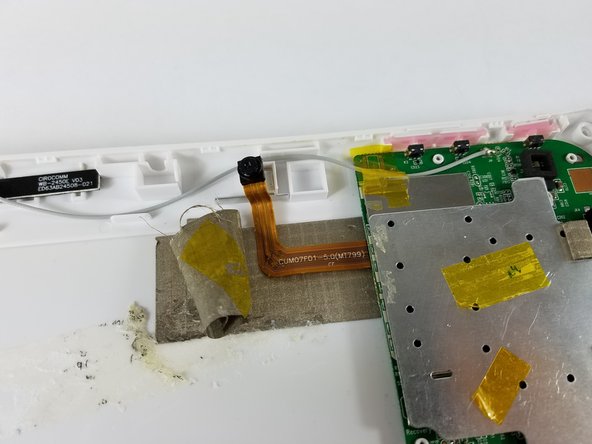
Be sure to take extra care when removing the wifi antenna, camera and microphone from the Nabi 2 chassis, before lifting the motherboard out of the device.
必要な工具と部品
-
-
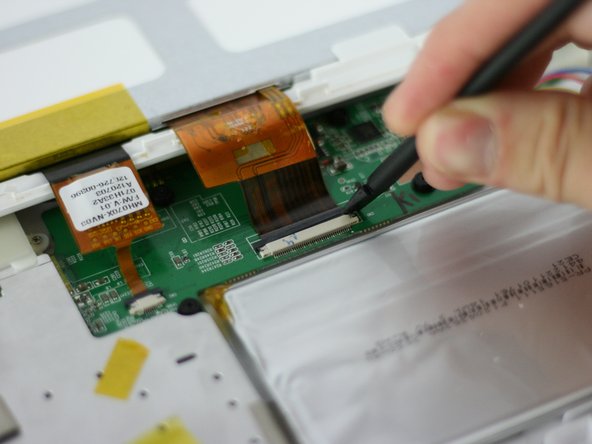
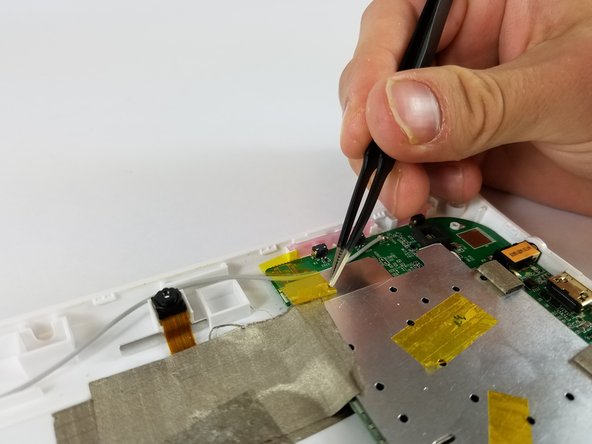
Lay the tablet down flat and remove the yellow tape from the ZIF connector on each side
-
-
-
-
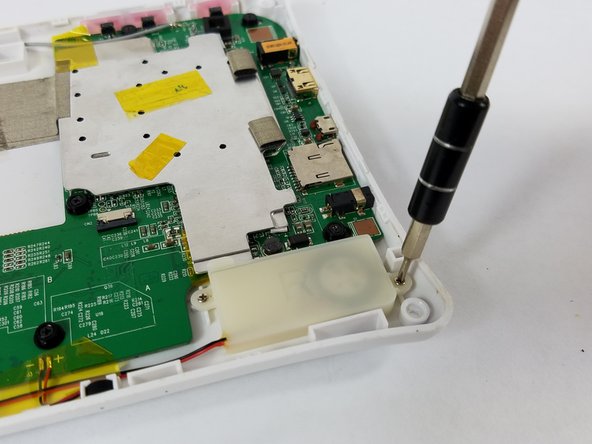
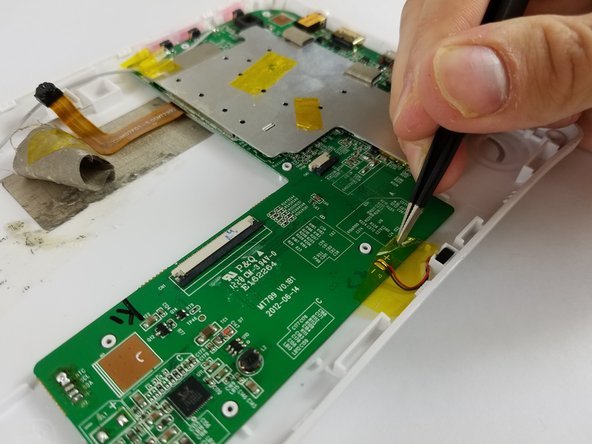
Using the soldering iron, detach the speaker's wires from the circuit board.
-


To reassemble your device, follow these instructions in reverse order.
To reassemble your device, follow these instructions in reverse order.
ある他の人がこのガイドを完成しました。

チーム

USF Tampa, Team 4-3, Lacy Spring 2016 USF Tampa, Team 4-3, Lacy Spring 2016人のメンバー
USFT-LACY-S16S4G3
4 メンバー
14のガイドは作成済み