メインコンテンツにスキップ

NEC VT570 Dismantling

必要な工具と部品

  1. NEC VT570 Dismantling, Removing lamp: 手順 1、 3の画像 1 NEC VT570 Dismantling, Removing lamp: 手順 1、 3の画像 2 NEC VT570 Dismantling, Removing lamp: 手順 1、 3の画像 3
    • Turn the projector upside down.

    • Remove the lamp small plastic cover.

    • Unsrew two srews and put out the lamp.

  2. NEC VT570 Dismantling, Removing buttom plastic cover: 手順 2、 2の画像 1 NEC VT570 Dismantling, Removing buttom plastic cover: 手順 2、 2の画像 2
    • Remove the rest of the srews from the bottom.

    • Remove the plastic buttom cover.

  3. NEC VT570 Dismantling, Removing motherboard: 手順 3、 3の画像 1 NEC VT570 Dismantling, Removing motherboard: 手順 3、 3の画像 2 NEC VT570 Dismantling, Removing motherboard: 手順 3、 3の画像 3
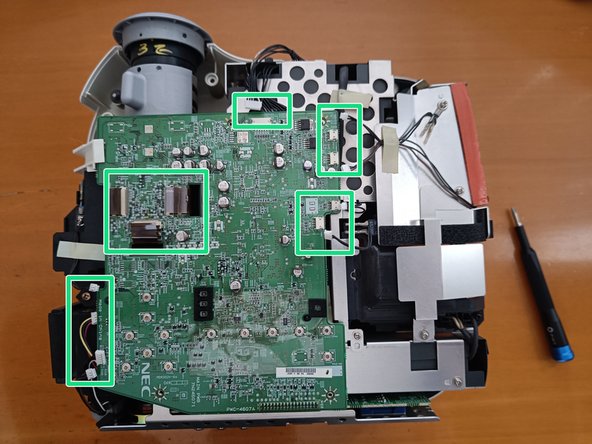
    • Unscrew four screws.

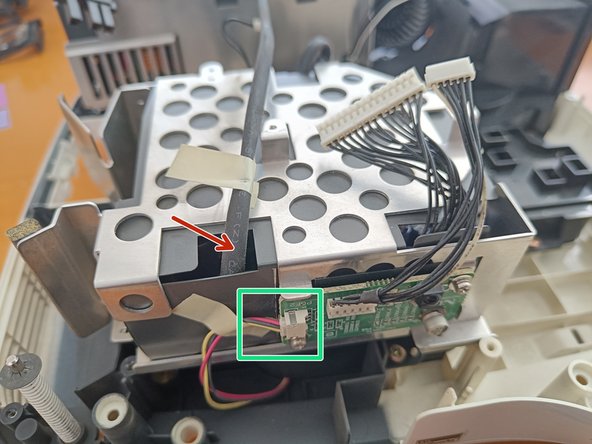
    • Detached plugged cables marked with green squares.

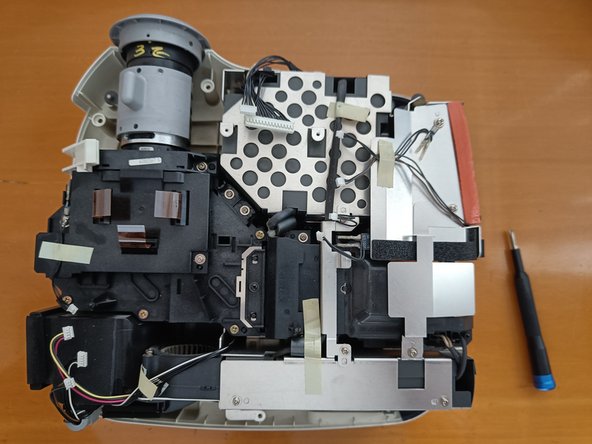
    • Remove motherboard.

  4. NEC VT570 Dismantling, Removing main (larger) fan: 手順 4、 3の画像 1 NEC VT570 Dismantling, Removing main (larger) fan: 手順 4、 3の画像 2 NEC VT570 Dismantling, Removing main (larger) fan: 手順 4、 3の画像 3
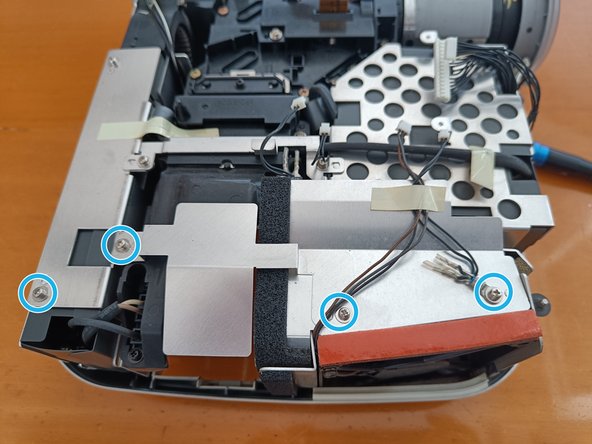
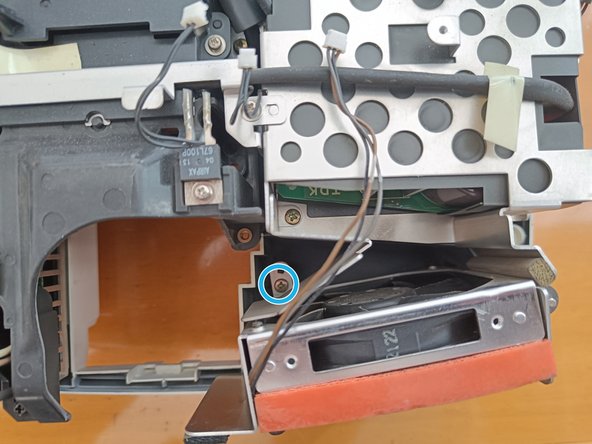
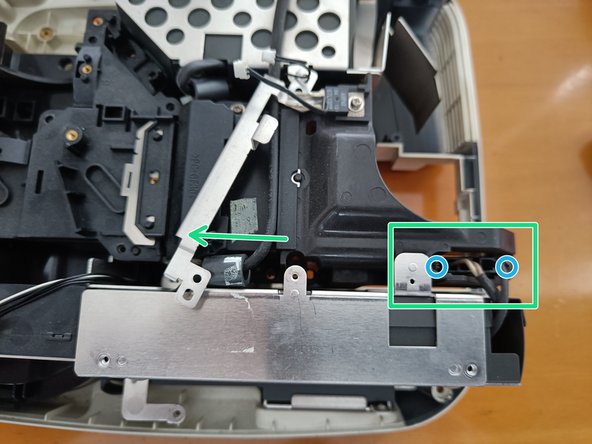
    • Unscrew all the screws marked on the pictures and remove the small backplate.

    • Pull out the fan.

  5. NEC VT570 Dismantling, Removing mirrors and filters: 手順 5、 3の画像 1 NEC VT570 Dismantling, Removing mirrors and filters: 手順 5、 3の画像 2 NEC VT570 Dismantling, Removing mirrors and filters: 手順 5、 3の画像 3
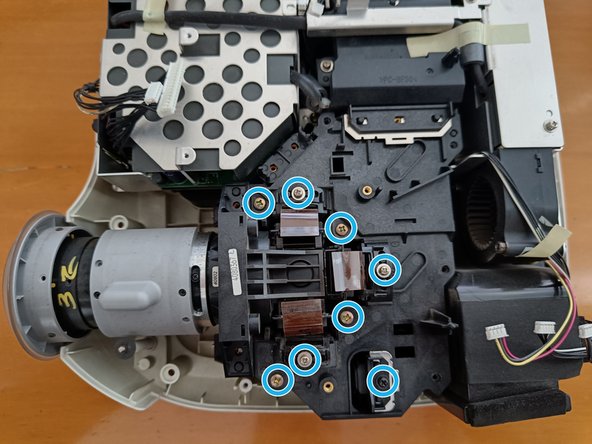
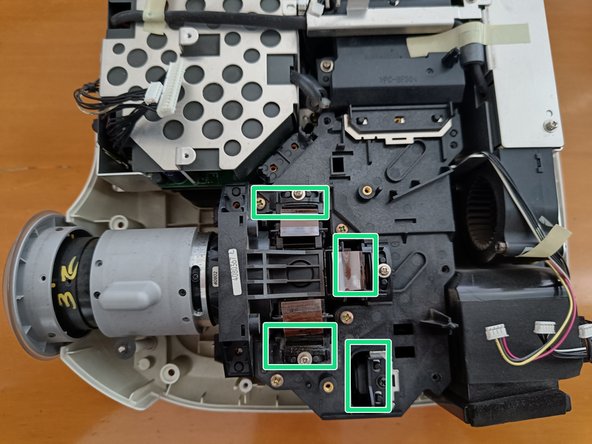
    • Remove screws Green are screws that are not seen in the picture.

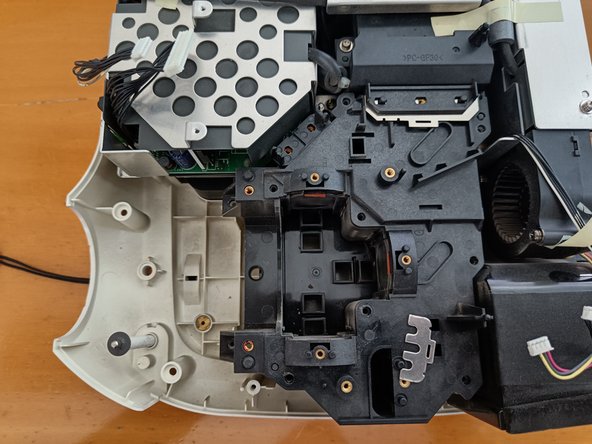
    • After removing the top cover there are more screws

    • Remove four lances

  6. NEC VT570 Dismantling, Removing main lans: 手順 6、 2の画像 1 NEC VT570 Dismantling, Removing main lans: 手順 6、 2の画像 2
    • After 5th step, you can just pull out the main lens.

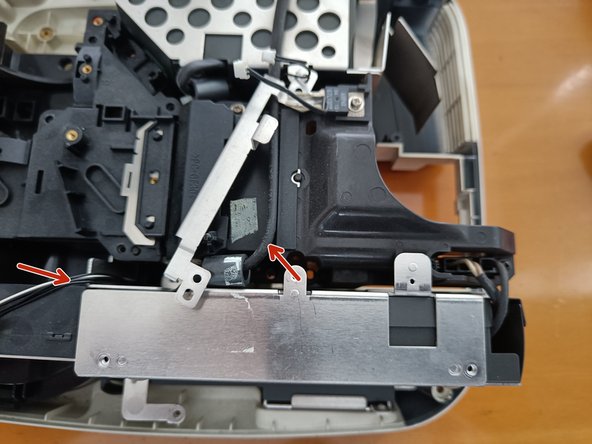
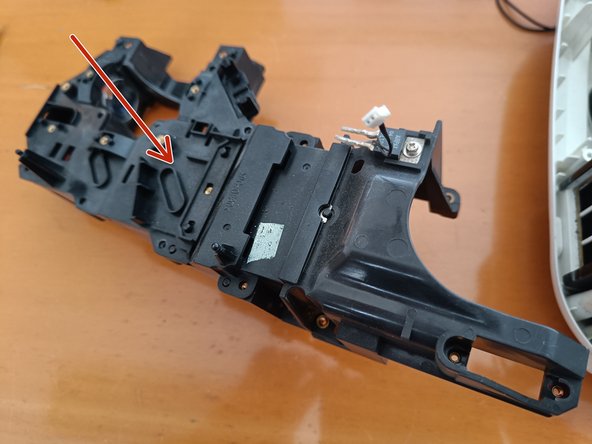
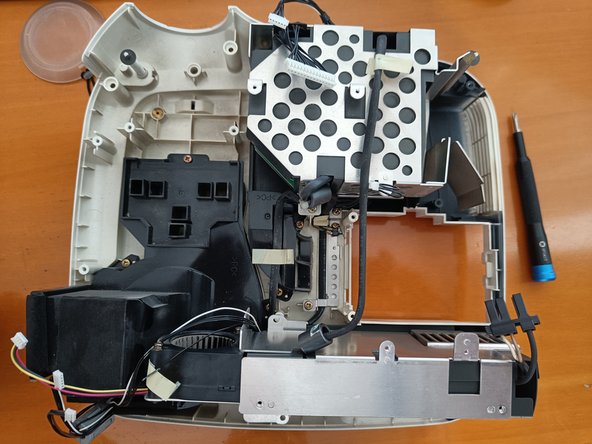
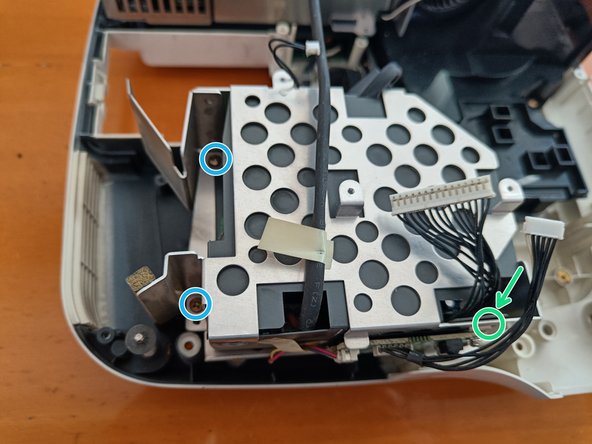
  7. NEC VT570 Dismantling, Removing electricity part 1/2: 手順 7、 3の画像 1 NEC VT570 Dismantling, Removing electricity part 1/2: 手順 7、 3の画像 2 NEC VT570 Dismantling, Removing electricity part 1/2: 手順 7、 3の画像 3
    • Unsrew screws (blue), green screw is a bit hidden.

    • Remove upper backplate.

    • Unscrew the connector and pull it out.

    • To pull the electricity part we should remove other parts first since they stick to cables connected to other modules.

  8. NEC VT570 Dismantling, Removing lence housing: 手順 8、 3の画像 1 NEC VT570 Dismantling, Removing lence housing: 手順 8、 3の画像 2 NEC VT570 Dismantling, Removing lence housing: 手順 8、 3の画像 3
    • Remove screws.

    • Take out the lens housing. Inside the lens housing are several small mirrors so be careful they don't fall out and brake.

  9. NEC VT570 Dismantling, Removing electricity part 2/2: 手順 9、 3の画像 1 NEC VT570 Dismantling, Removing electricity part 2/2: 手順 9、 3の画像 2 NEC VT570 Dismantling, Removing electricity part 2/2: 手順 9、 3の画像 3
    • Remove screws.

    • Green marked screw is a bit hidden inside the case.

    • Unplug the side cable and you can take out the module.

    • Once the module is partly outside you can open the iron frame and unplug the other two black cables plugs into this module from each side.

  10. NEC VT570 Dismantling, Removing filter and fan module: 手順 10、 3の画像 1 NEC VT570 Dismantling, Removing filter and fan module: 手順 10、 3の画像 2 NEC VT570 Dismantling, Removing filter and fan module: 手順 10、 3の画像 3
    • Remove marked screws. Green is not seen in the picture but it is there.

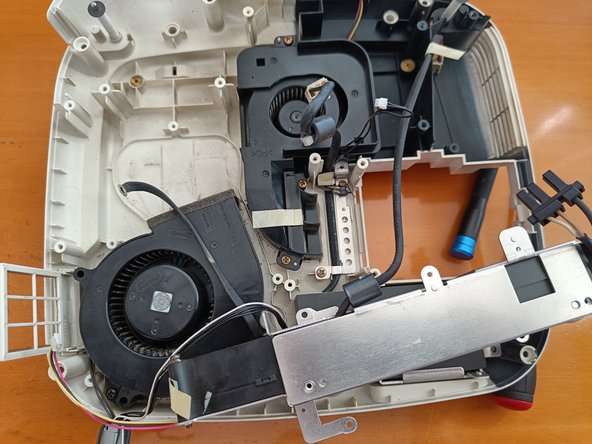
    • Remove the plastic cover and you'll find a big fan under it.

    • Now you can pull out the big fan together with the electrical module 1.

  11. NEC VT570 Dismantling, Removing last fan: 手順 11、 1の画像 1
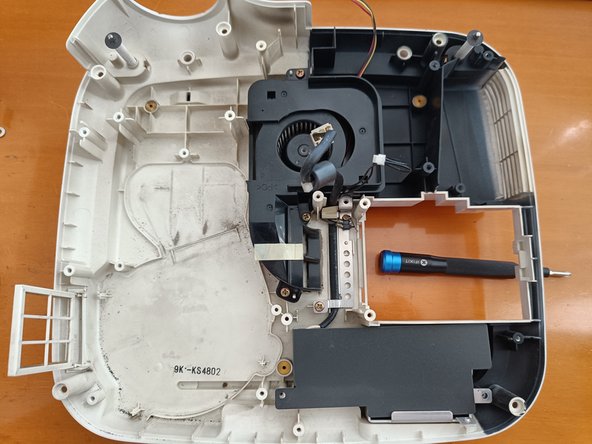
    • Remove the screws and we can pull down the fan cover and fan.

終わりに

To reassemble your device, follow these instructions in reverse order.

作成者

1人の作成者と共同作成されました。

Klemen Hodžić

メンバー登録日: 11/01/20

640 ポイント

4のガイドは作成済み

0 件のコメント

コメントを追加

統計データ:

過去 24時間: 0

過去 7 日: 0

過去 30 日: 6

今までの合計 55