はじめに
If your Motorola Xoom 2 is still having issues after attempting the troubleshooting and other repair guides, you may need to replace the device motherboard. This guide will demonstrate how to replace the motherboard of the Motorola Xoom 2.
Note: This should be last resort option, if the device is not fixed after replacing the motherboard, consider responsibly recycling the device.
必要な工具と部品
-
-
Pry off the silver top back cover (the panel around the camera) with iFixit opening picks or a similar implement.
-
-
-
-
-
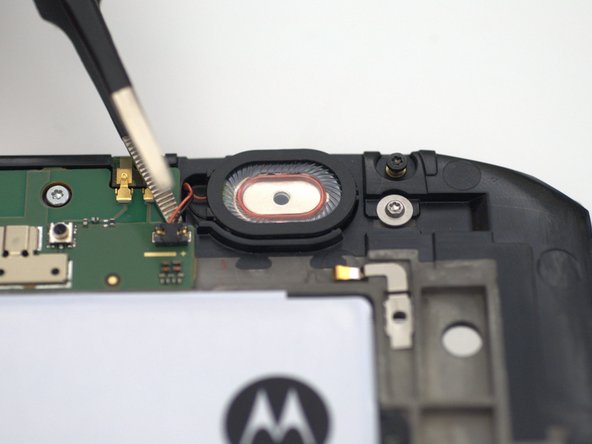
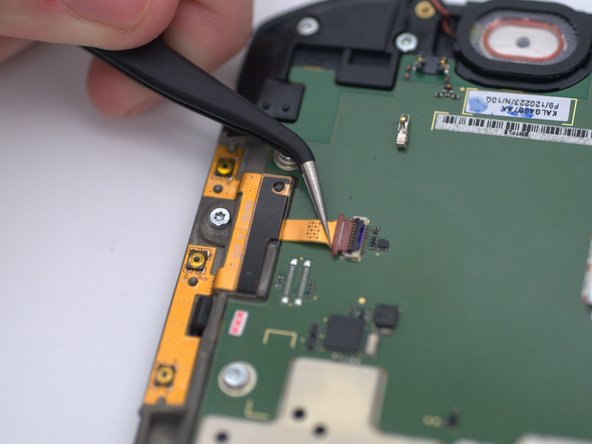
Using tweezers or a prying tool, gently disconnect the speaker connector cable from the motherboard.
-
-
-
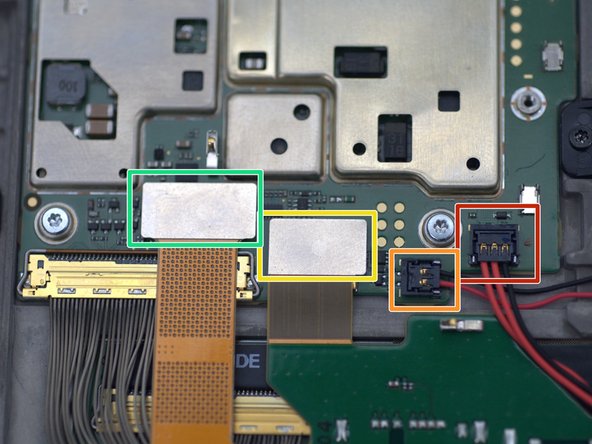
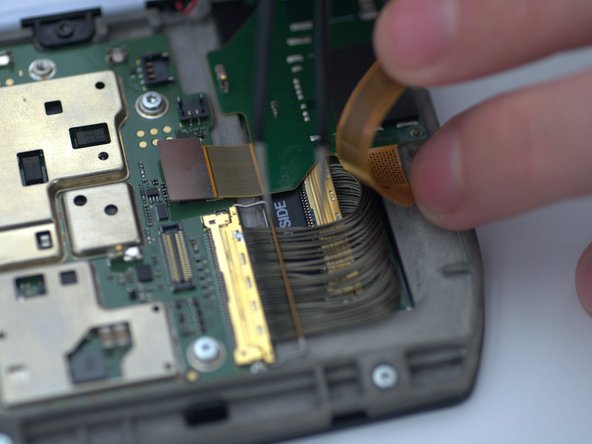
Using your fingers, gently pull back the connector. Using tweezers pull up the 'handle' of the connector located underneath. This handle is resting in front of the yellow-gold metal strip where the wires meet.
-
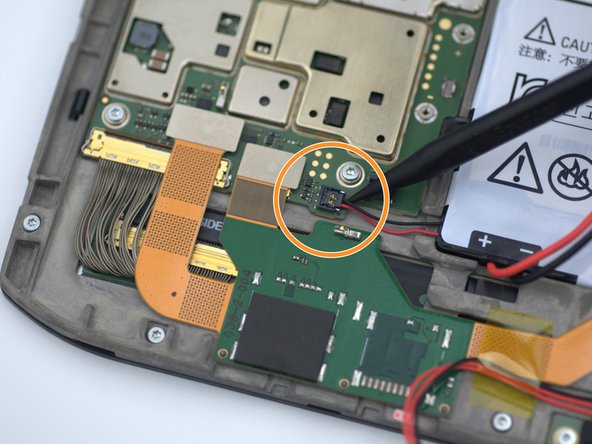
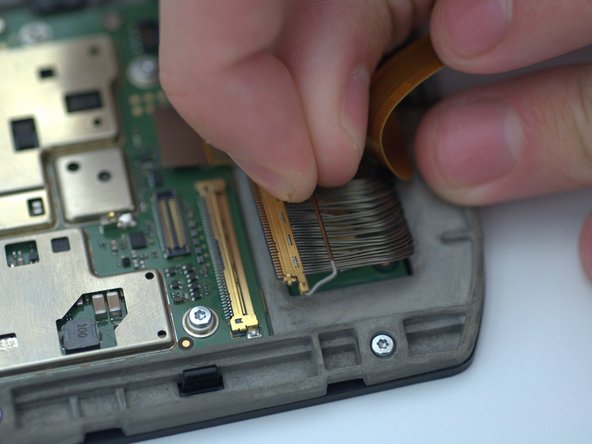
Once the handle has been pulled up and rotated back to a more accessible position, you will be able to grab it with your fingers. Pull the handle back to disconnect it from the device.
-
-
-
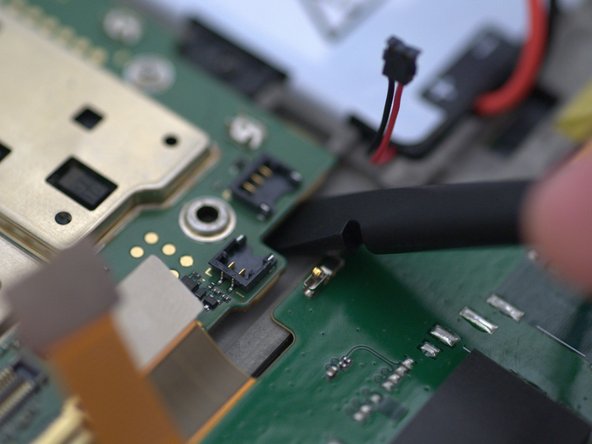
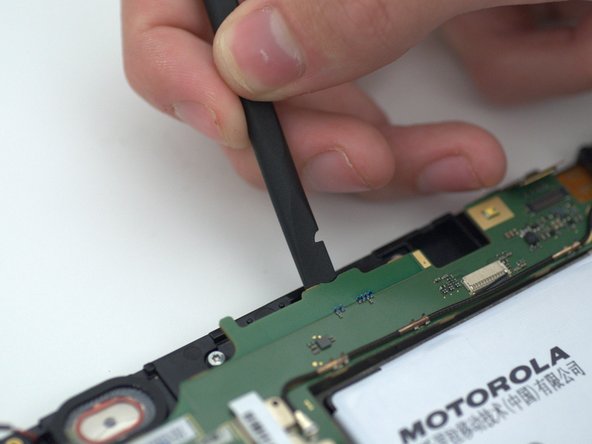
Begin prying up the motherboard in the corner nearest the battery. Not much force will be required as the board is completely loose at this point.
-
Next, pry the motherboard up at the top of the device near the left speaker.
-
Once you can get the edge of the board high enough, grab it and lift it up and towards the battery. This will prevent it from snagging on the cable disconnected in step 7.
-


To reassemble your device, follow these instructions in reverse order. Leave the battery unplugged until the back plate need to be added on.
To reassemble your device, follow these instructions in reverse order. Leave the battery unplugged until the back plate need to be added on.
ある他の人がこのガイドを完成しました。

チーム

Embry-Riddle Aeronautical University, Team S13-G6, Lamothe Fall 2019 Embry-Riddle Aeronautical University, Team S13-G6, Lamothe Fall 2019人のメンバー
ERAU-LAMOTHE-F19S13G6
4 メンバー
7のガイドは作成済み