メインコンテンツにスキップ

Motorola V557 Screen Replacement

必要な工具と部品

  1. Motorola V557 Screen Replacement, Faceplate: 手順 1、 3の画像 1 Motorola V557 Screen Replacement, Faceplate: 手順 1、 3の画像 2 Motorola V557 Screen Replacement, Faceplate: 手順 1、 3の画像 3
    • Remove the four rubber stoppers from around the screen with a pin to reveal four screws.

  2. Motorola V557 Screen Replacement: 手順 2、 2の画像 1 Motorola V557 Screen Replacement: 手順 2、 2の画像 2
    • Remove the four 3.8 mm T-6 Torx screws.

  3. Motorola V557 Screen Replacement: 手順 3、 2の画像 1 Motorola V557 Screen Replacement: 手順 3、 2の画像 2
    • Separate the cover from the edges using a plastic opening tool.

  4. Motorola V557 Screen Replacement: 手順 4、 2の画像 1 Motorola V557 Screen Replacement: 手順 4、 2の画像 2
    • With the edges separated, close the phone and lift off the faceplate with your fingers.

  5. Motorola V557 Screen Replacement, Camera: 手順 5、 1の画像 1
    • Gently peel off the plastic film from the metal plate above the camera lens as shown.

  6. Motorola V557 Screen Replacement: 手順 6、 2の画像 1 Motorola V557 Screen Replacement: 手順 6、 2の画像 2
    • Insert the spudger into the slots marked and gently pry upwards to remove the metal cover.

    • Repeat the previous bullet for the two corresponding tabs on the opposite side of the phone.

  7. Motorola V557 Screen Replacement: 手順 7、 2の画像 1 Motorola V557 Screen Replacement: 手順 7、 2の画像 2
    • Lift and peel back the tape attaching metal casing to body of the phone.

    • Gently lift the metal cover and remove to expose the circuit board.

  8. Motorola V557 Screen Replacement: 手順 8、 2の画像 1 Motorola V557 Screen Replacement: 手順 8、 2の画像 2
    • Using a plastic opening tool, pry or lift open the pink door shown.

    • After the door is open, gently pull on the ribbon cable's corner to separate it from the board.

    • Work out the ribbon cable's end slowly and gently to avoid damaging the pink door port.

  9. Motorola V557 Screen Replacement: 手順 9、 3の画像 1 Motorola V557 Screen Replacement: 手順 9、 3の画像 2 Motorola V557 Screen Replacement: 手順 9、 3の画像 3
    • Use a plastic opening tool to dislodge and remove the rubber camera cover.

  10. Motorola V557 Screen Replacement: 手順 10、 2の画像 1 Motorola V557 Screen Replacement: 手順 10、 2の画像 2
    • Lift the top ribbon cable, with camera attached, up and away from the rest of the phone.

  11. Motorola V557 Screen Replacement, Screen: 手順 11、 3の画像 1 Motorola V557 Screen Replacement, Screen: 手順 11、 3の画像 2 Motorola V557 Screen Replacement, Screen: 手順 11、 3の画像 3
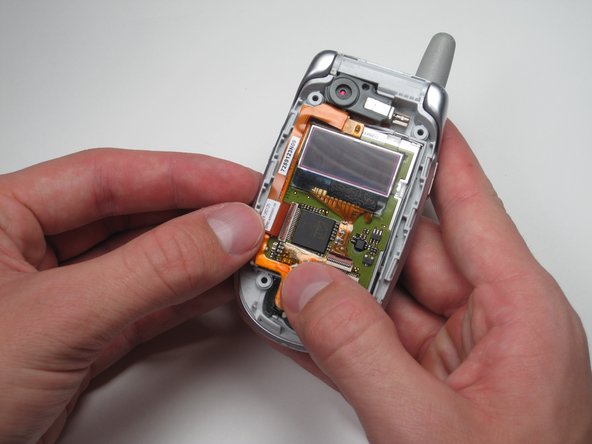
    • Pull the ribbon cable up and out of the way to get access to the circuit board-screen unit.

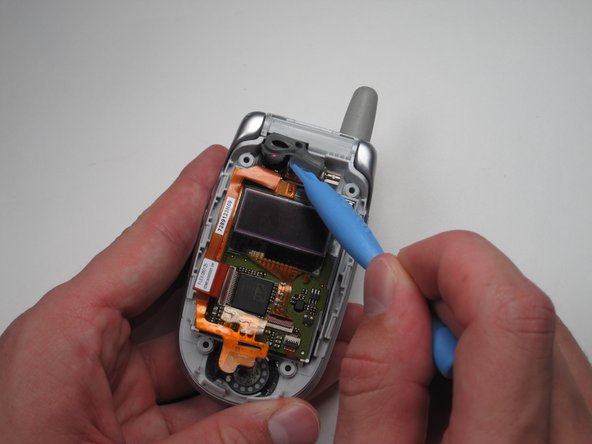
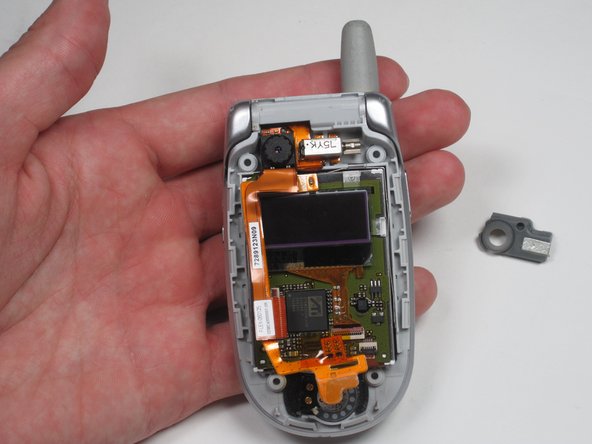
    • Using a plastic opening tool, gently pry and remove the circuit board-screen unit in both screens.

終わりに

To reassemble your device, follow these instructions in reverse order.

作成者

7人の作成者と共同で作成されました。

Blair Frandeen

メンバー登録日: 10/02/10

19 ポイント

4のガイドは作成済み

チーム

Cal Poly, Team 7-50, Amido Fall 2010 Cal Poly, Team 7-50, Amido Fall 2010人のメンバー

CPSU-AMIDO-F10S7G50

4 メンバー

24のガイドは作成済み

0 件のコメント

コメントを追加

統計データ:

過去 24時間: 1

過去 7 日: 1

過去 30 日: 1

今までの合計 2,735